Today, I’m learning to use mirror tint film. Join me.
I have a long-term project that will feature an infinity mirror. Instead of making one for the first time as part of a more complicated project, I decided to “cut bait” for a bit and actually learn a few things first with a simpler prototype.
On Reflection
To make an infinity mirror, you reflect a light source between two surfaces as many times as possible. The effect is kind of like standing in a funhouse (or a mirror maze). To make this work, you need two parallel mirrors, one of which needs to be “one way”, or transparent from outside.
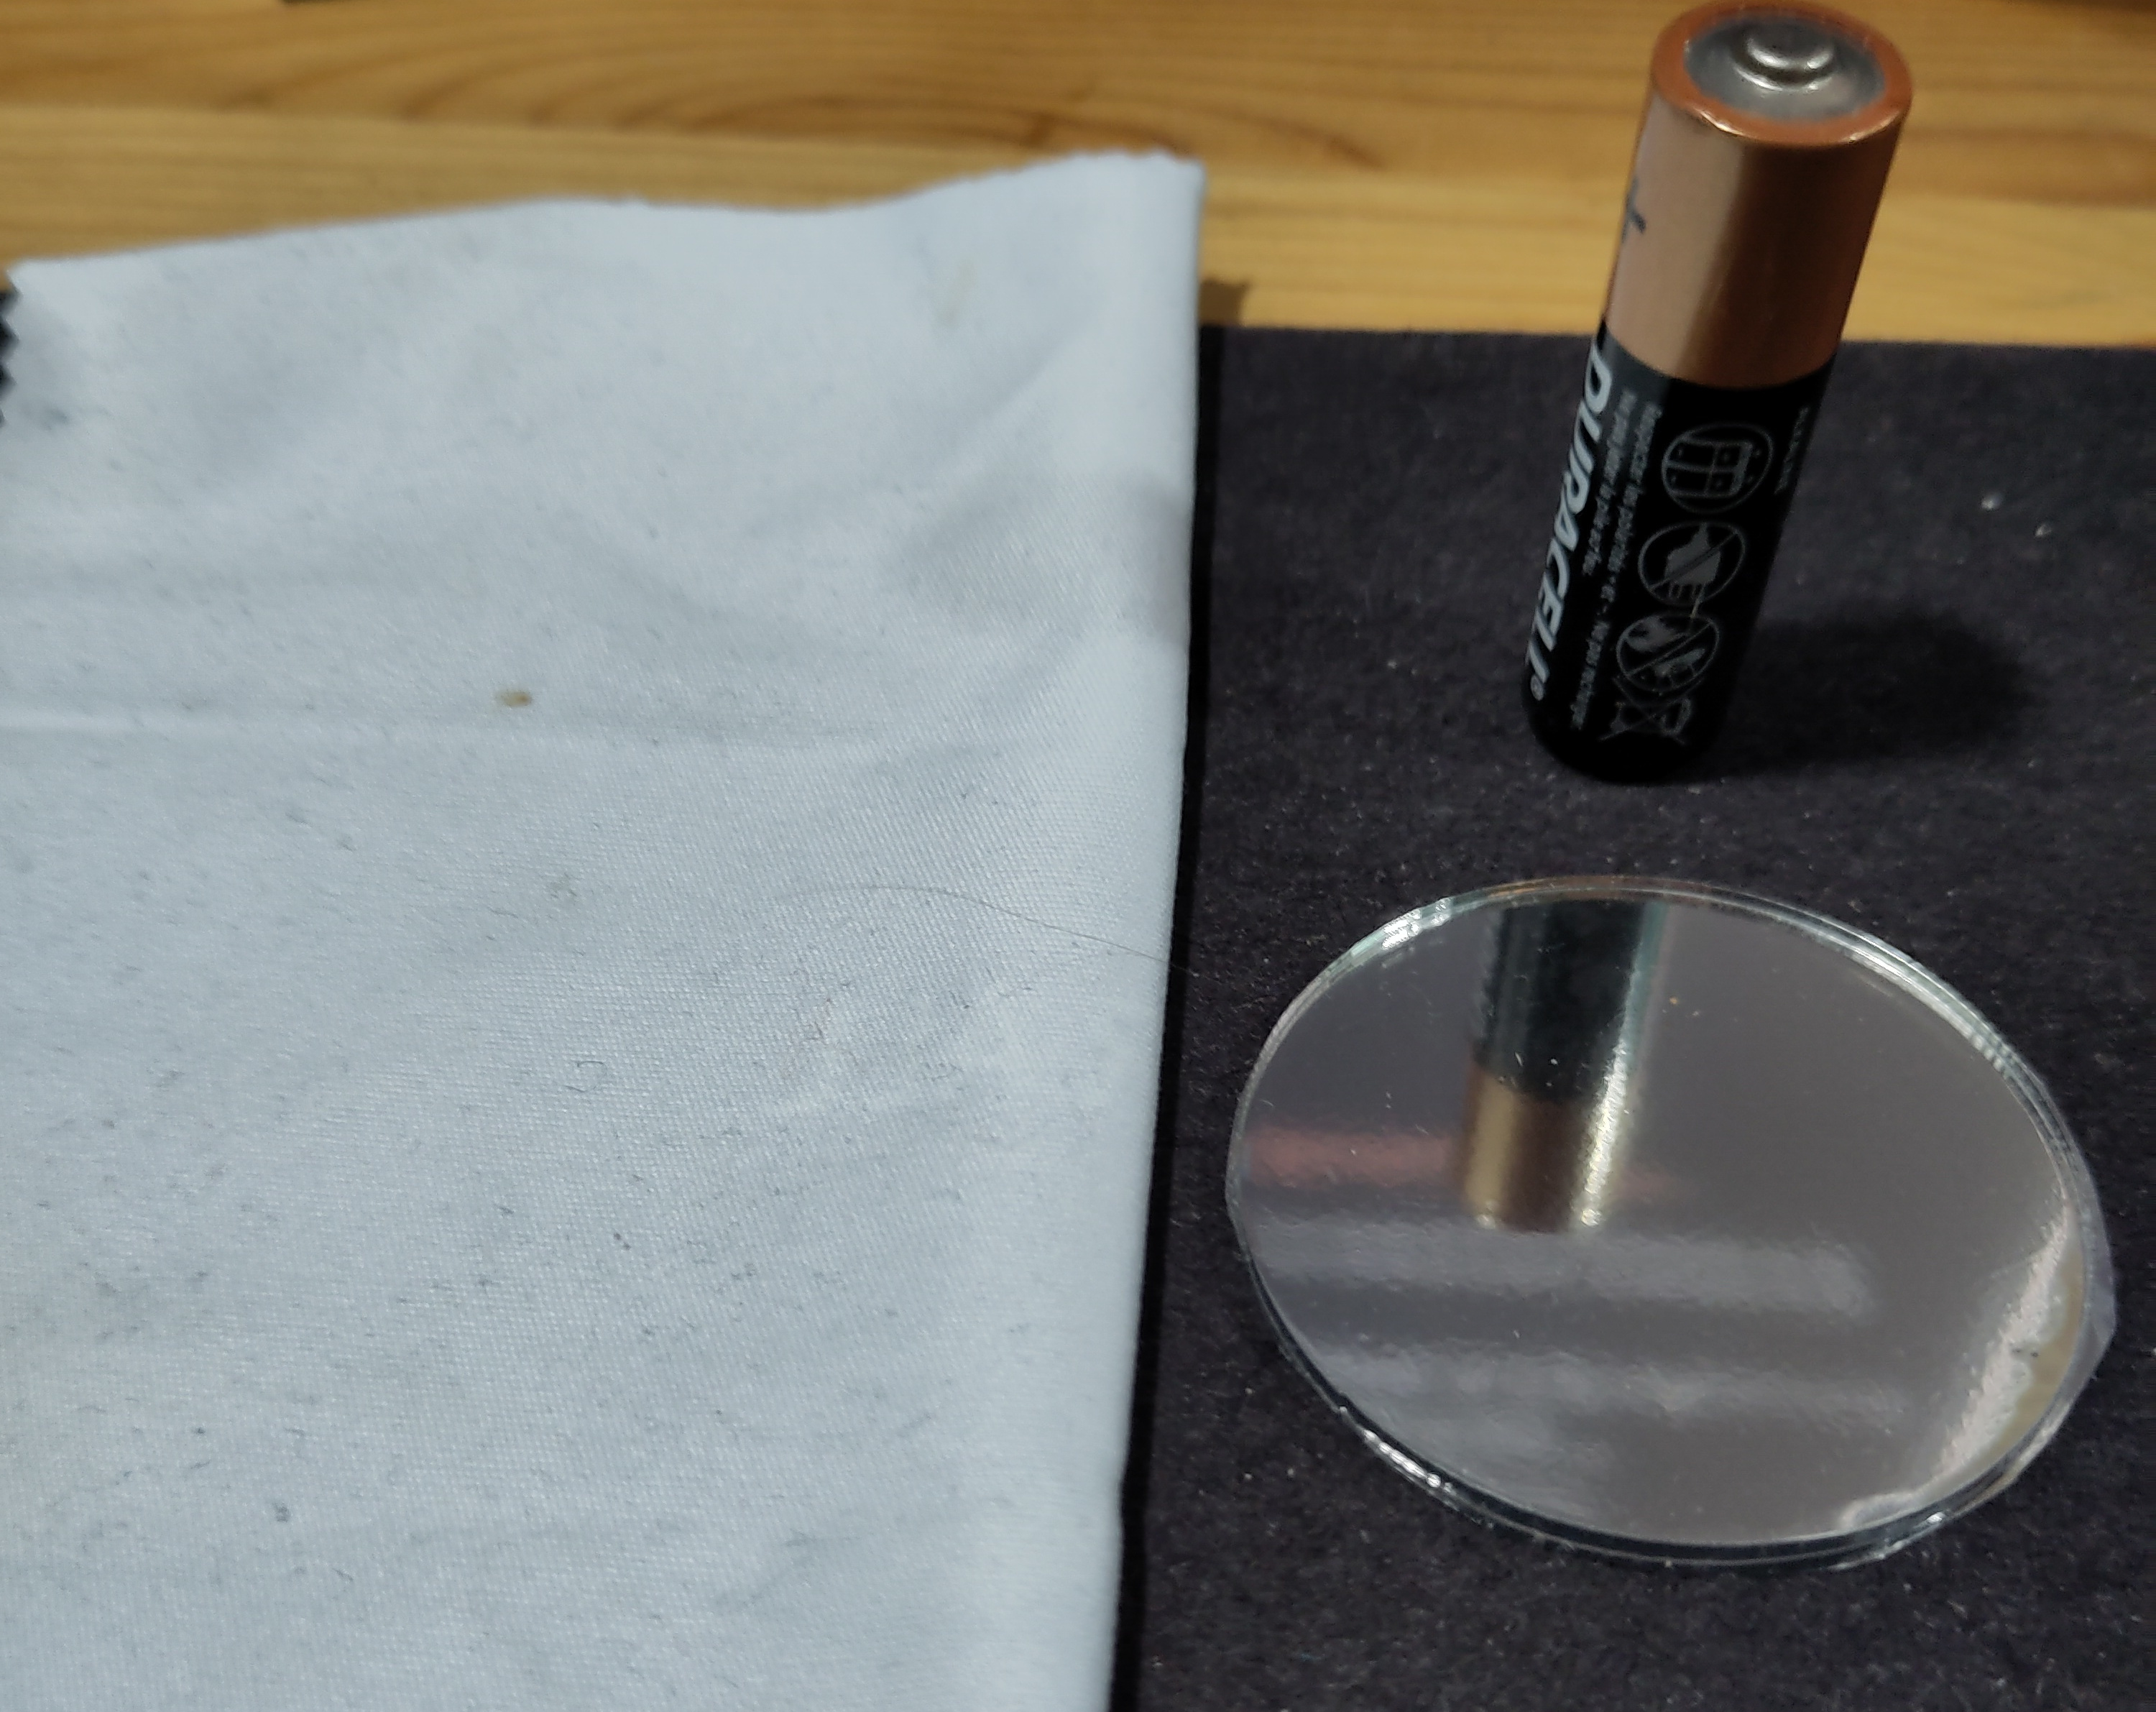
A lot of projects I’ve seen accomplish this using mirror film, like this stuff I got on Amazon. It’s typically used to add privacy to car or home windows.
When it’s dark behind the foil, the foil acts like a mirror, which you can see in the first sample acryilic material I treated.
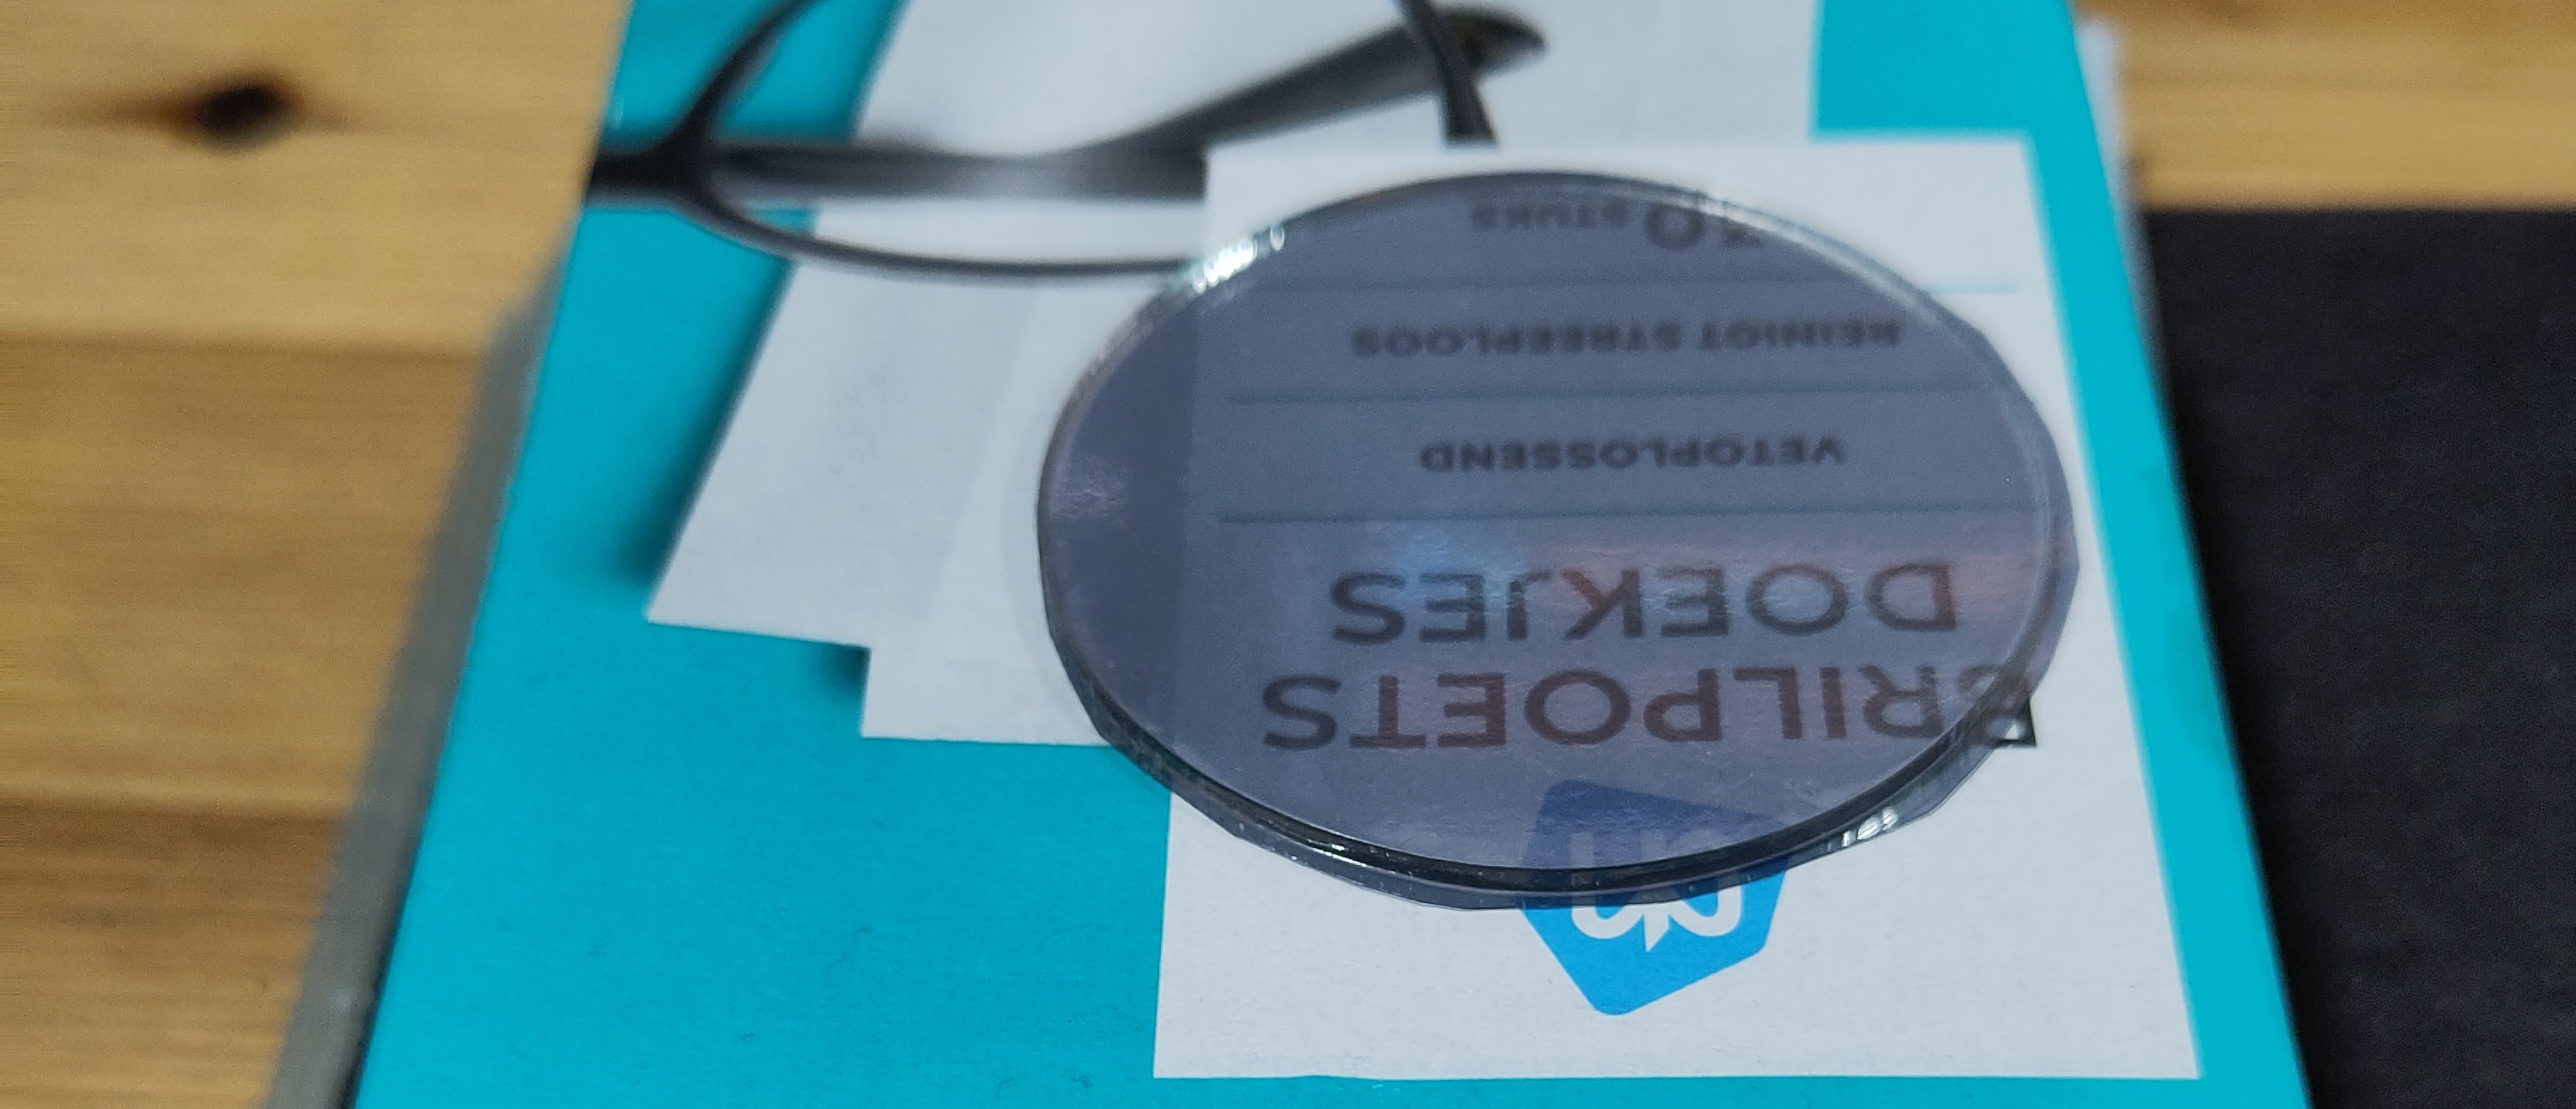
When there’s enough light behind the same foil, you can see through it:
I Need Closure
Since the effect really depends on keeping the light parts light and the dark parts dark, I needed an enclosure with thick enough walls, i.e. not transparent or translucent. Since I didn’t want to cut my own hole for the one way mirror, I also wanted something with a hole or window on one end.
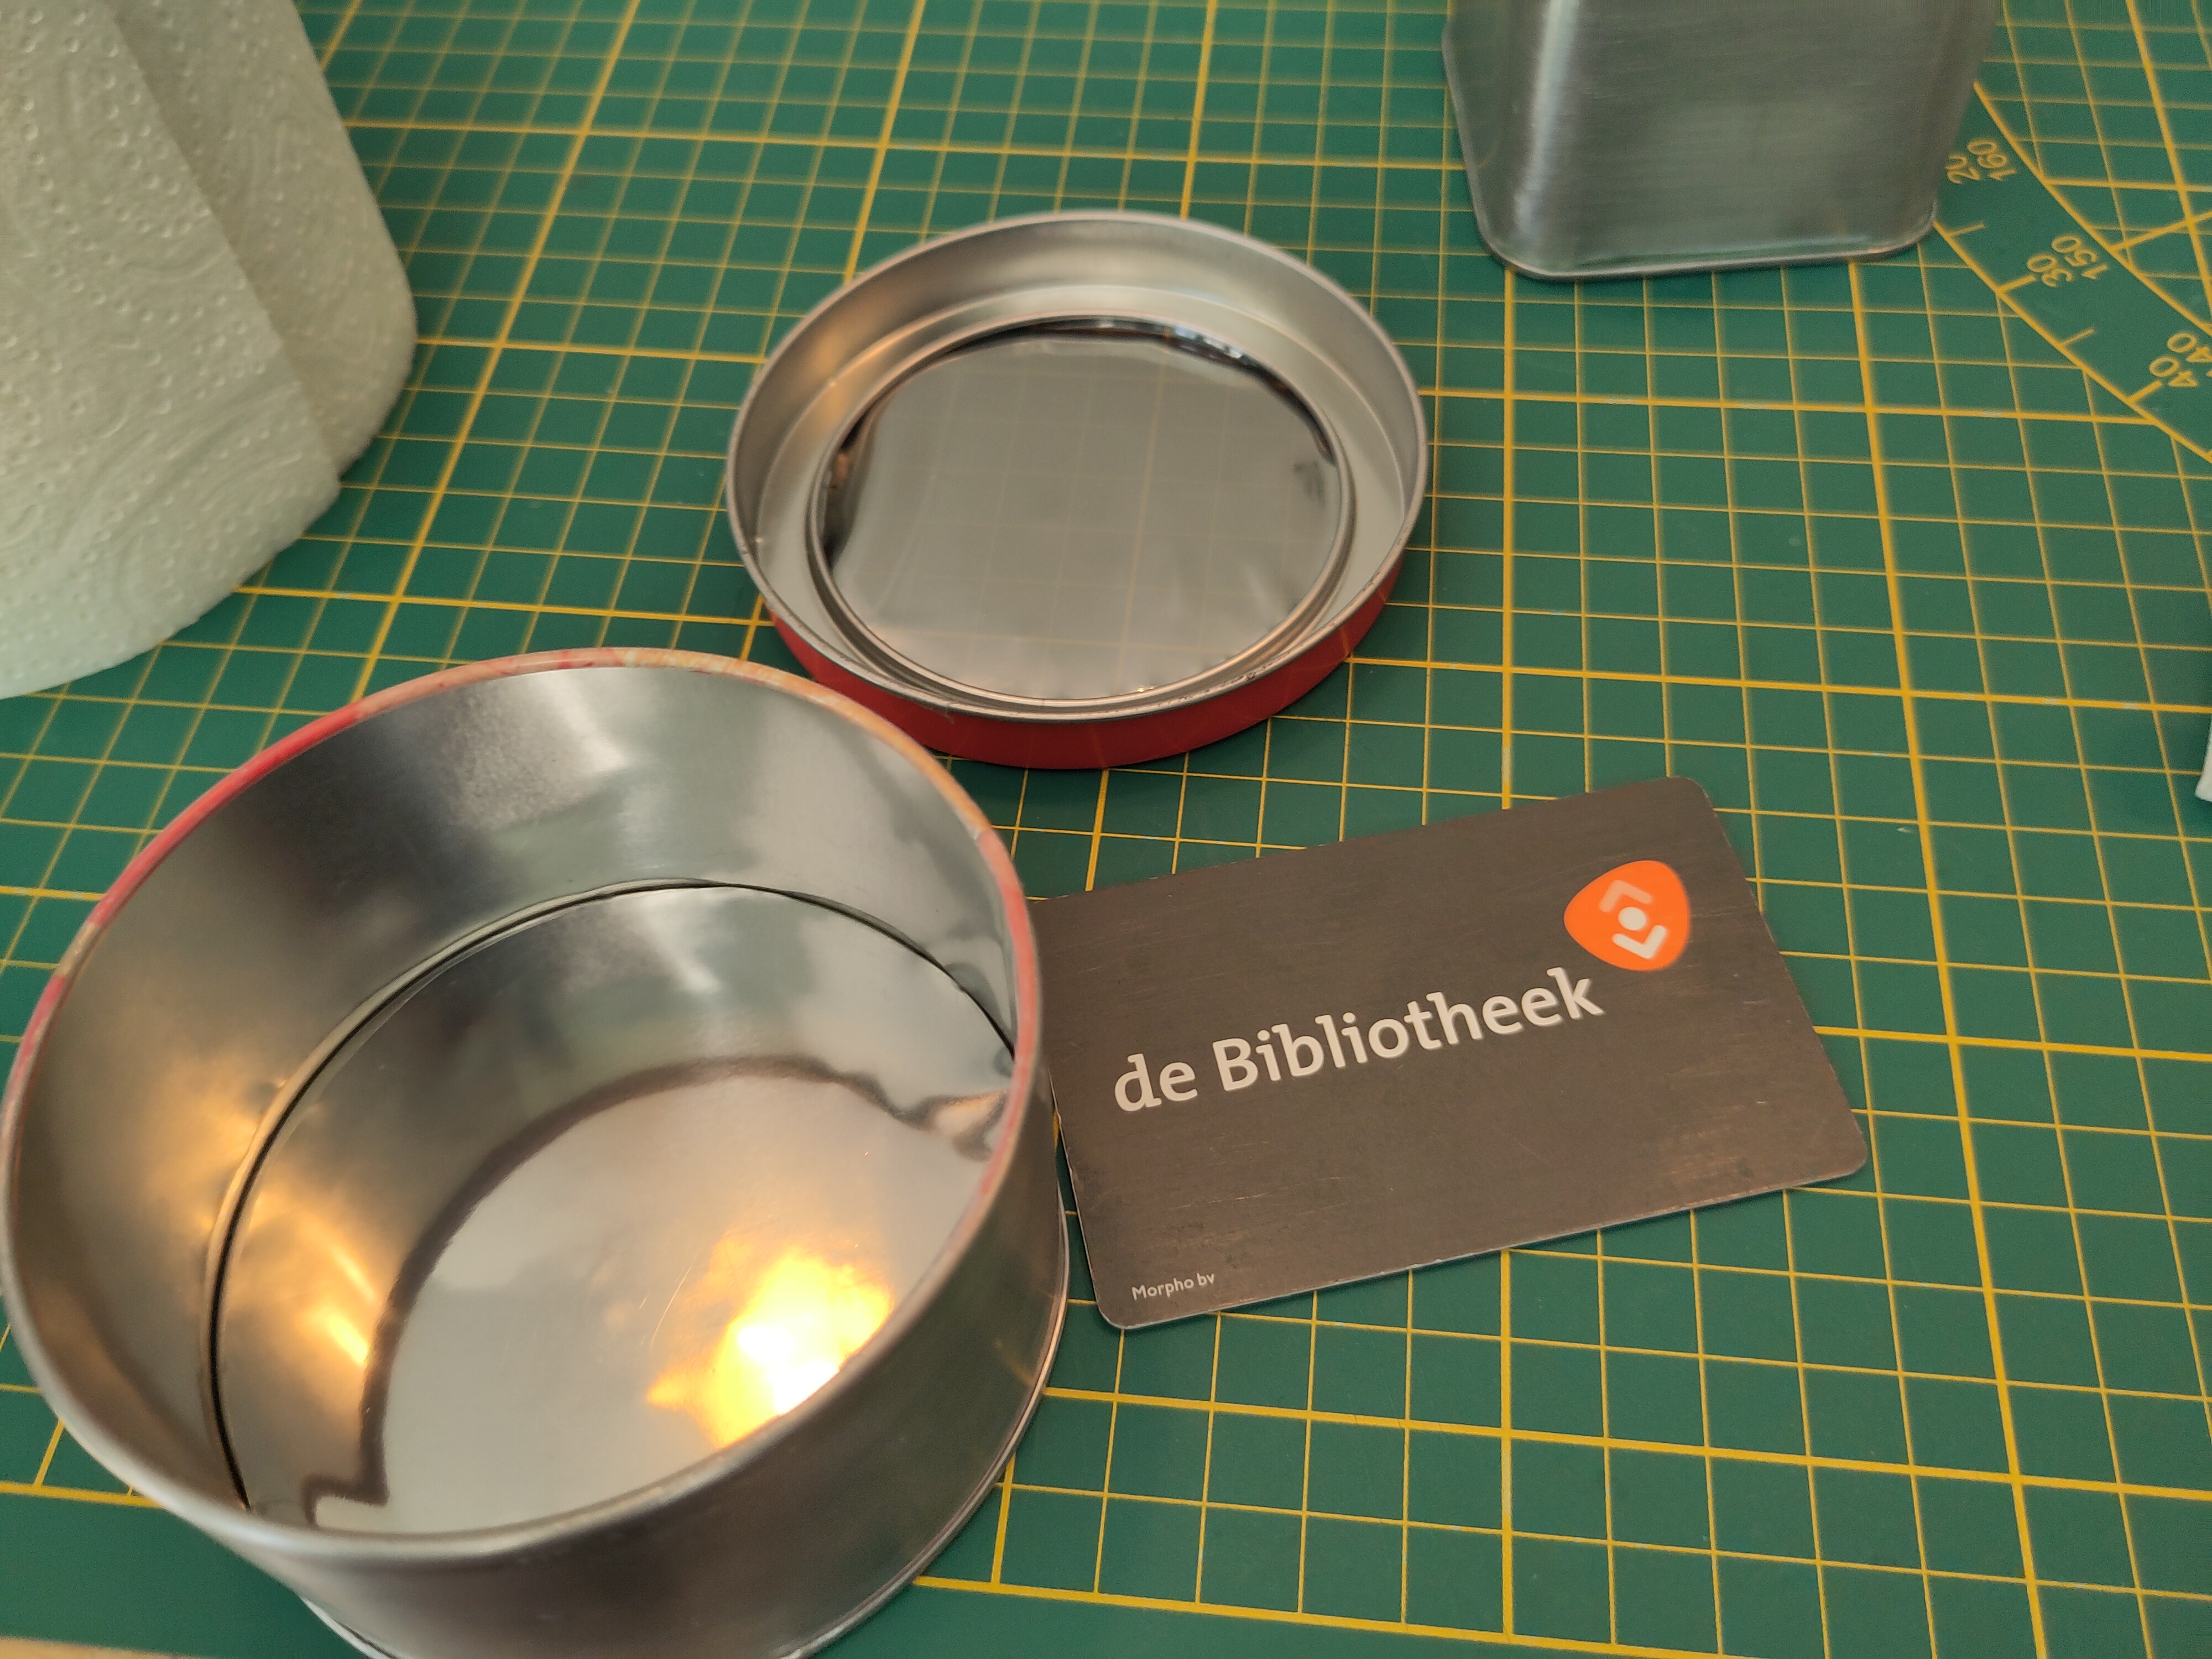
After keeping my eyes open for a few days, I found a couple of small aluminium boxes at a thrift store with thin plexiglass viewports in the lids. Here you can see the tins right before I added foil to the circular one:
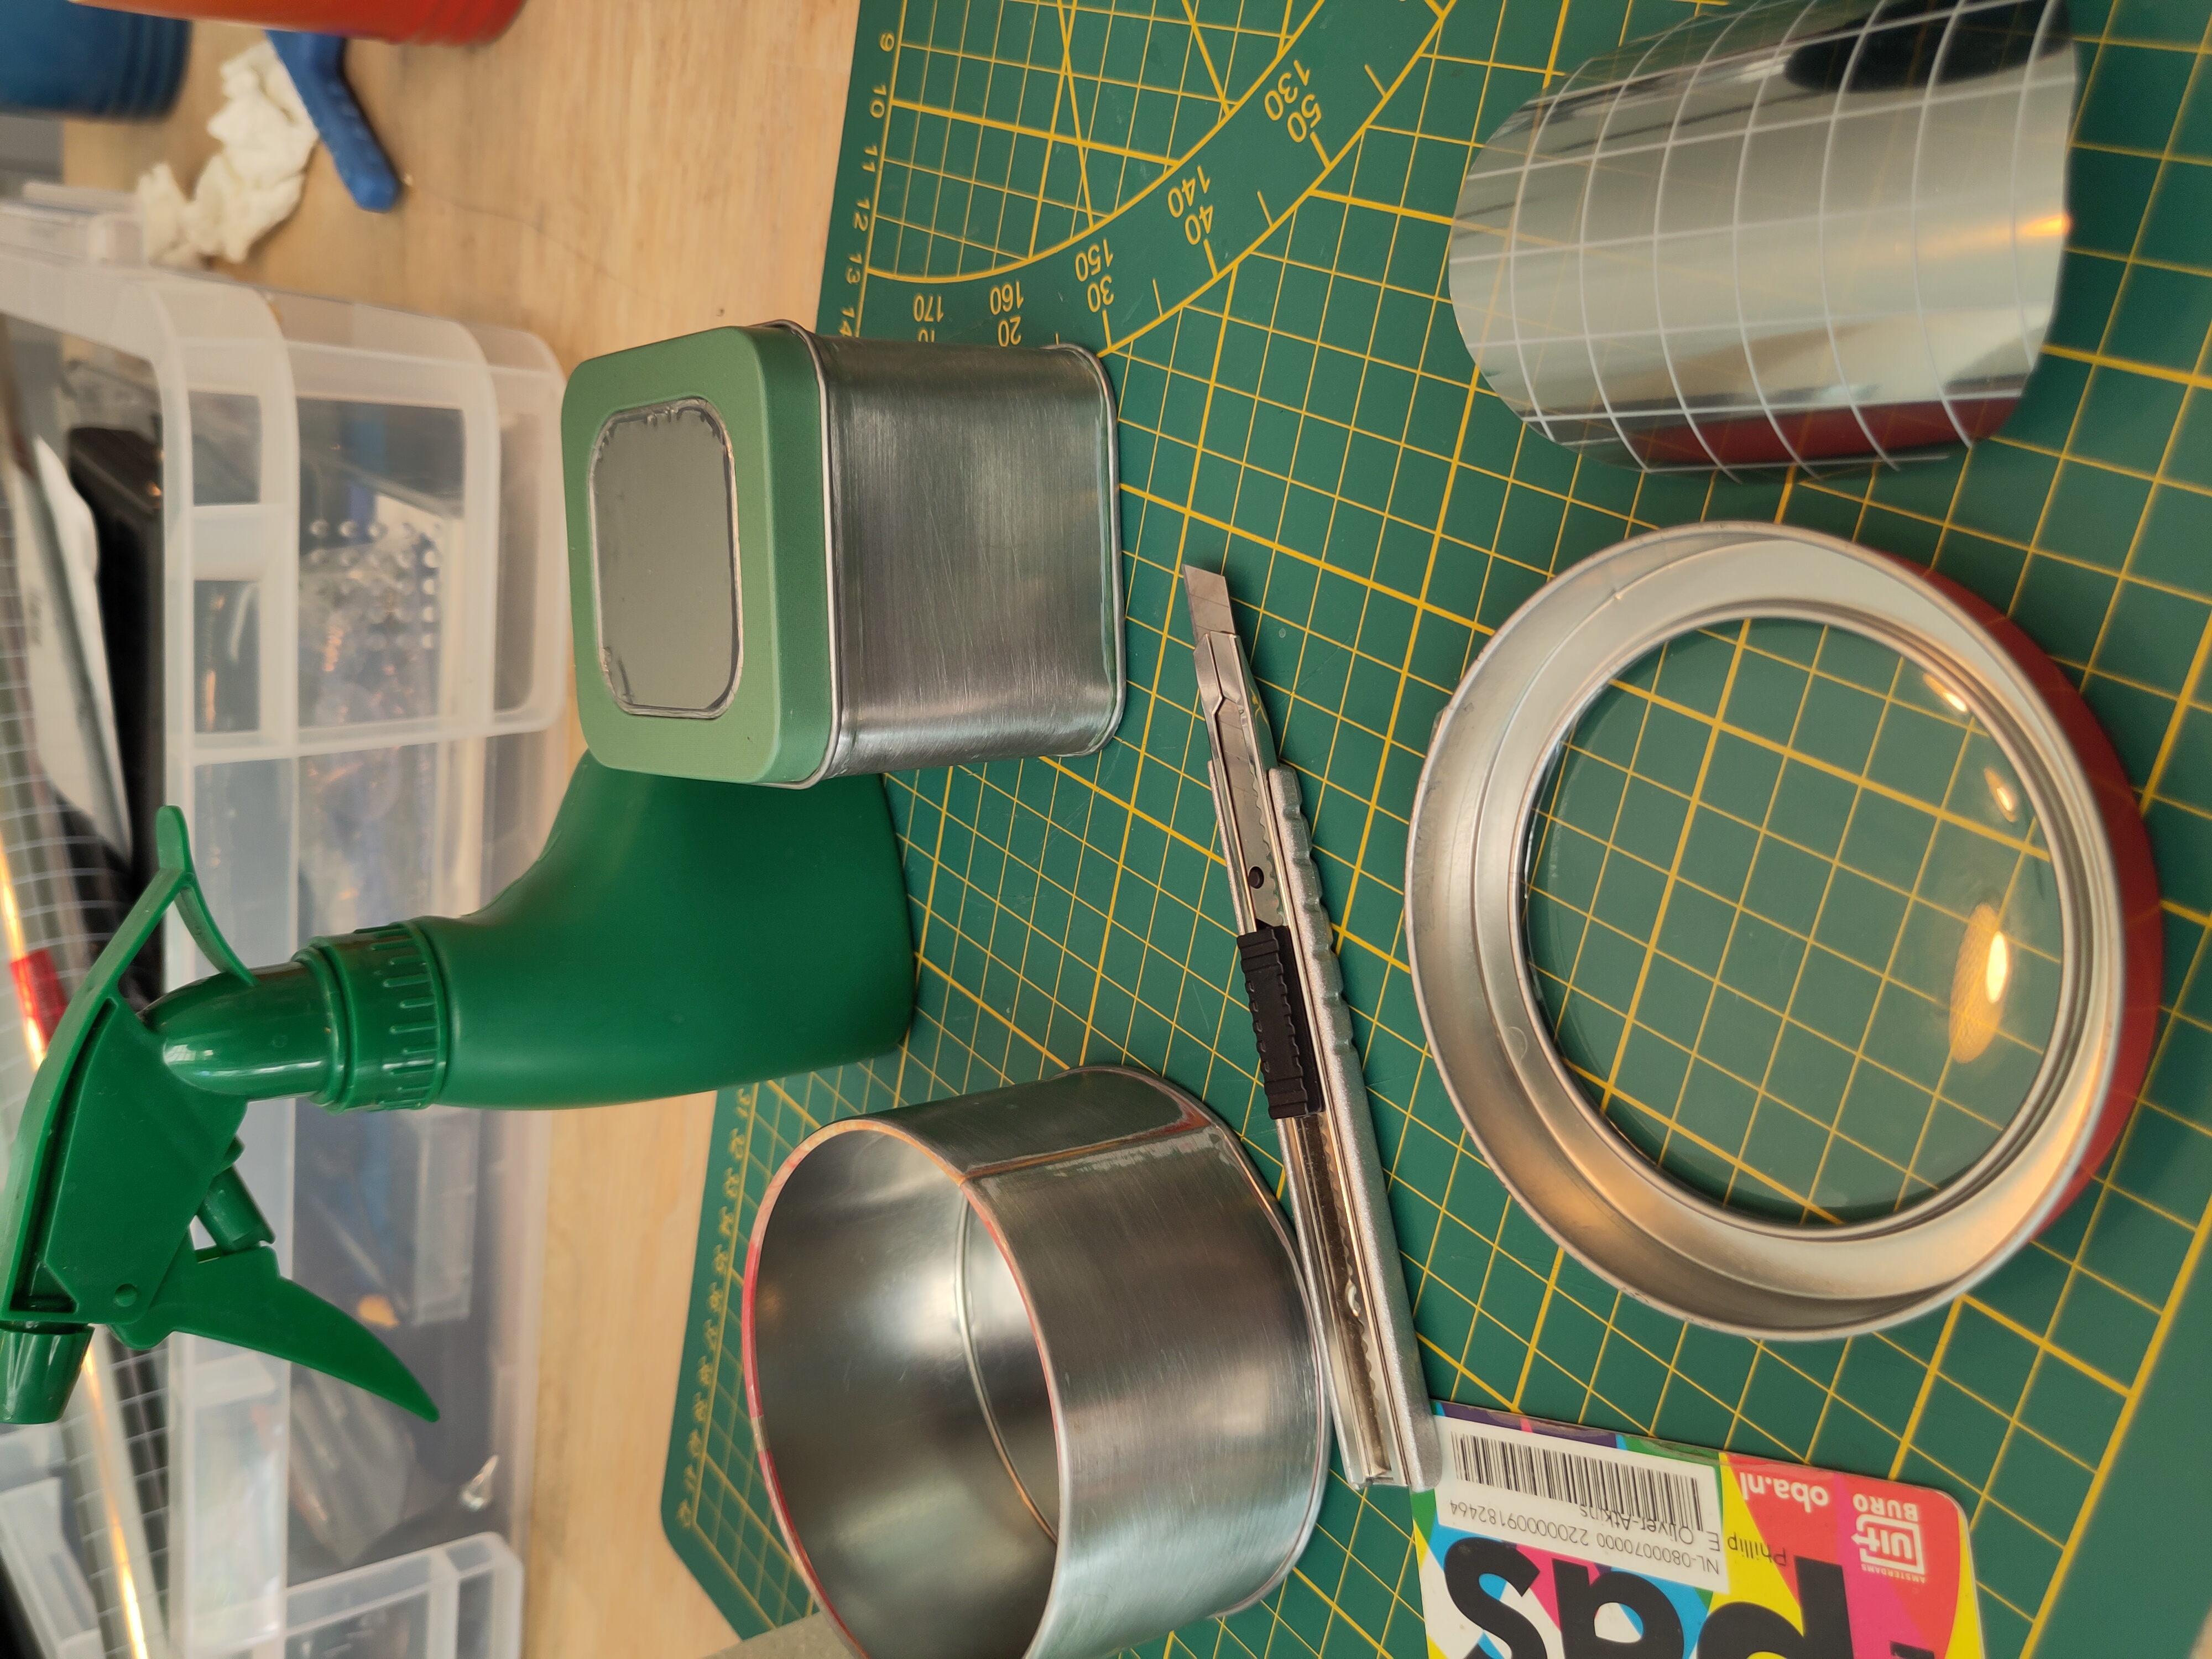
I like the grid on the layer that protects the sticky part of the foil, it makes it easy to measure and align the shape. The green bottle is filled with water and a little dishwashing liquid, which the manufacturer (and many YouTubers) recommend to get a good seal on the surface. I used a library card to smooth it down, probably I should get a harder plastic scraper instead.
Anyway, after all that spraying and smoothing, here’s the circular tin with mirror foil applied to the lid and bottom:
I learned a couple of key things in this first attempt. First, you can’t expect to cleanly install foil on a thin, flexible piece of plexiglass, like the stuff that was in the lid of the tin. You need something a bit more rigid. Thankfully in my spring cleaning I also found a circular piece of acrylic that was just the right size and thickness to redo the lid.
Second, although the manufacturer claims you can cut the foil easily with a craft knife, I found the material tore less when I used scissors. I probably will use a Cricut or other cutting machine for the real thing, just to avoid warping the material too much trying to adjust the size.
From Mirror to Infinity
So now I have two mirrors and an enclosure, which means I need a light source. A key point is that the lights can’t block their own reflection, which means you need to mount them on the sides of the “tunnel” you’re making.
Thanks again to timely spring cleaning, I had some old scrap pieces of LED strip lighting close to hand. They aren’t NeoPixels or anything, but do run on 5 Volts, which makes them a good fit for a project that will use USB power. I arranged enough LED strip lighting to fill the inside walls of tin, soldered the lighting together into a continuous strip, then placed it inside the tin.
You can see the effect here:
You can clearly see the second level (the first reflection), and you can see at least the start of the third level (a reflection of a reflection). By the end of the third level, the reflected lights are not visible. This is probably down to a combination of the distance and the slightly imperfect surface. I have thoughts.
Thought 1: Add More Infinity
I would like to have a bit more depth in the final project, and I have a few key ideas to make this happen:
- Have the laser cutting bureau I use make the “lid” piece.
- Get a piece of actual silvered mirror for the bottom reflective surface.
- Put the reflective surfaces closer to each other.
The last point will also help with making the unit self-contained and durable. If I move to three rows of lighting strips, I end up with about a centimeter of empty space I can fill with a microcontroller, boost converter, battery, and USB connector.
Thought 2: The Quickening
Once I get a few more levels of reflection, I want to see if I can add some effects to give it a bit more life. I mean, an infinite mirror is very cool, but they tend to be kind of static. You can never really add visual information in the centre of the field of view, as it would block the reflections you need to create the “infinite” effect. However, you can do things at the edges that I think would be interesting.
My first idea is to make a reflecting area that’s deep enough to accomodate three rows of lights. If I turn them off and on in sequence, I can make it appear that the viewer is moving into or out of a tunnel of lights. By adjusting the sequence, I can control the perceived “speed”.
Another idea is to angle the bottom mirror slightly. My hope is that I can make a bend in the “tunnel”, and that, with a stepper motor or actuators, I can change the effect over time, make a whole journey rather than a single direction repeated over time.
Once I move to individually addressible coloured lights like NeoPixels, I can also use “sky” and “ground” colours to suggest that the viewer is “banking” through the space rather than traveling straight in or out.
Anyway, this is one I’m definitely going to keep going on. Stay tuned for whatever’s next.