As covered in my last post, I needed and ultimately designed a laser-cut case for a project that’s been stalled for a while. The cut parts arrived, and I put them together this week.
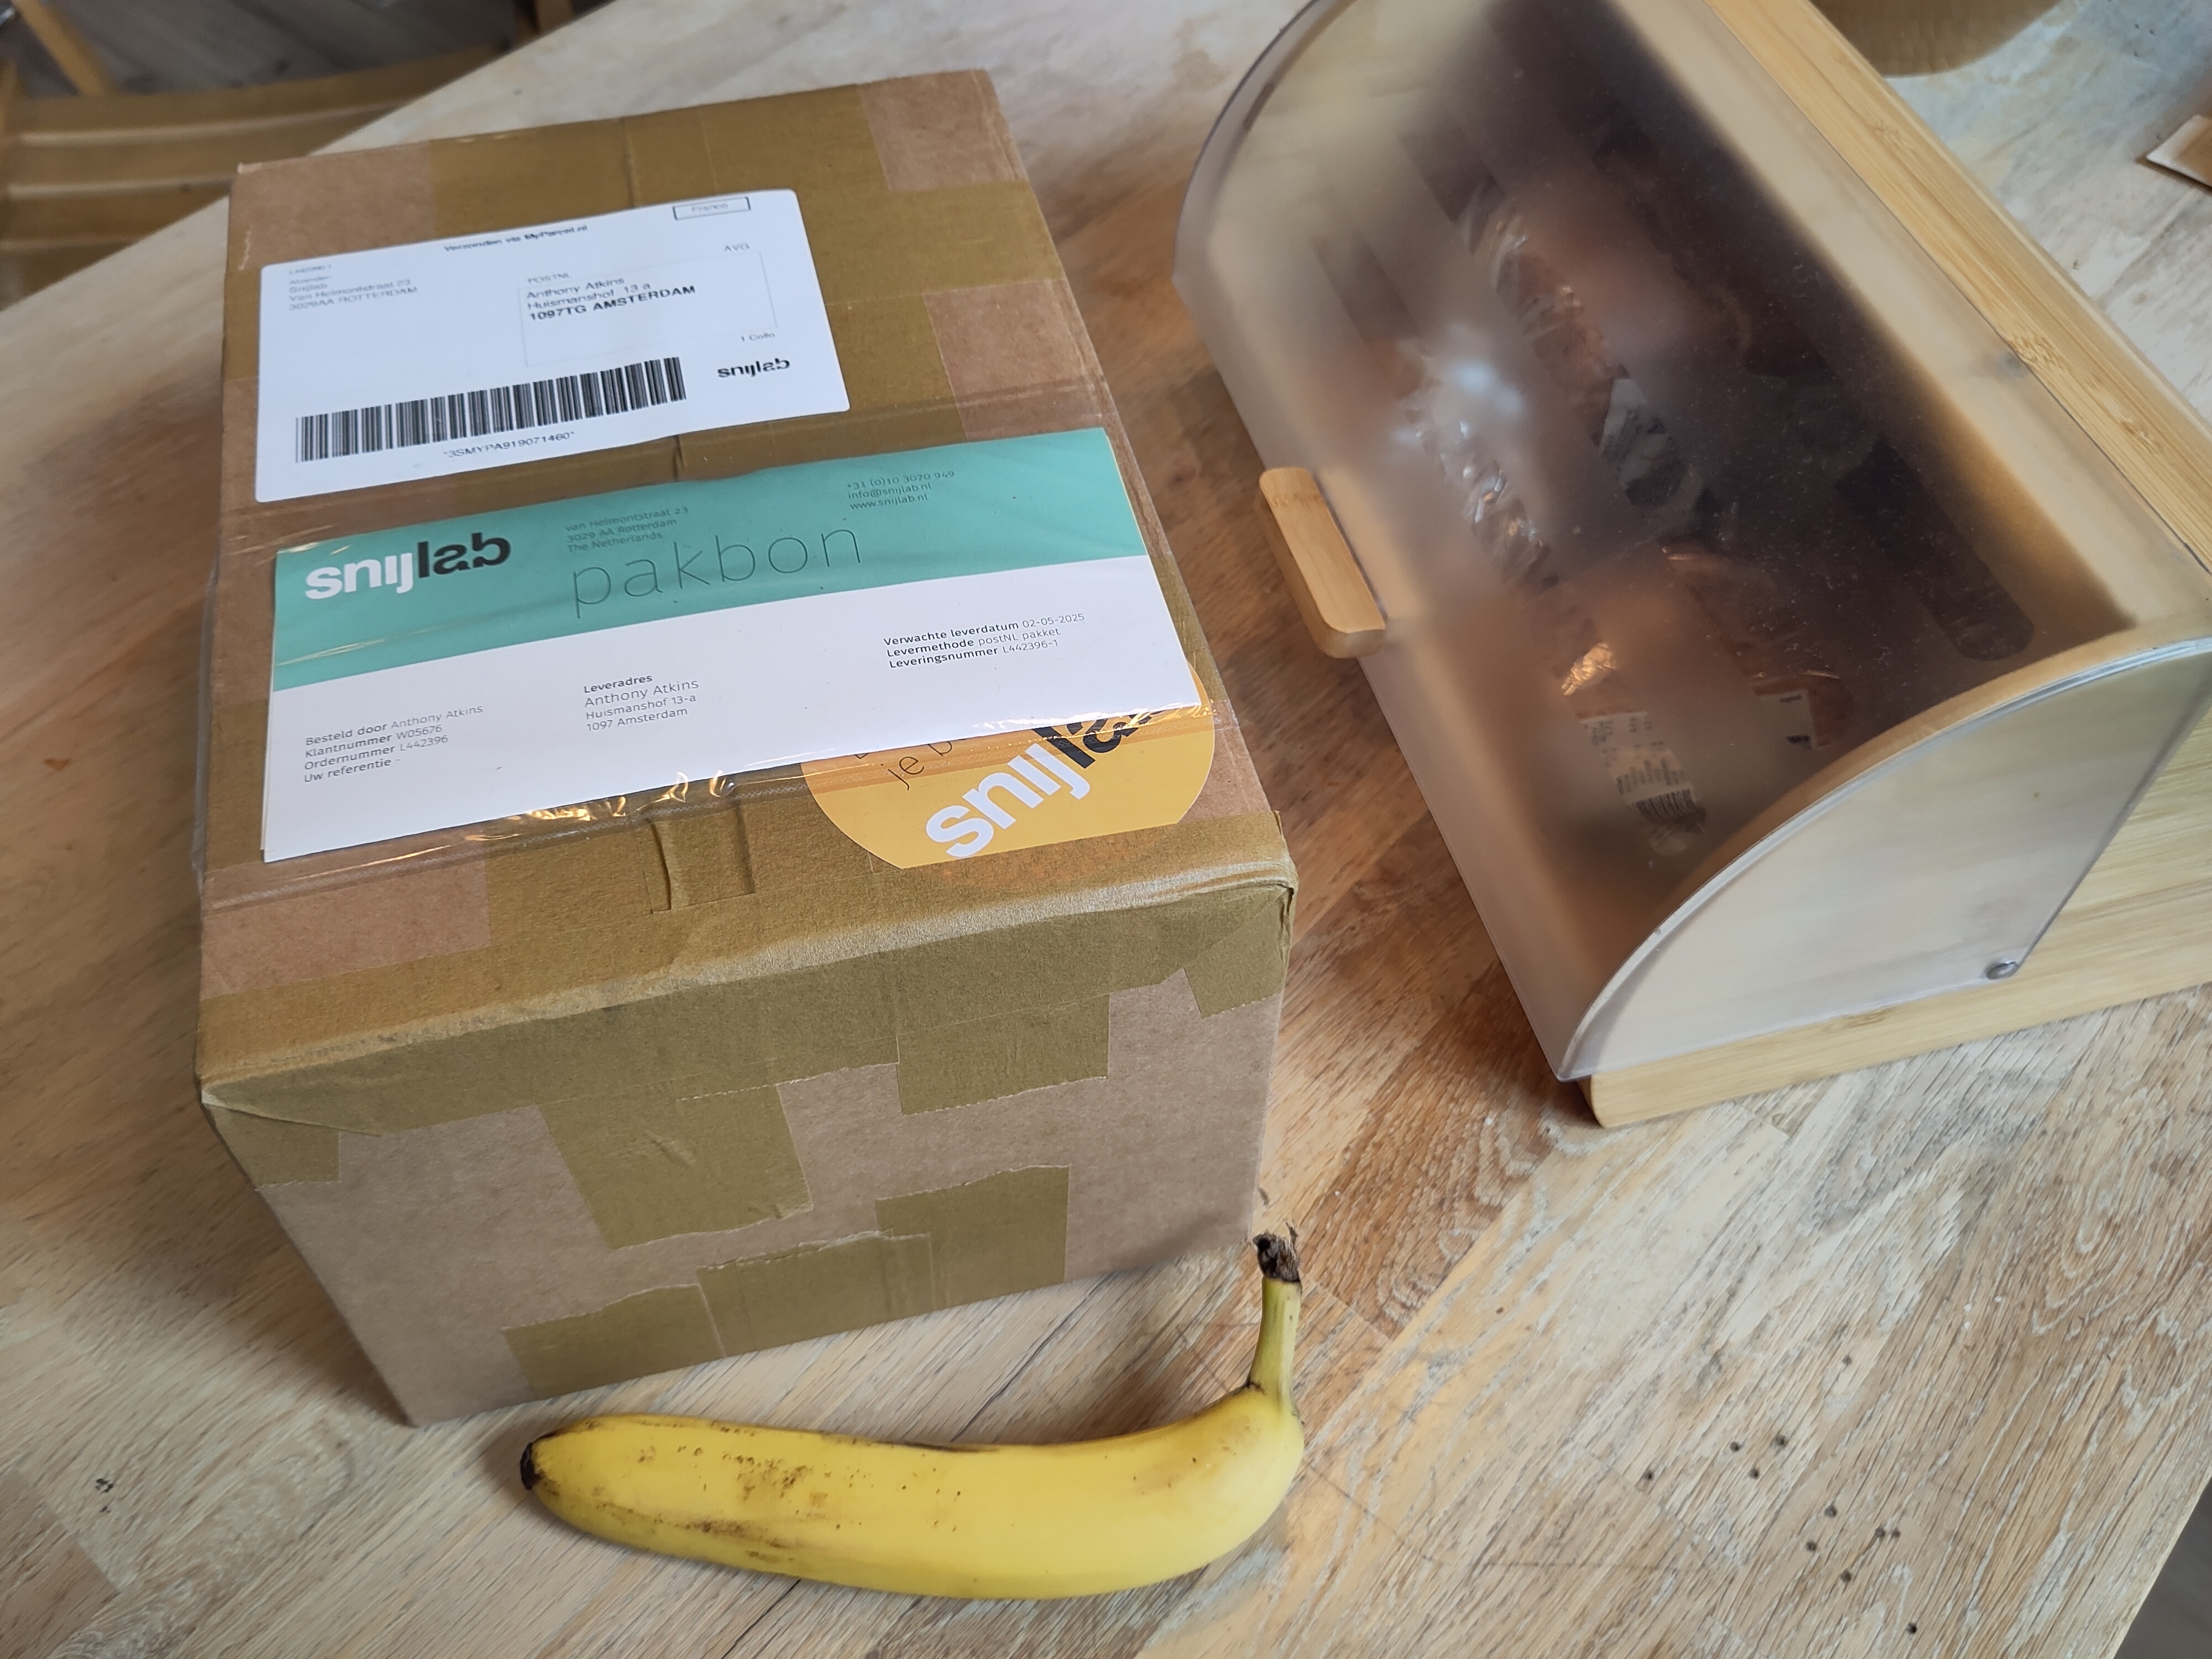
Snijlab removes any material that’s obviously not part of the design to save shipping, so I’m used to getting packages about the size of a thick wall calendar. This one was a whopper (bread box and banana for scale):
Unboxing
Much of the box was empty space filled with compostable packing material. Mother Earth (by that I mean my wife in garden gear) quickly claimed this as hers.
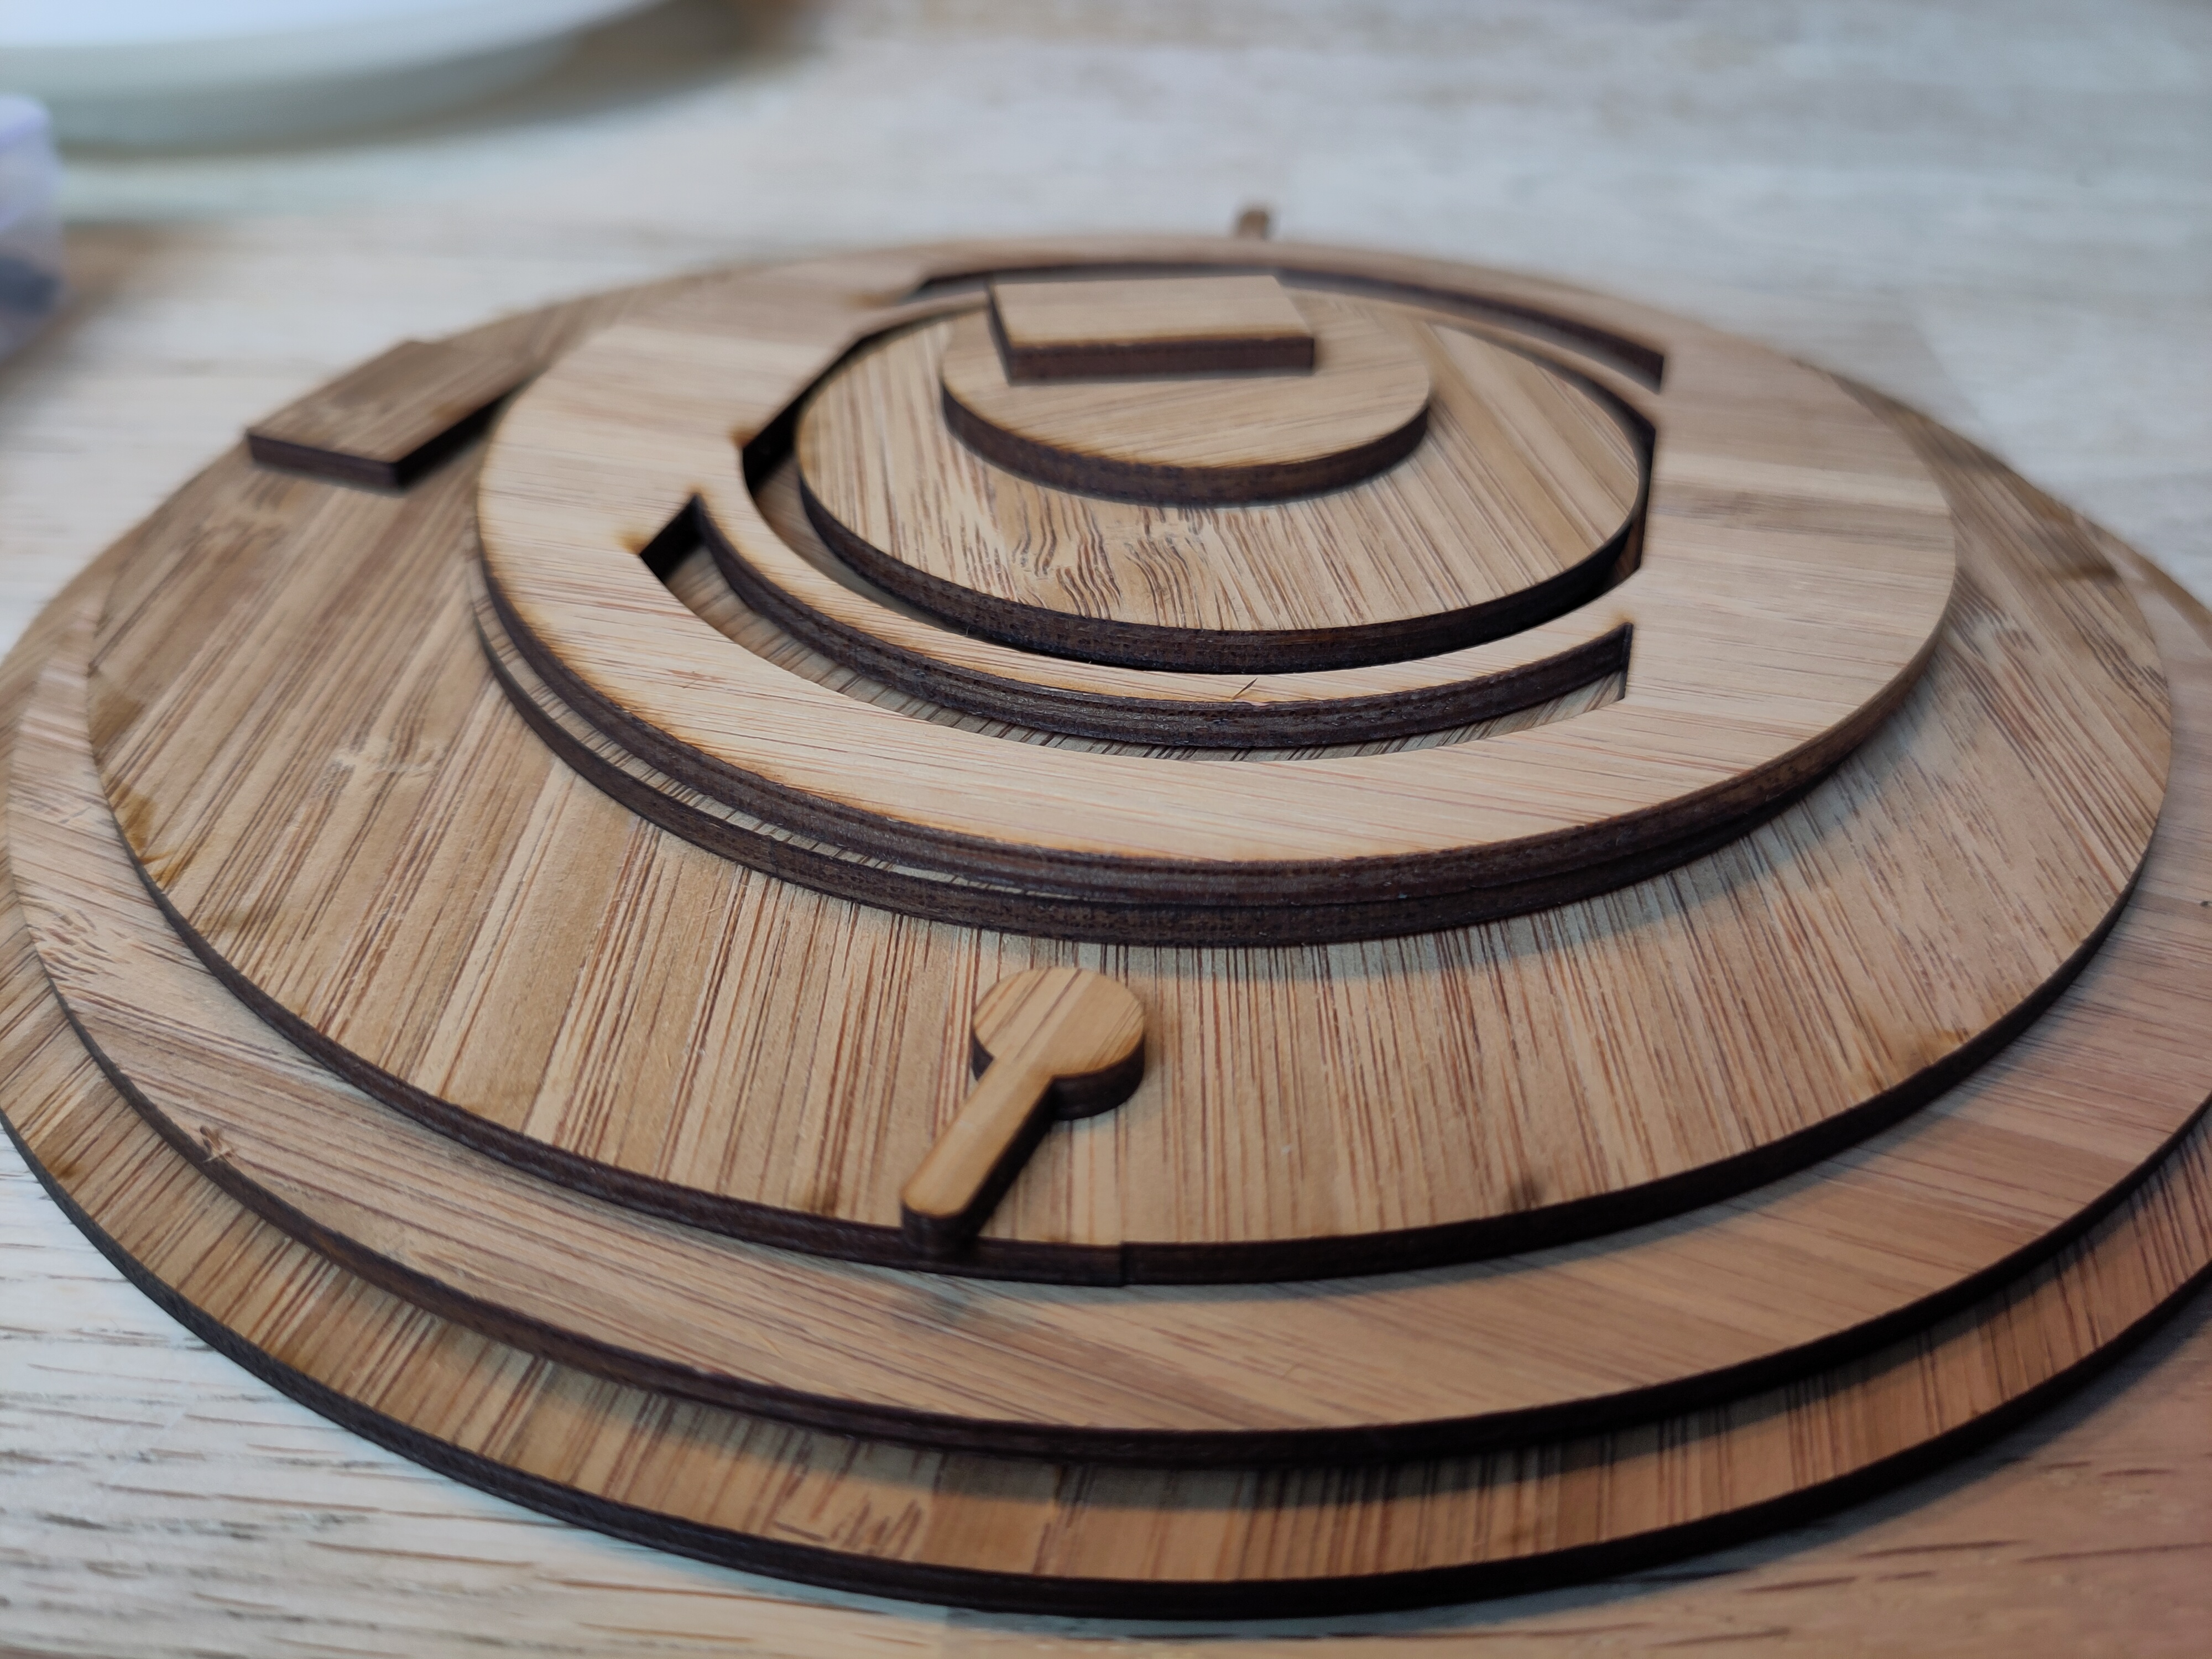
After a bit of unpacking, I ended up with a few piles. The “outer” and “inner” rings contain most of the material. There’s also the “slot” for the USB C panel mount. Everything else was very attractive scrap:
Last Things First
Just looking at the cut parts, I realised that this design was mainly exposing the cut edges, and wasn’t sure I wanted to go with the dark brown toasted look. I needed to figure this out before gluing everything together, so I quickly took three pieces of scrap and compared three approaches:
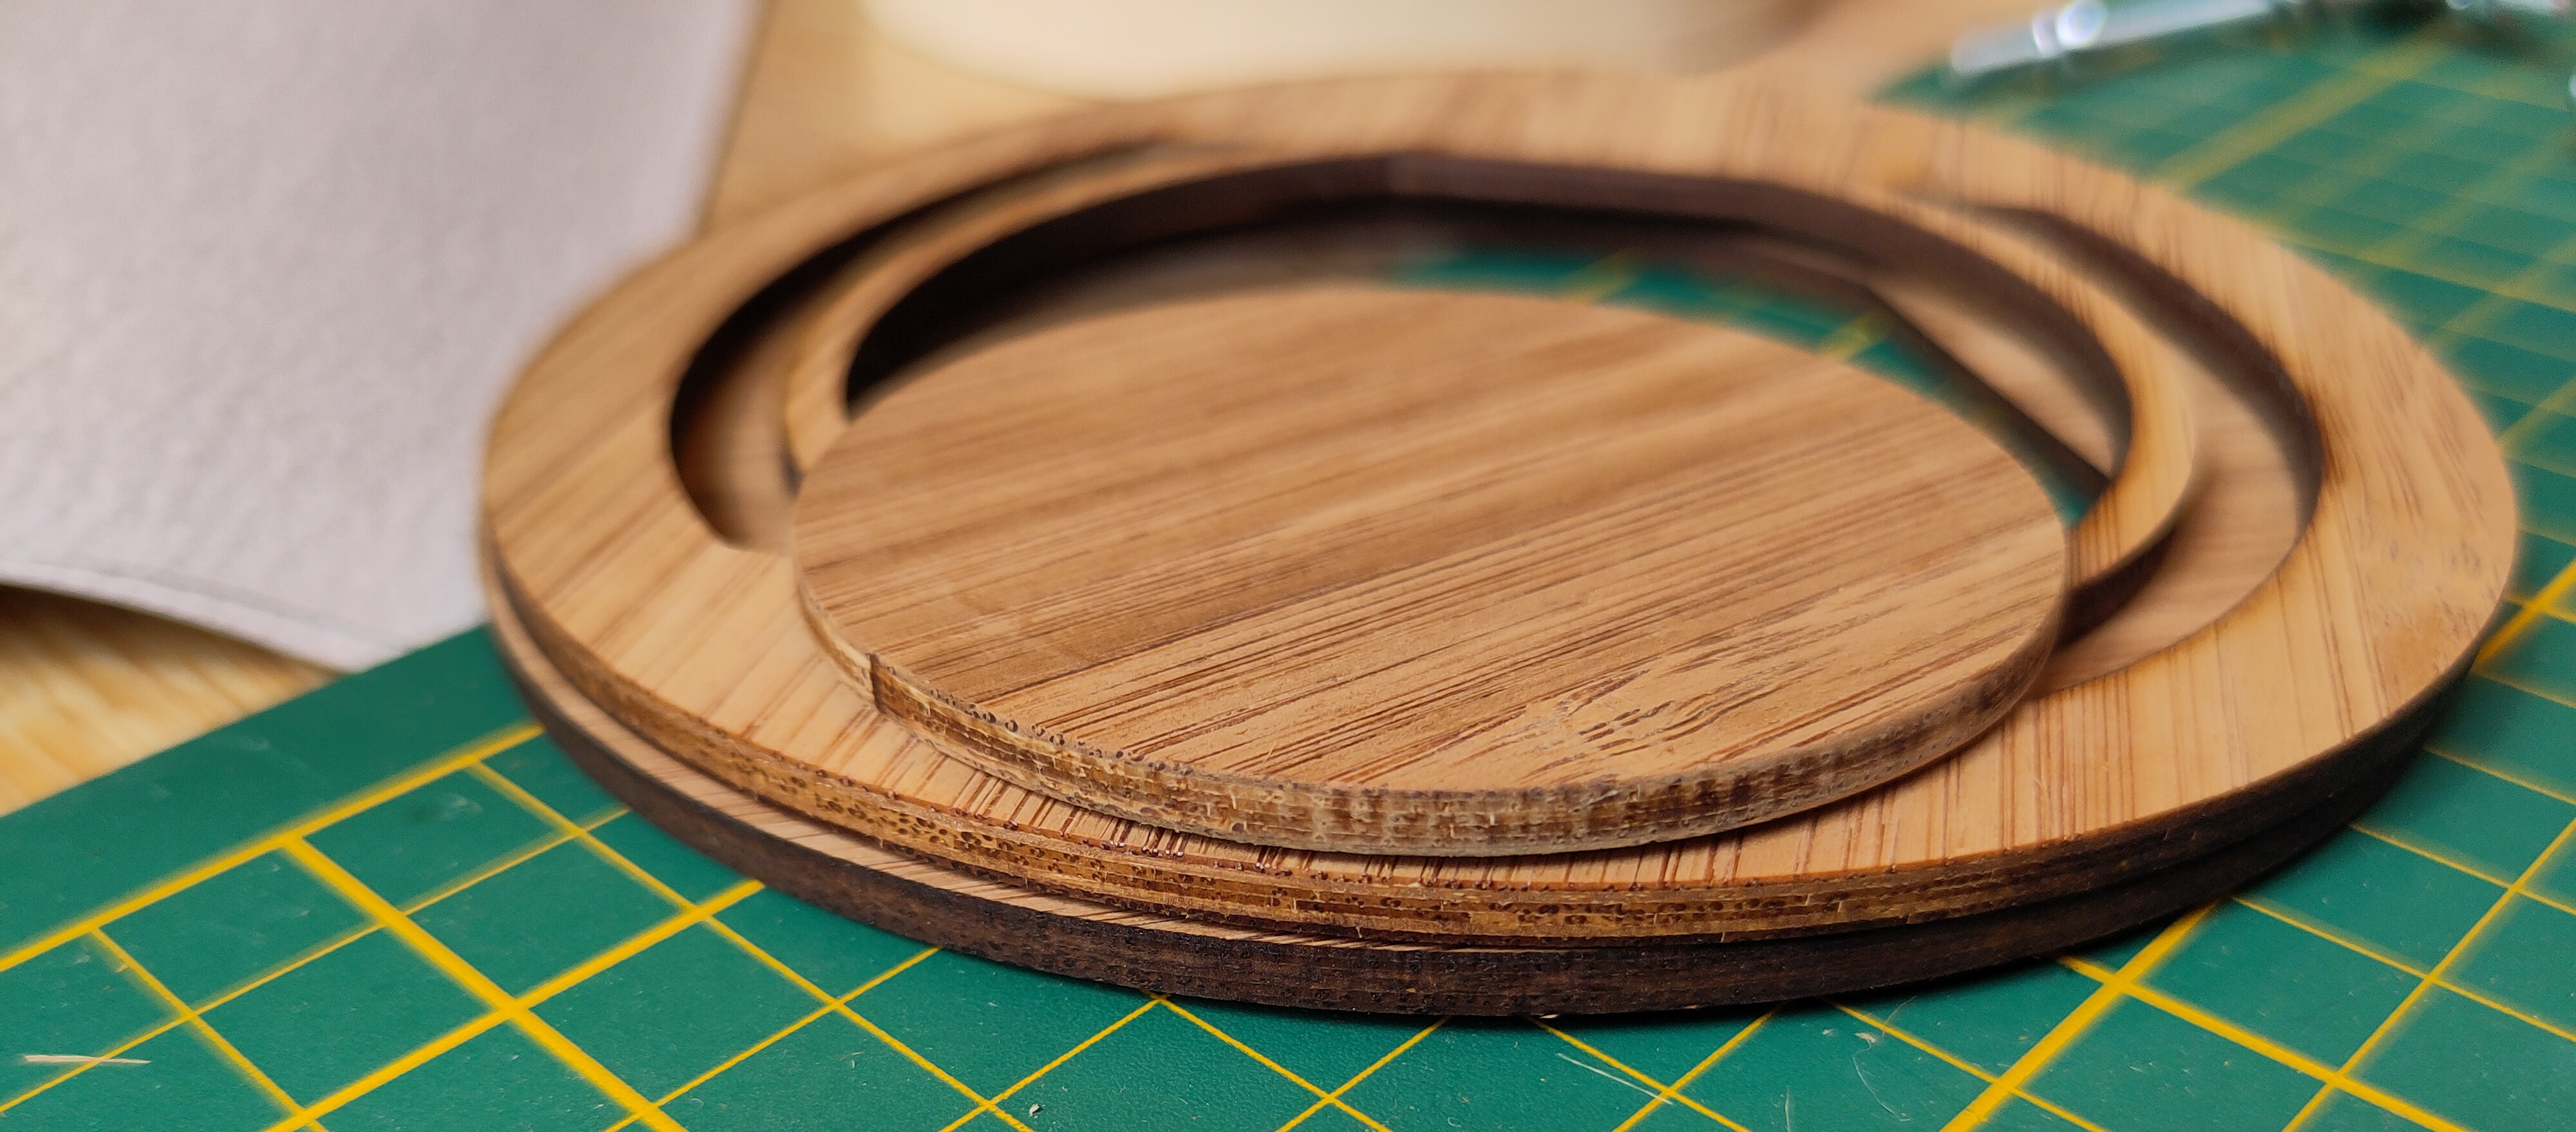
The bottom is untreated, the middle is just sponged off, the top is sponged and then sanded. The sponged look was just fine and a lot less effort than sanding, so I went with that.
Putting Together the “Outer” Rings.
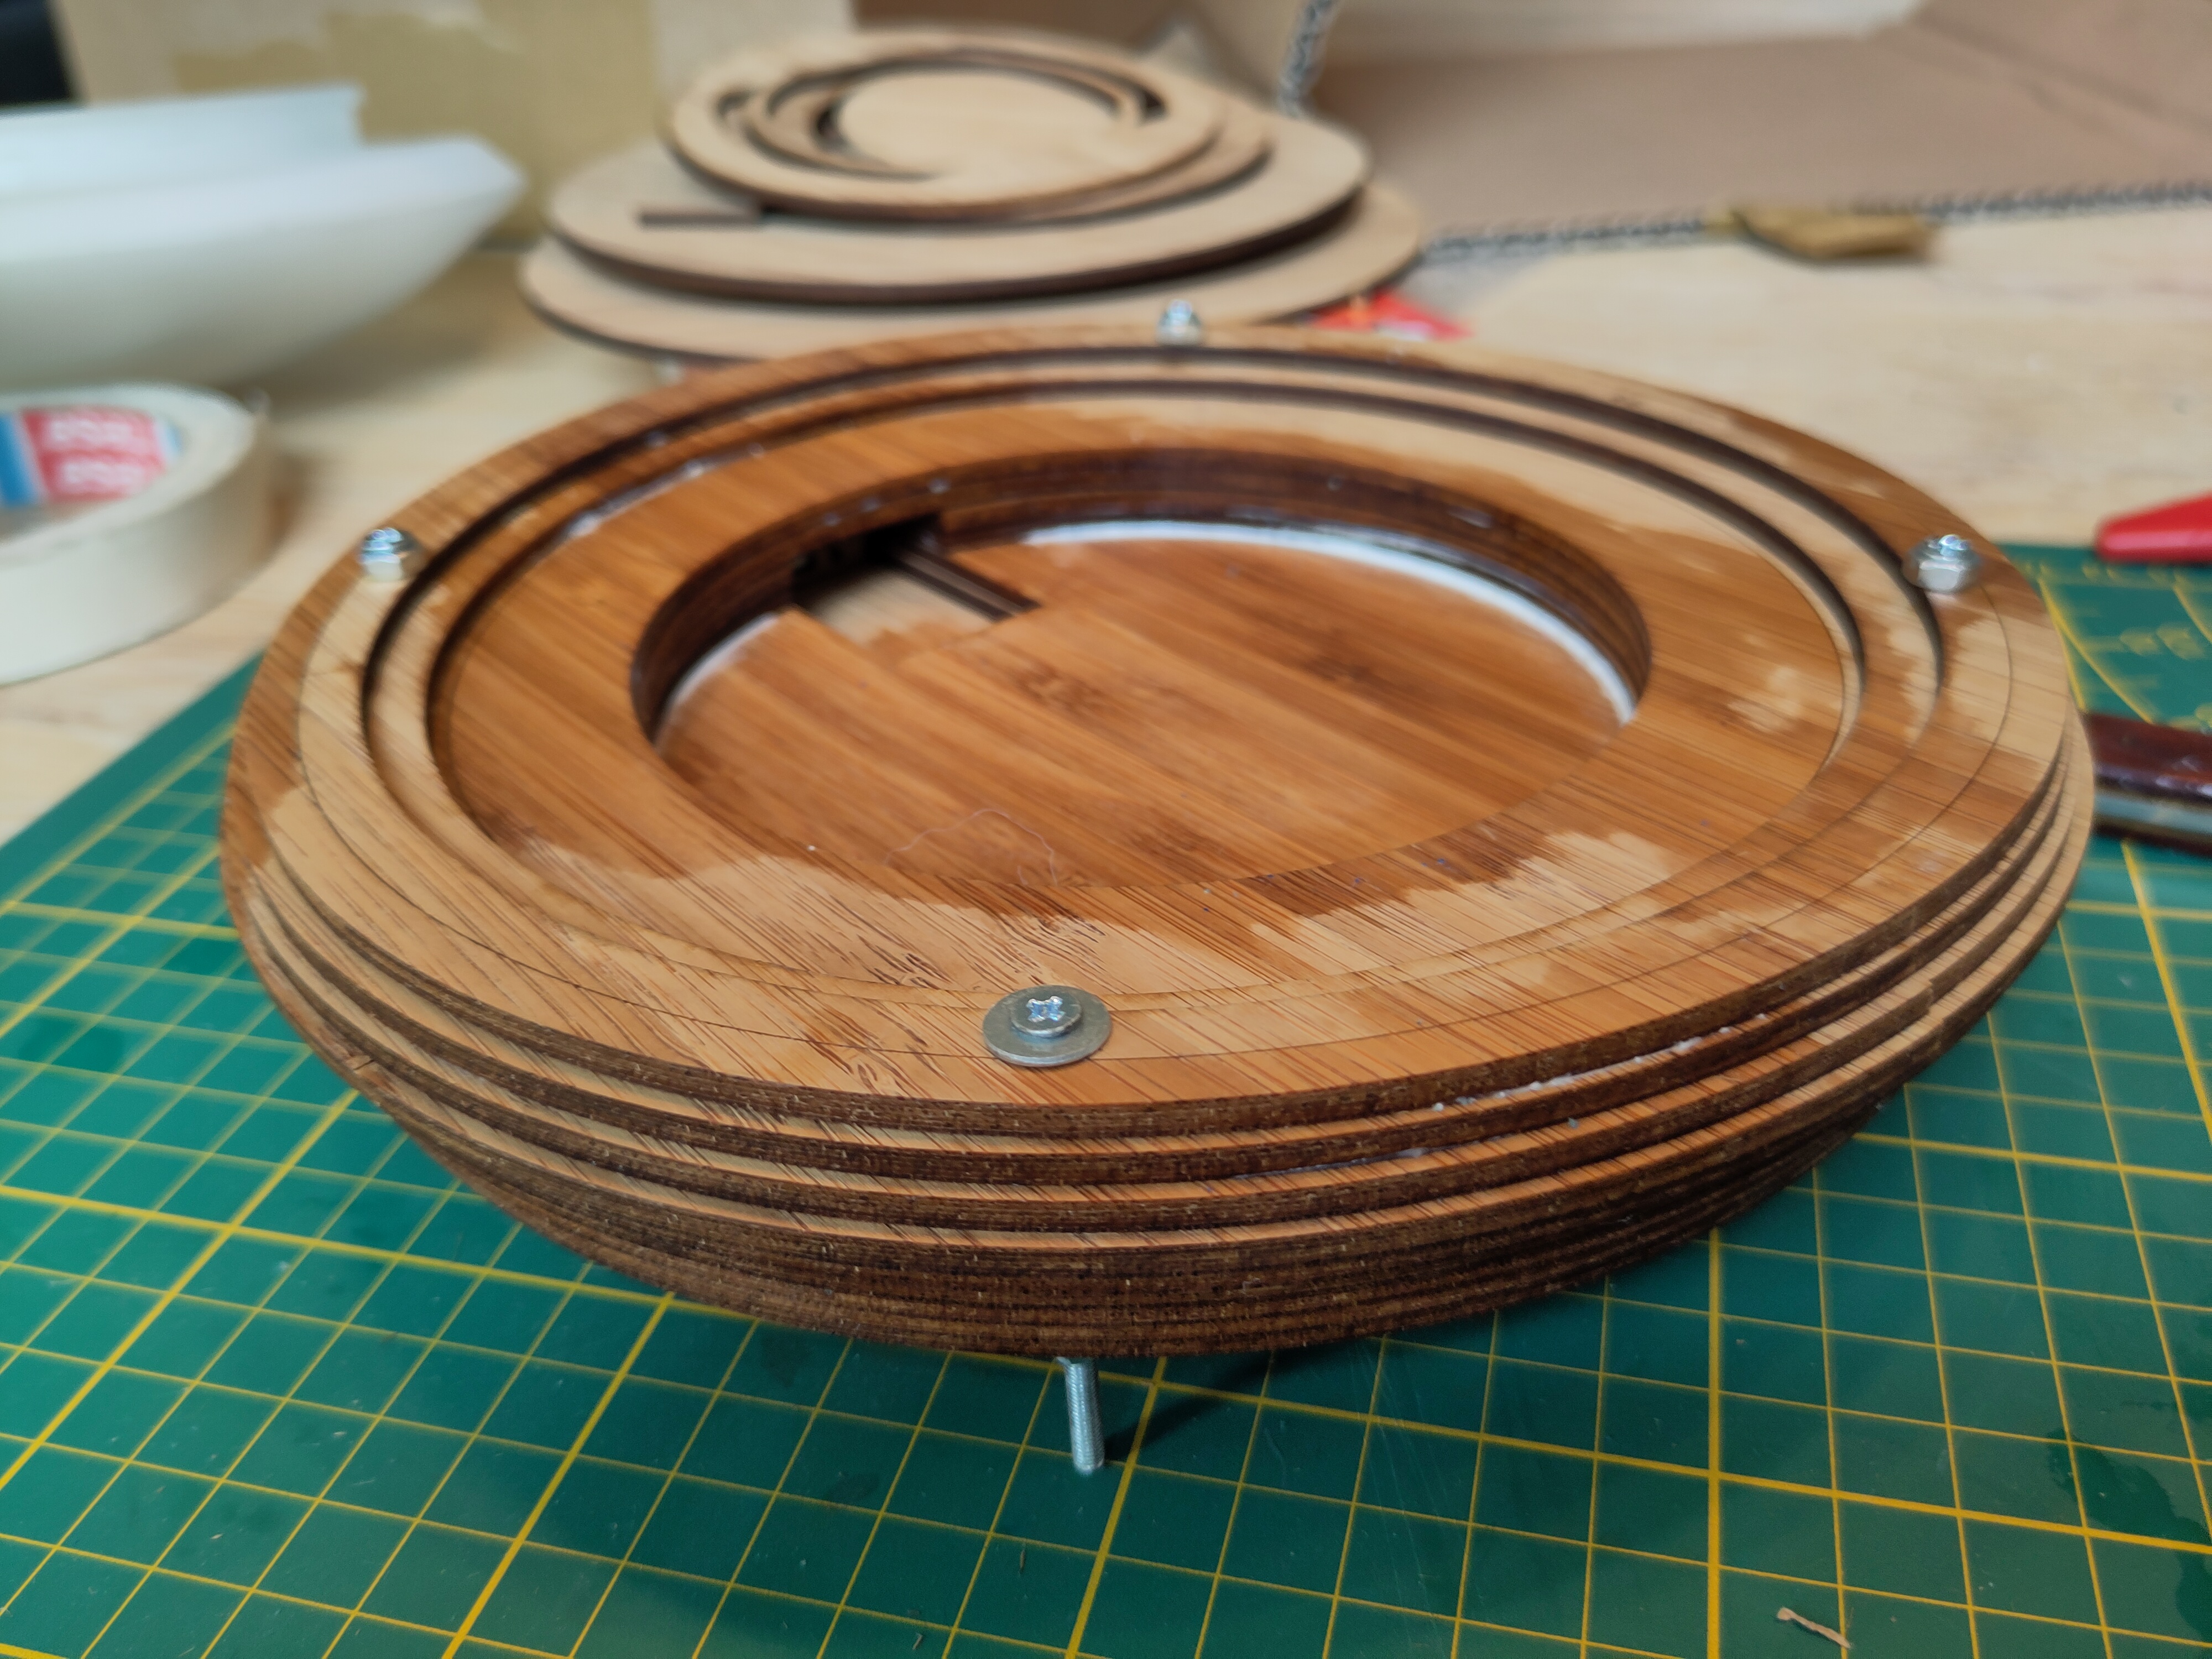
The “outer” part of the design was designed to be positioned together and clamped down using M3 bolts and washers. I’m going through 9 layers of 3 mm material, so I needed at least a 30 mm bolt, which thankfully is not hard to find. If I end up making a statue or wall-sized piece in the future, I’ll probably use a threaded M3 or M4 rod and a bolt/washer on each end, as you can find threaded rod up to a couple of meters long.
Anyway, as I’d hoped, this worked very well, although if I had a time machine, I would go back and take this picture after I wiped the excess glue off. Another life lesson!
The very last level of the outer rings is visible even with the dome on, so it was added after this shot (you can see it in “the final clampdown” below).
In general, the outer piece came together well, although I think I mismeasured the diameter of the dome’s neck, as the dome wouldn’t fit initially. After a few minutes with a fresh sanding drum on a Dremel, the neck of the dome fit properly.
As you’ll see in the demo video below, the dome is held in by two “bumps” that slide into gaps in the neck and then grip the ridges in the neck when the dome is rotated. I used a couple of M3 screws, these worked just fine.
The USB Panel Mount
There is a slot in the bottom layers of the unit that the USB panel mount slides into. I tried the part I made to confirm that the sizing was correct, and it wasn’t quite. I lightly filed the edges down and the fit was good enough.
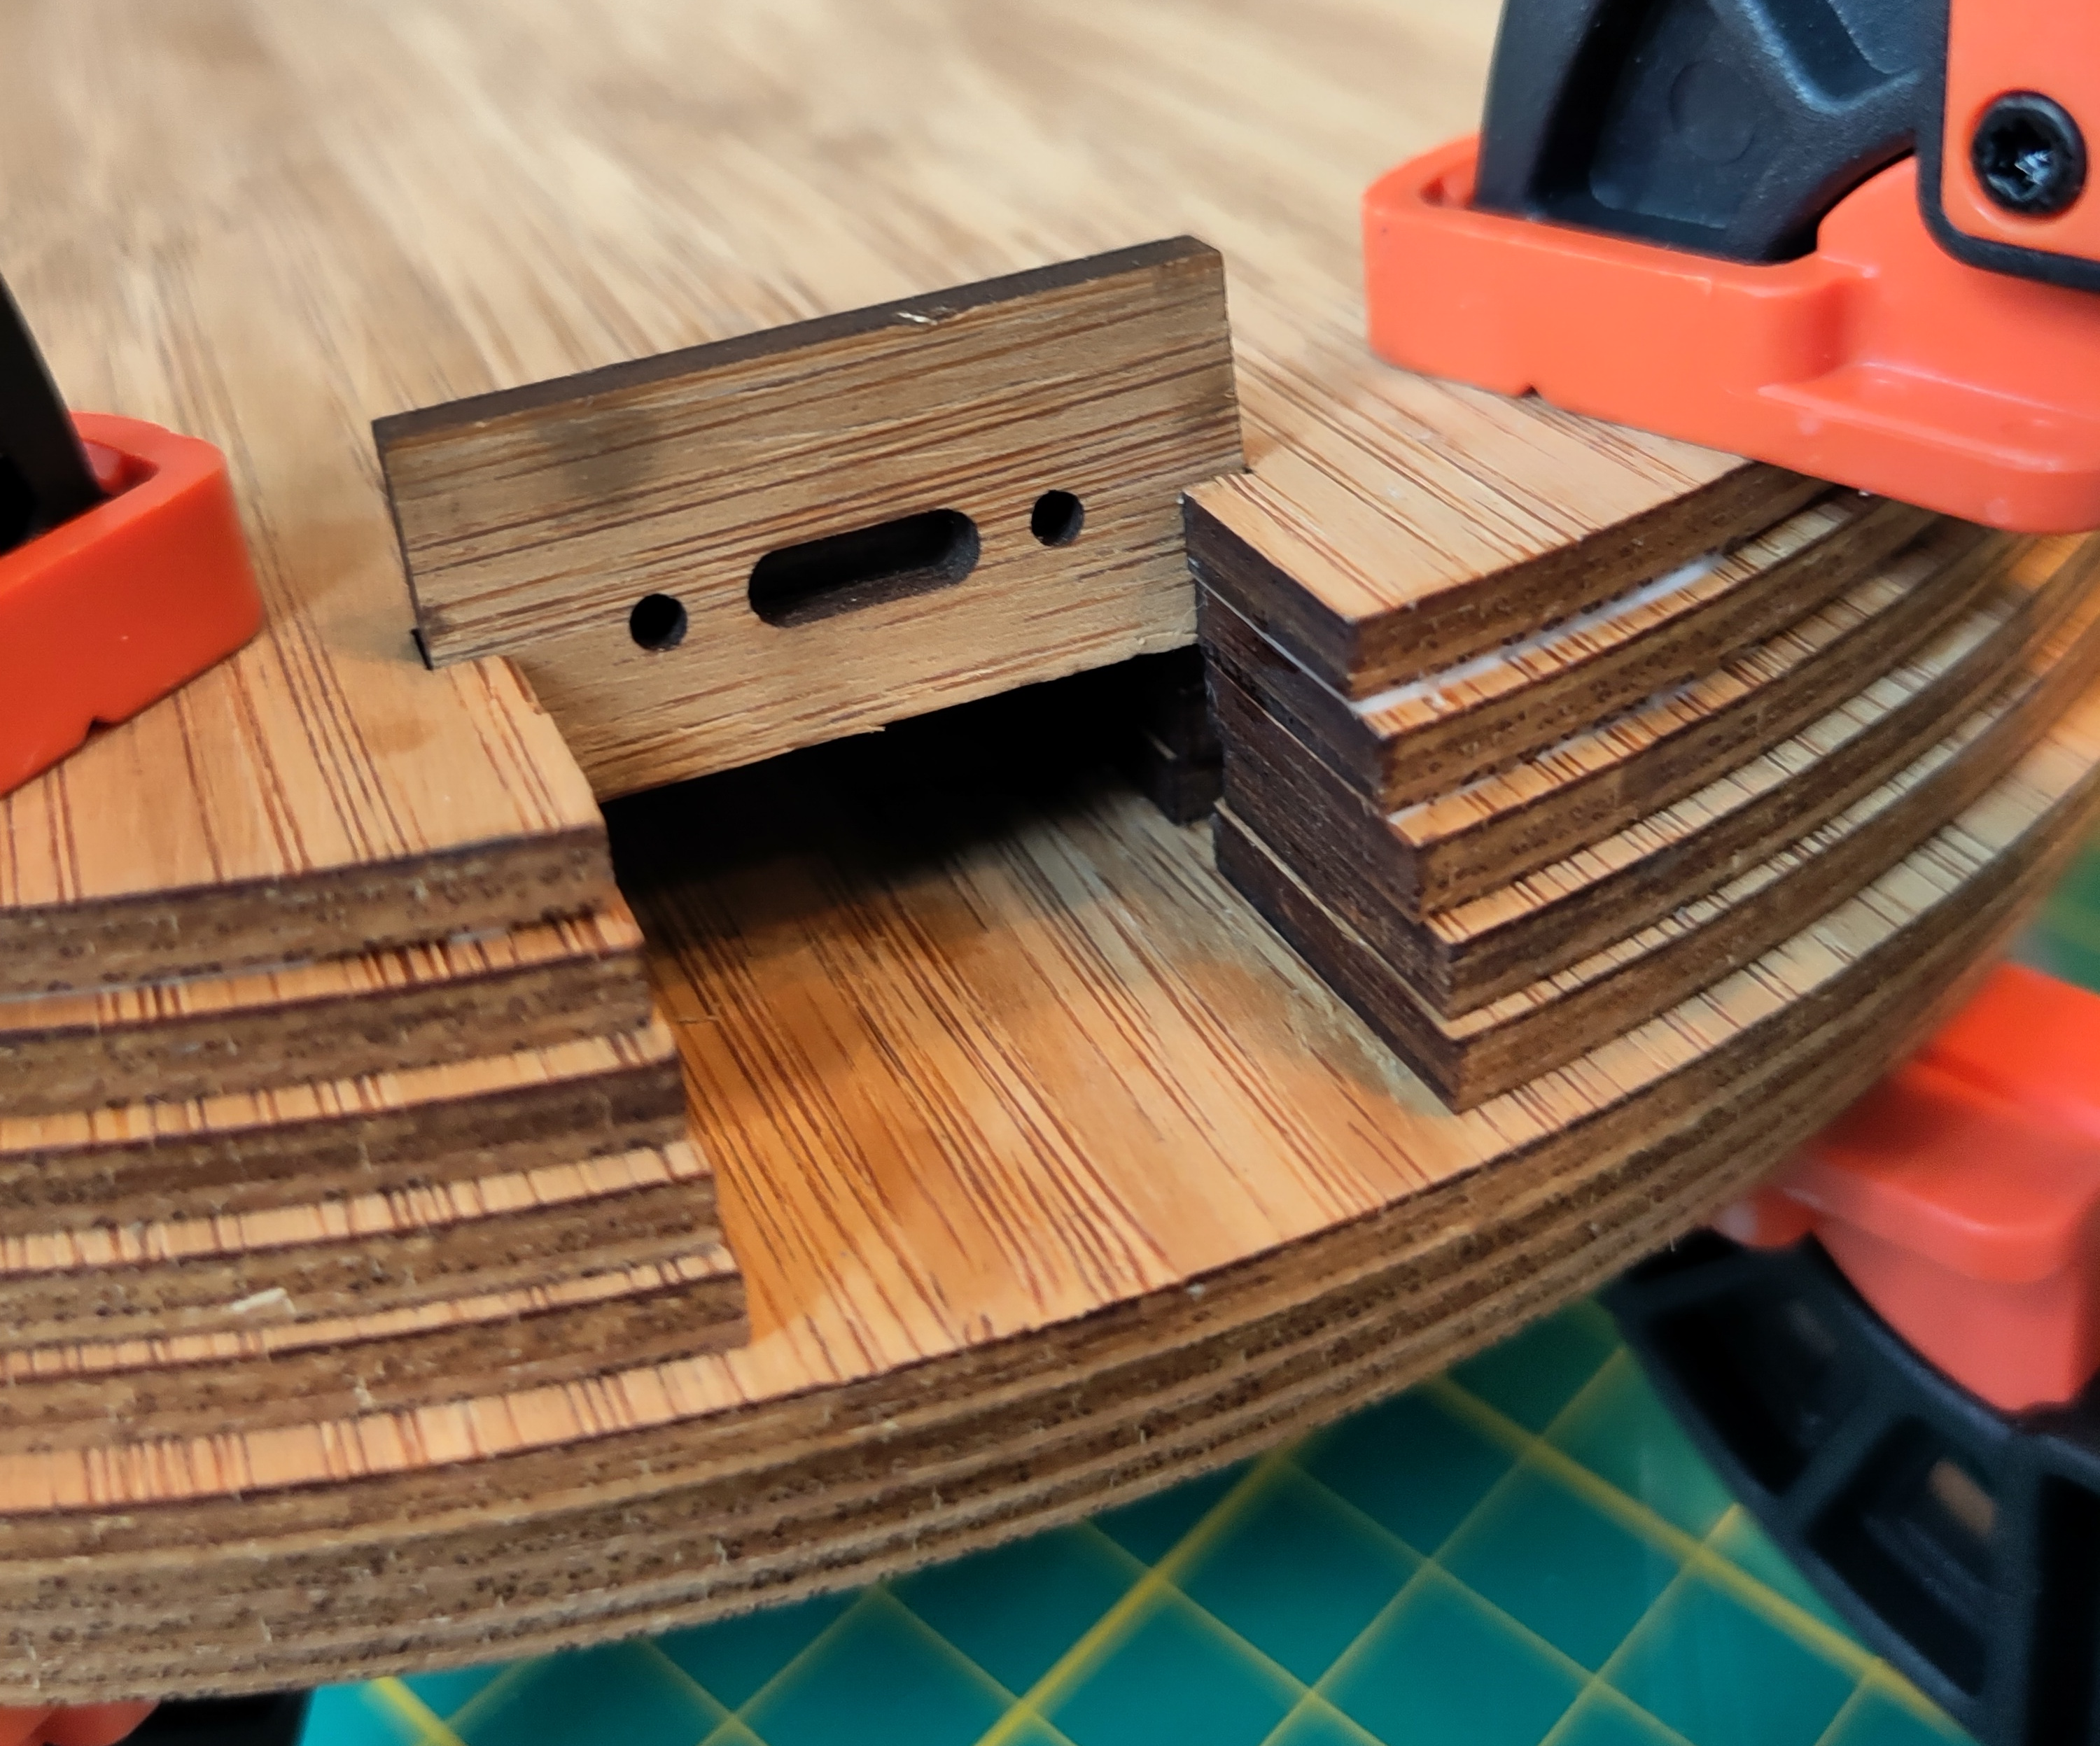
However, the slot didn’t turn out to be the best idea for other reasons. As I’ve experienced before, 3 mm bamboo is too deep to make a good panel mount surface, and a USB cable plugged in to the extension cable with the bamboo panel in between wouldn’t actually make a connection.
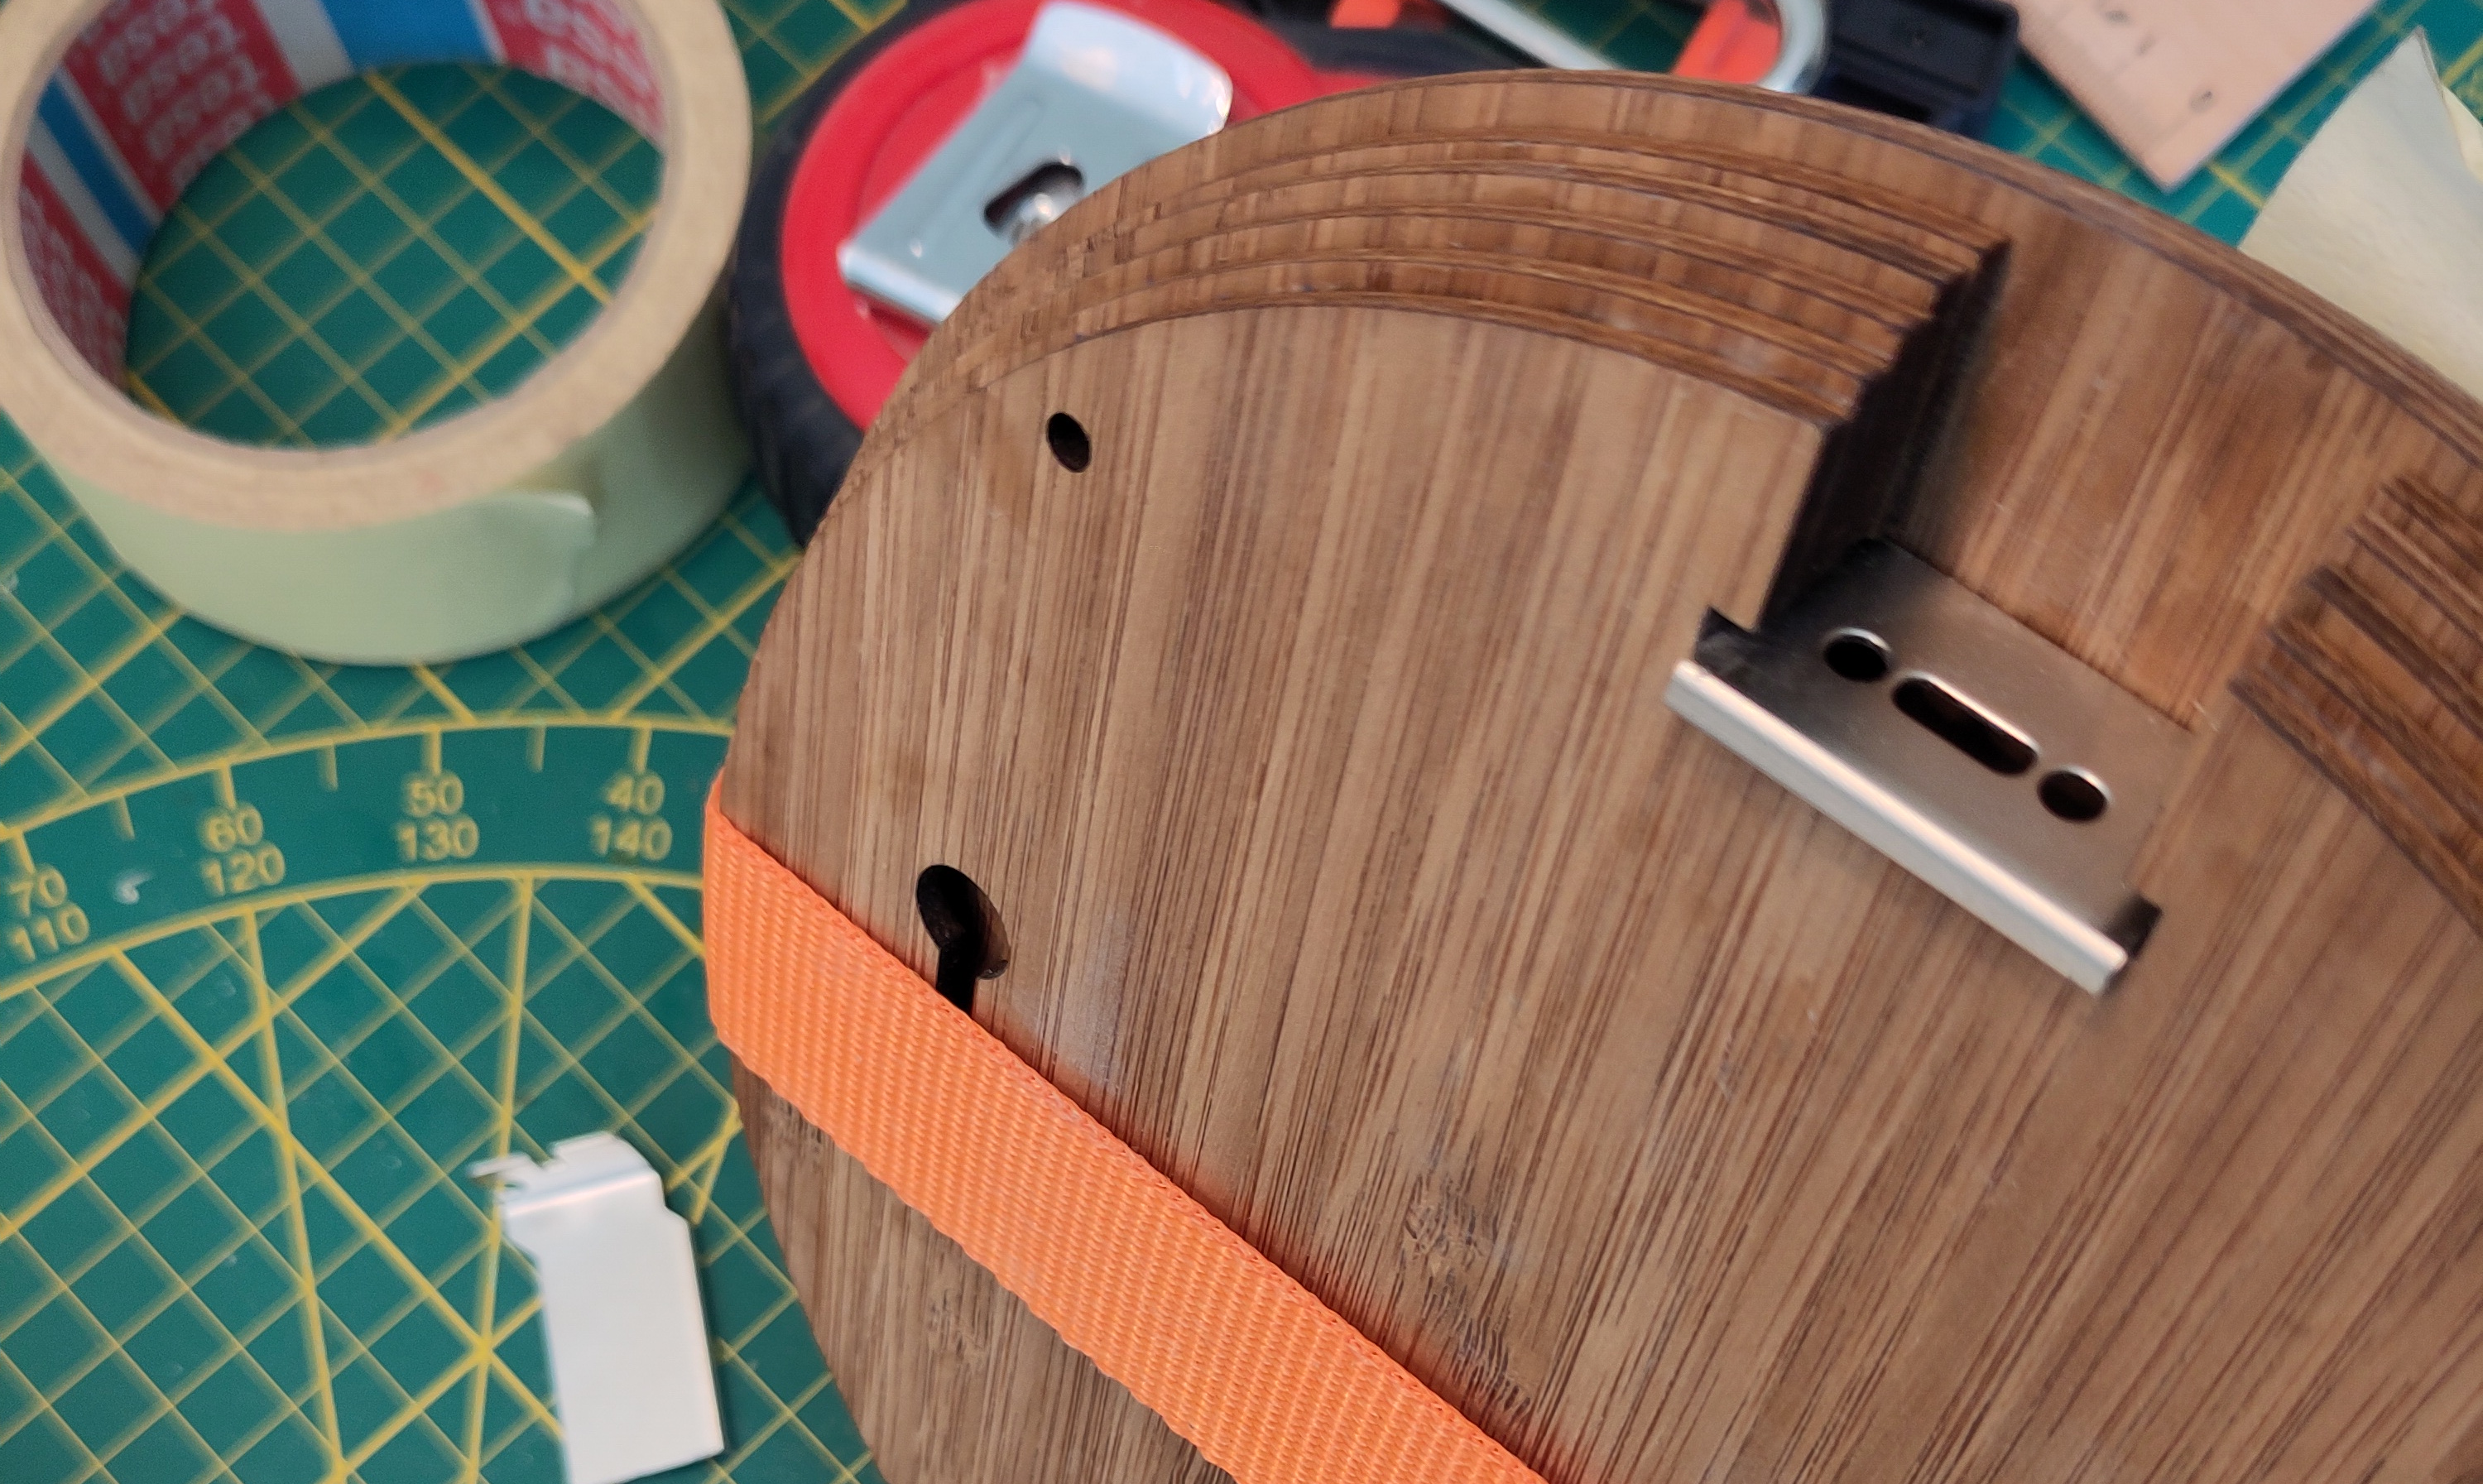
I ended up screwing the aluminium panel that came with the extender to my design and using my design as a template to cut and file the aluminium down to fit the slot. This worked out well, although in hindsight I should have just make a printout and not laser cut that part.
Ziggurat Follies
The inner “ziggurat” has a lot of loose pieces, so I made a “zig jig” to hold the pieces as I glued them together. This came out as well as can be expected.
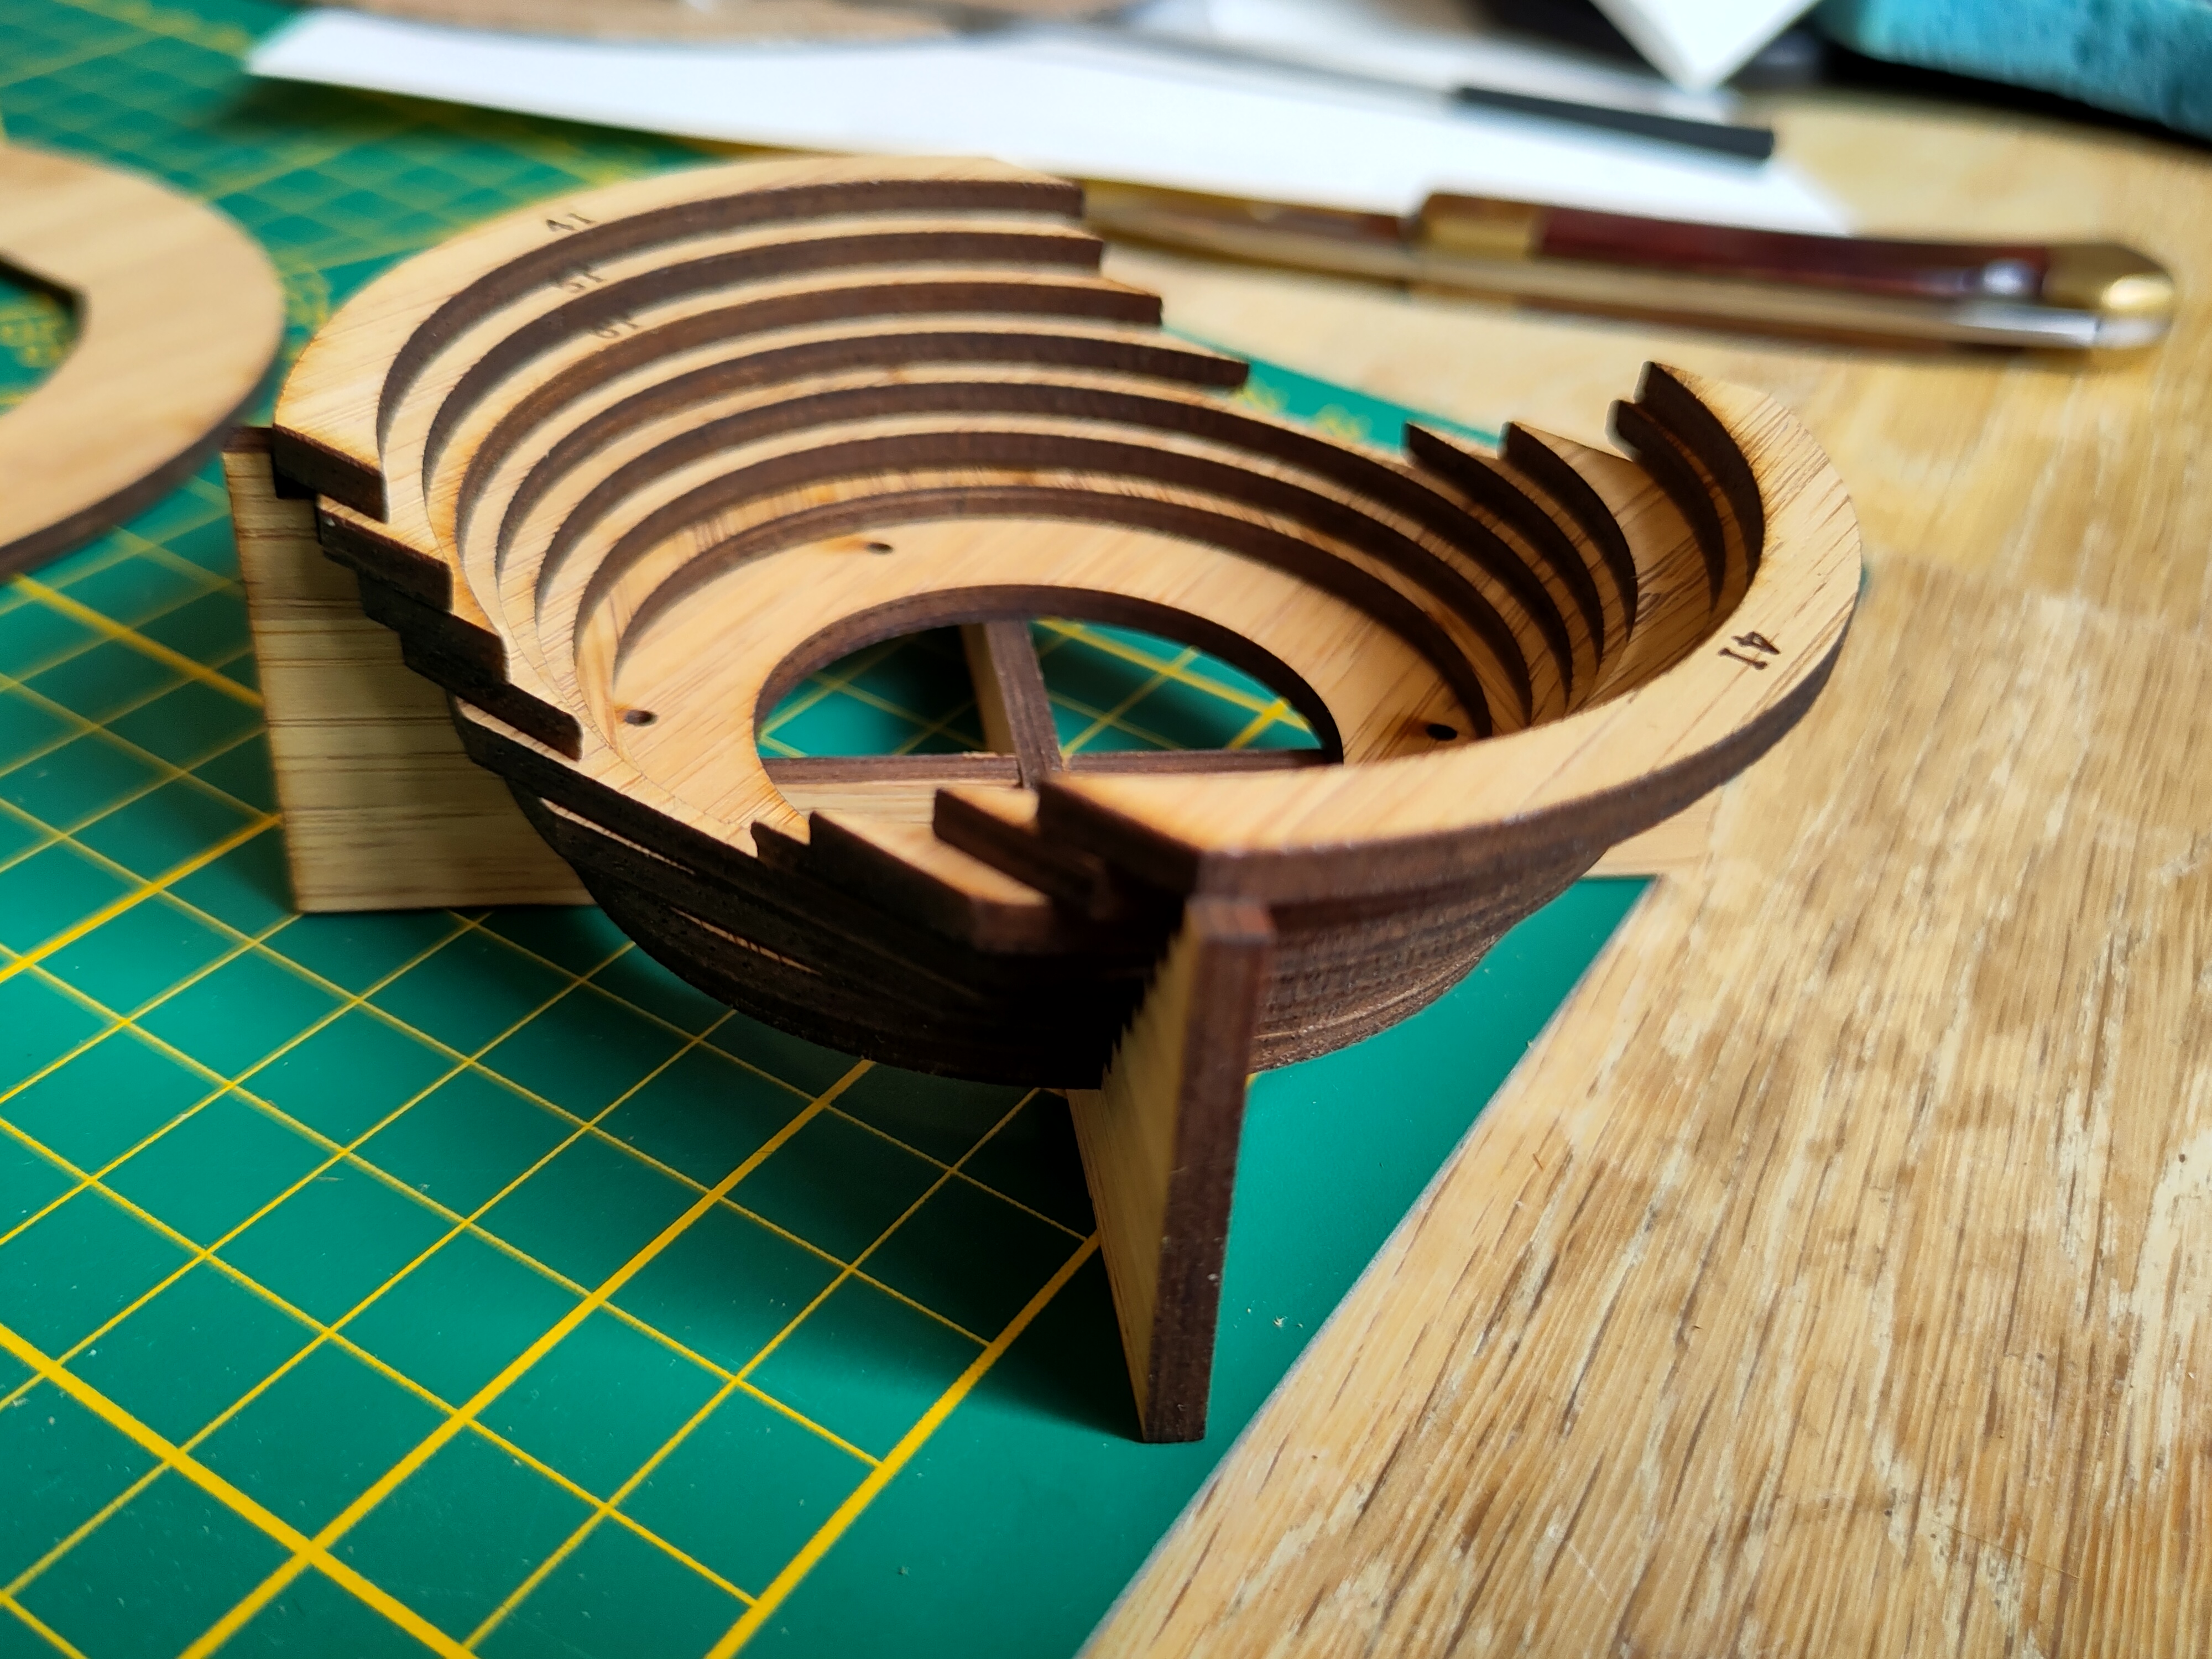
I did a few dry runs, and then glued everything at once. I learned a couple of things from this. First, the jig was still very fussy. I probably would have been happier making a simpler shape cutting slices along the X/Z plane (i. e. “left and right” slices when viewed from above).
I also didn’t give enough thought to mounting the ziggurat in the main body. I ended up measuring and eyeballing that, when I should have made a groove in the main body or at least mounting marks.
The final problem was clear once I glued the ziggurat down. Although it has room for the battery I wanted to use, you can’t actually slide it in once everything is glued down. Thankfully I have a smaller battery that will work.
I do like the design in general, and I’m especially happy with the holes for the standoffs. There’s just enough room to bolt them in from underneath, and they make it very easy to mount the Round Stamp Carrier. It’s the kind of thing I’d usually forget to do and fix with a drill afterwards, so, top marks, past me.
The Final Clampdown
With both halves glued together, all that was left was to clamp them together:
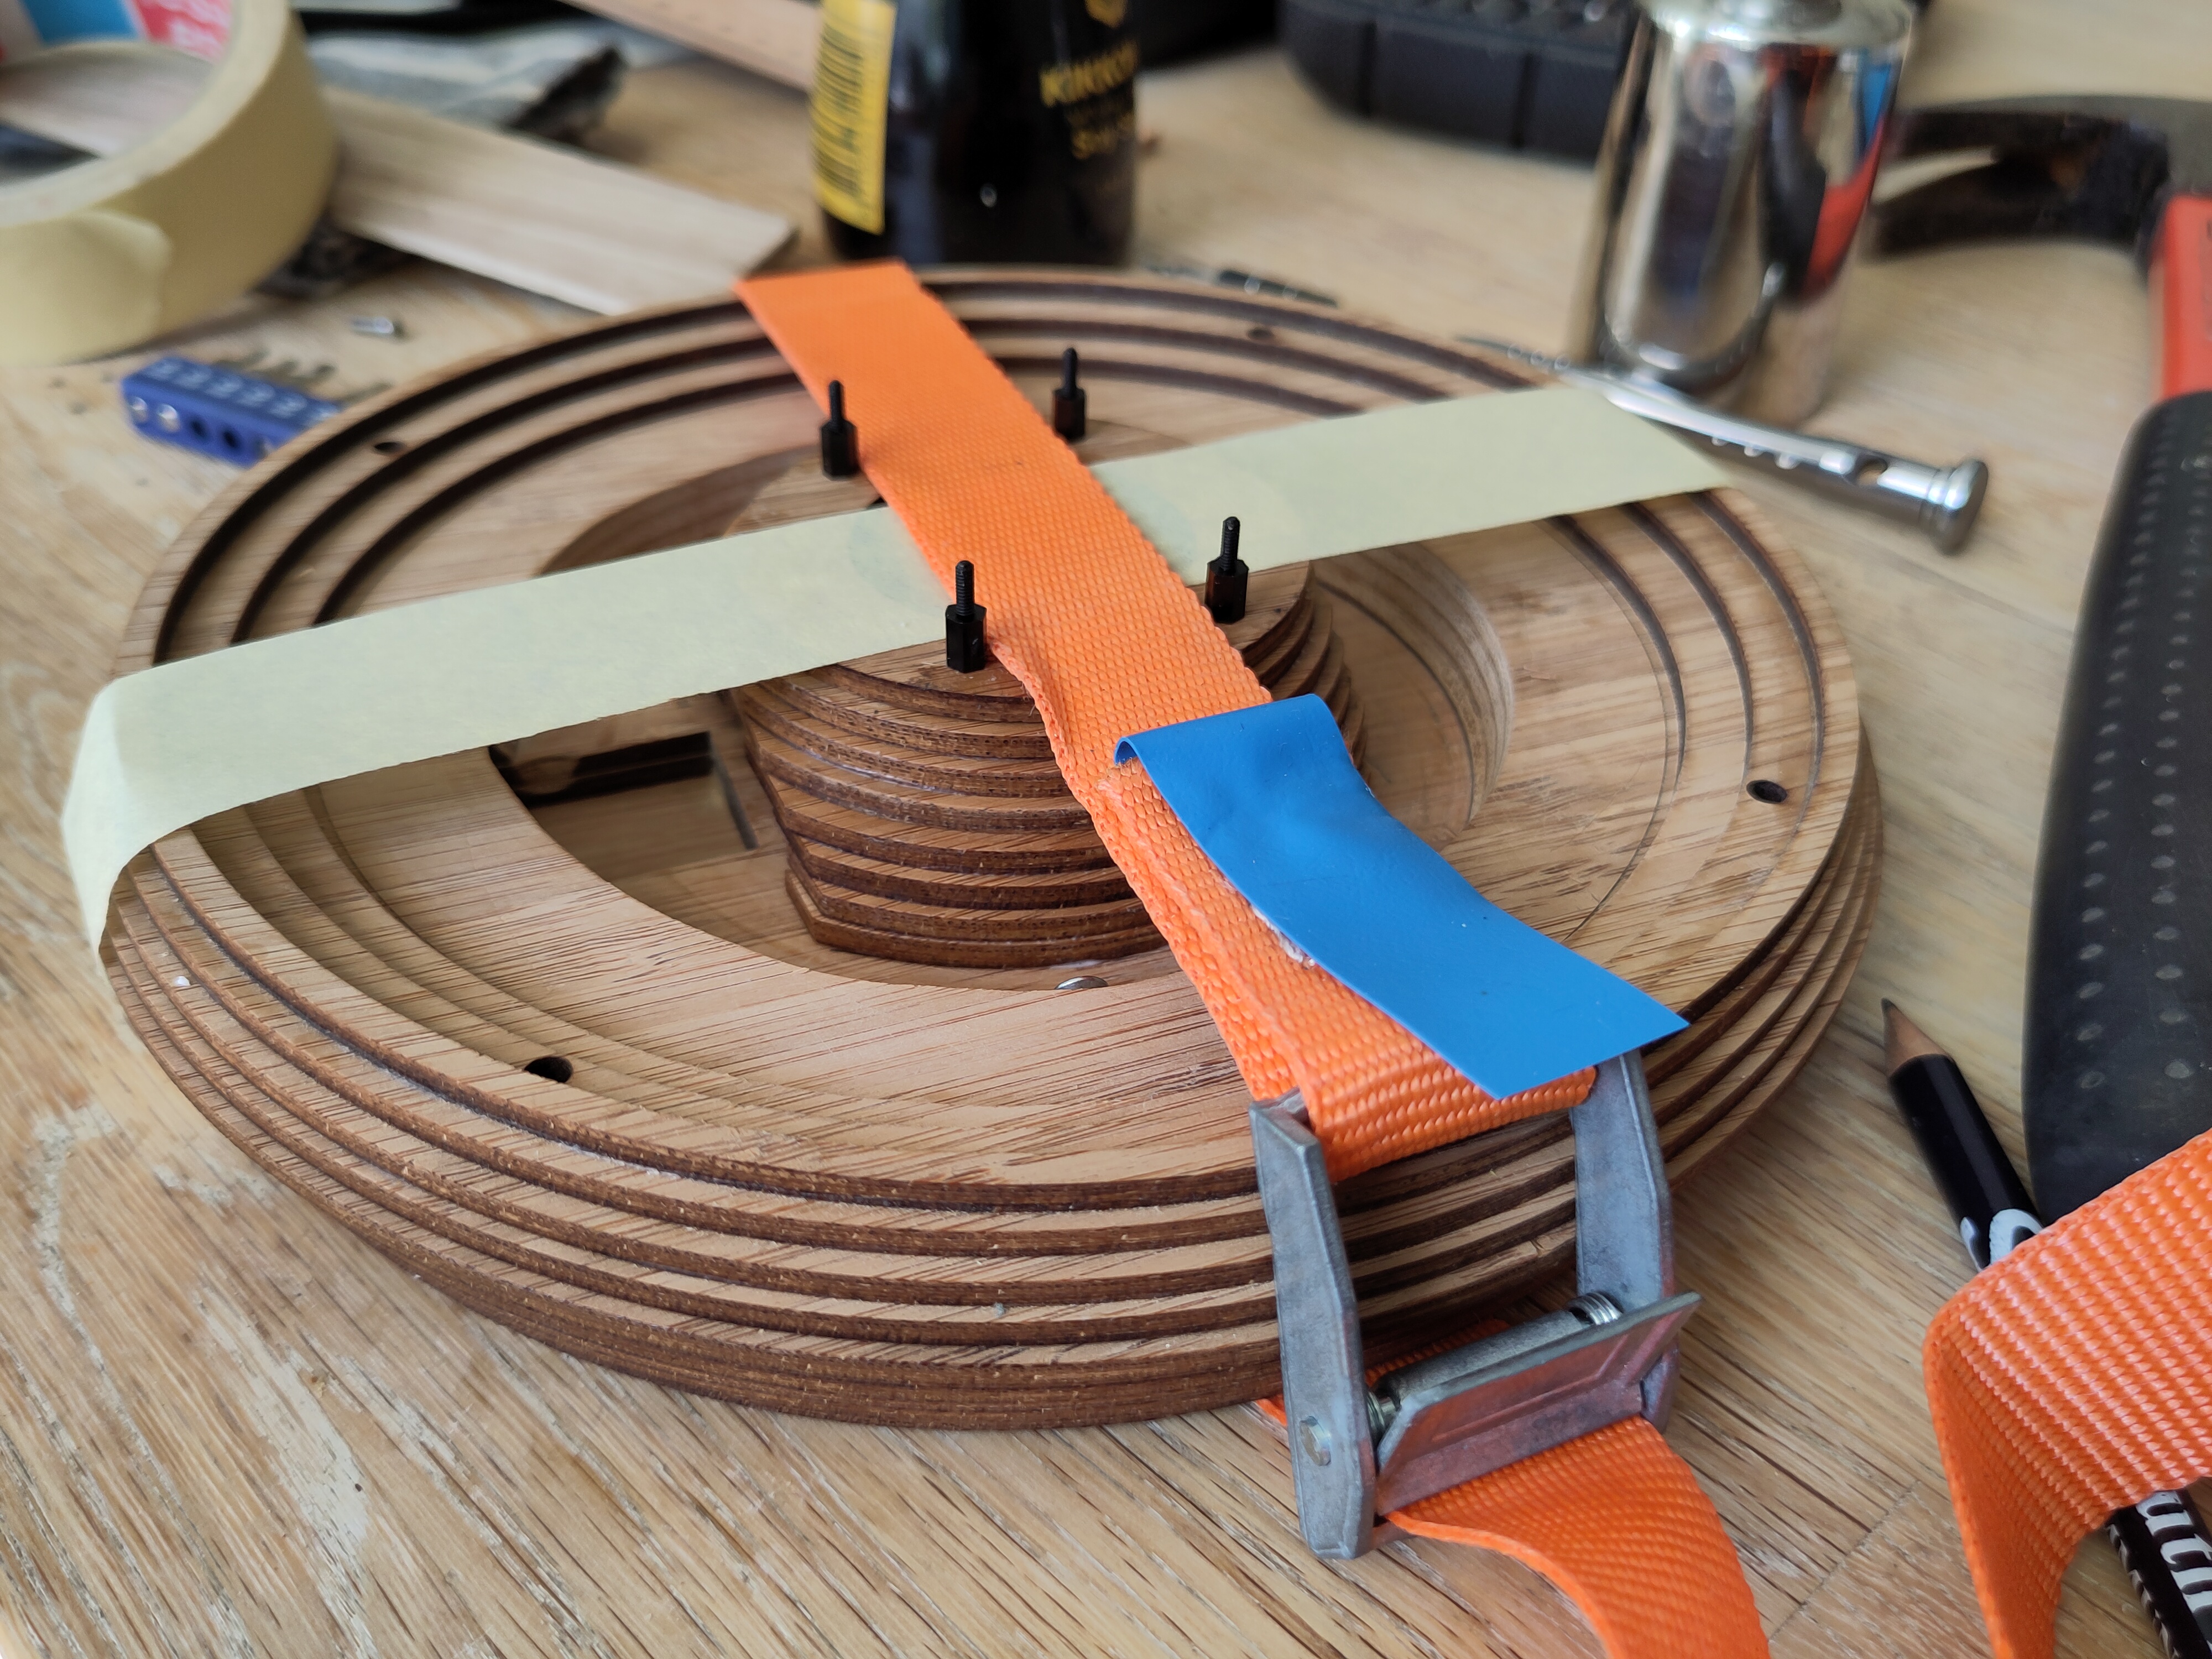
As a bonus, the standoffs work well in positioning a clamp.
I Rest My Case
At this point I have a case, all glued together and ready to fill with components. It looks nice, feels sturdy, and although you can’t tell, it smells lovely (as laser cut bamboo tends to). Although this is not the full effect, here you can see a quick video of the inner “rainbow” in situ:
Stay tuned for the next (and hopefully last) post, where I mount and wire up all the components, and install the light on the wall!