After yesterday’s write up, I wanted to try the older Pico Explorer Base with newer RP2350 units, and it was a real success.
When I first got the Pico Explorer Base, it was on my desk most of the time. So I wrote a simple clock (source on GitHub). Among other things, it reminds me that the explorer base is still there waiting for new projects, and helps make sure I don’t spend so much time at my desk that I’m late for anything.
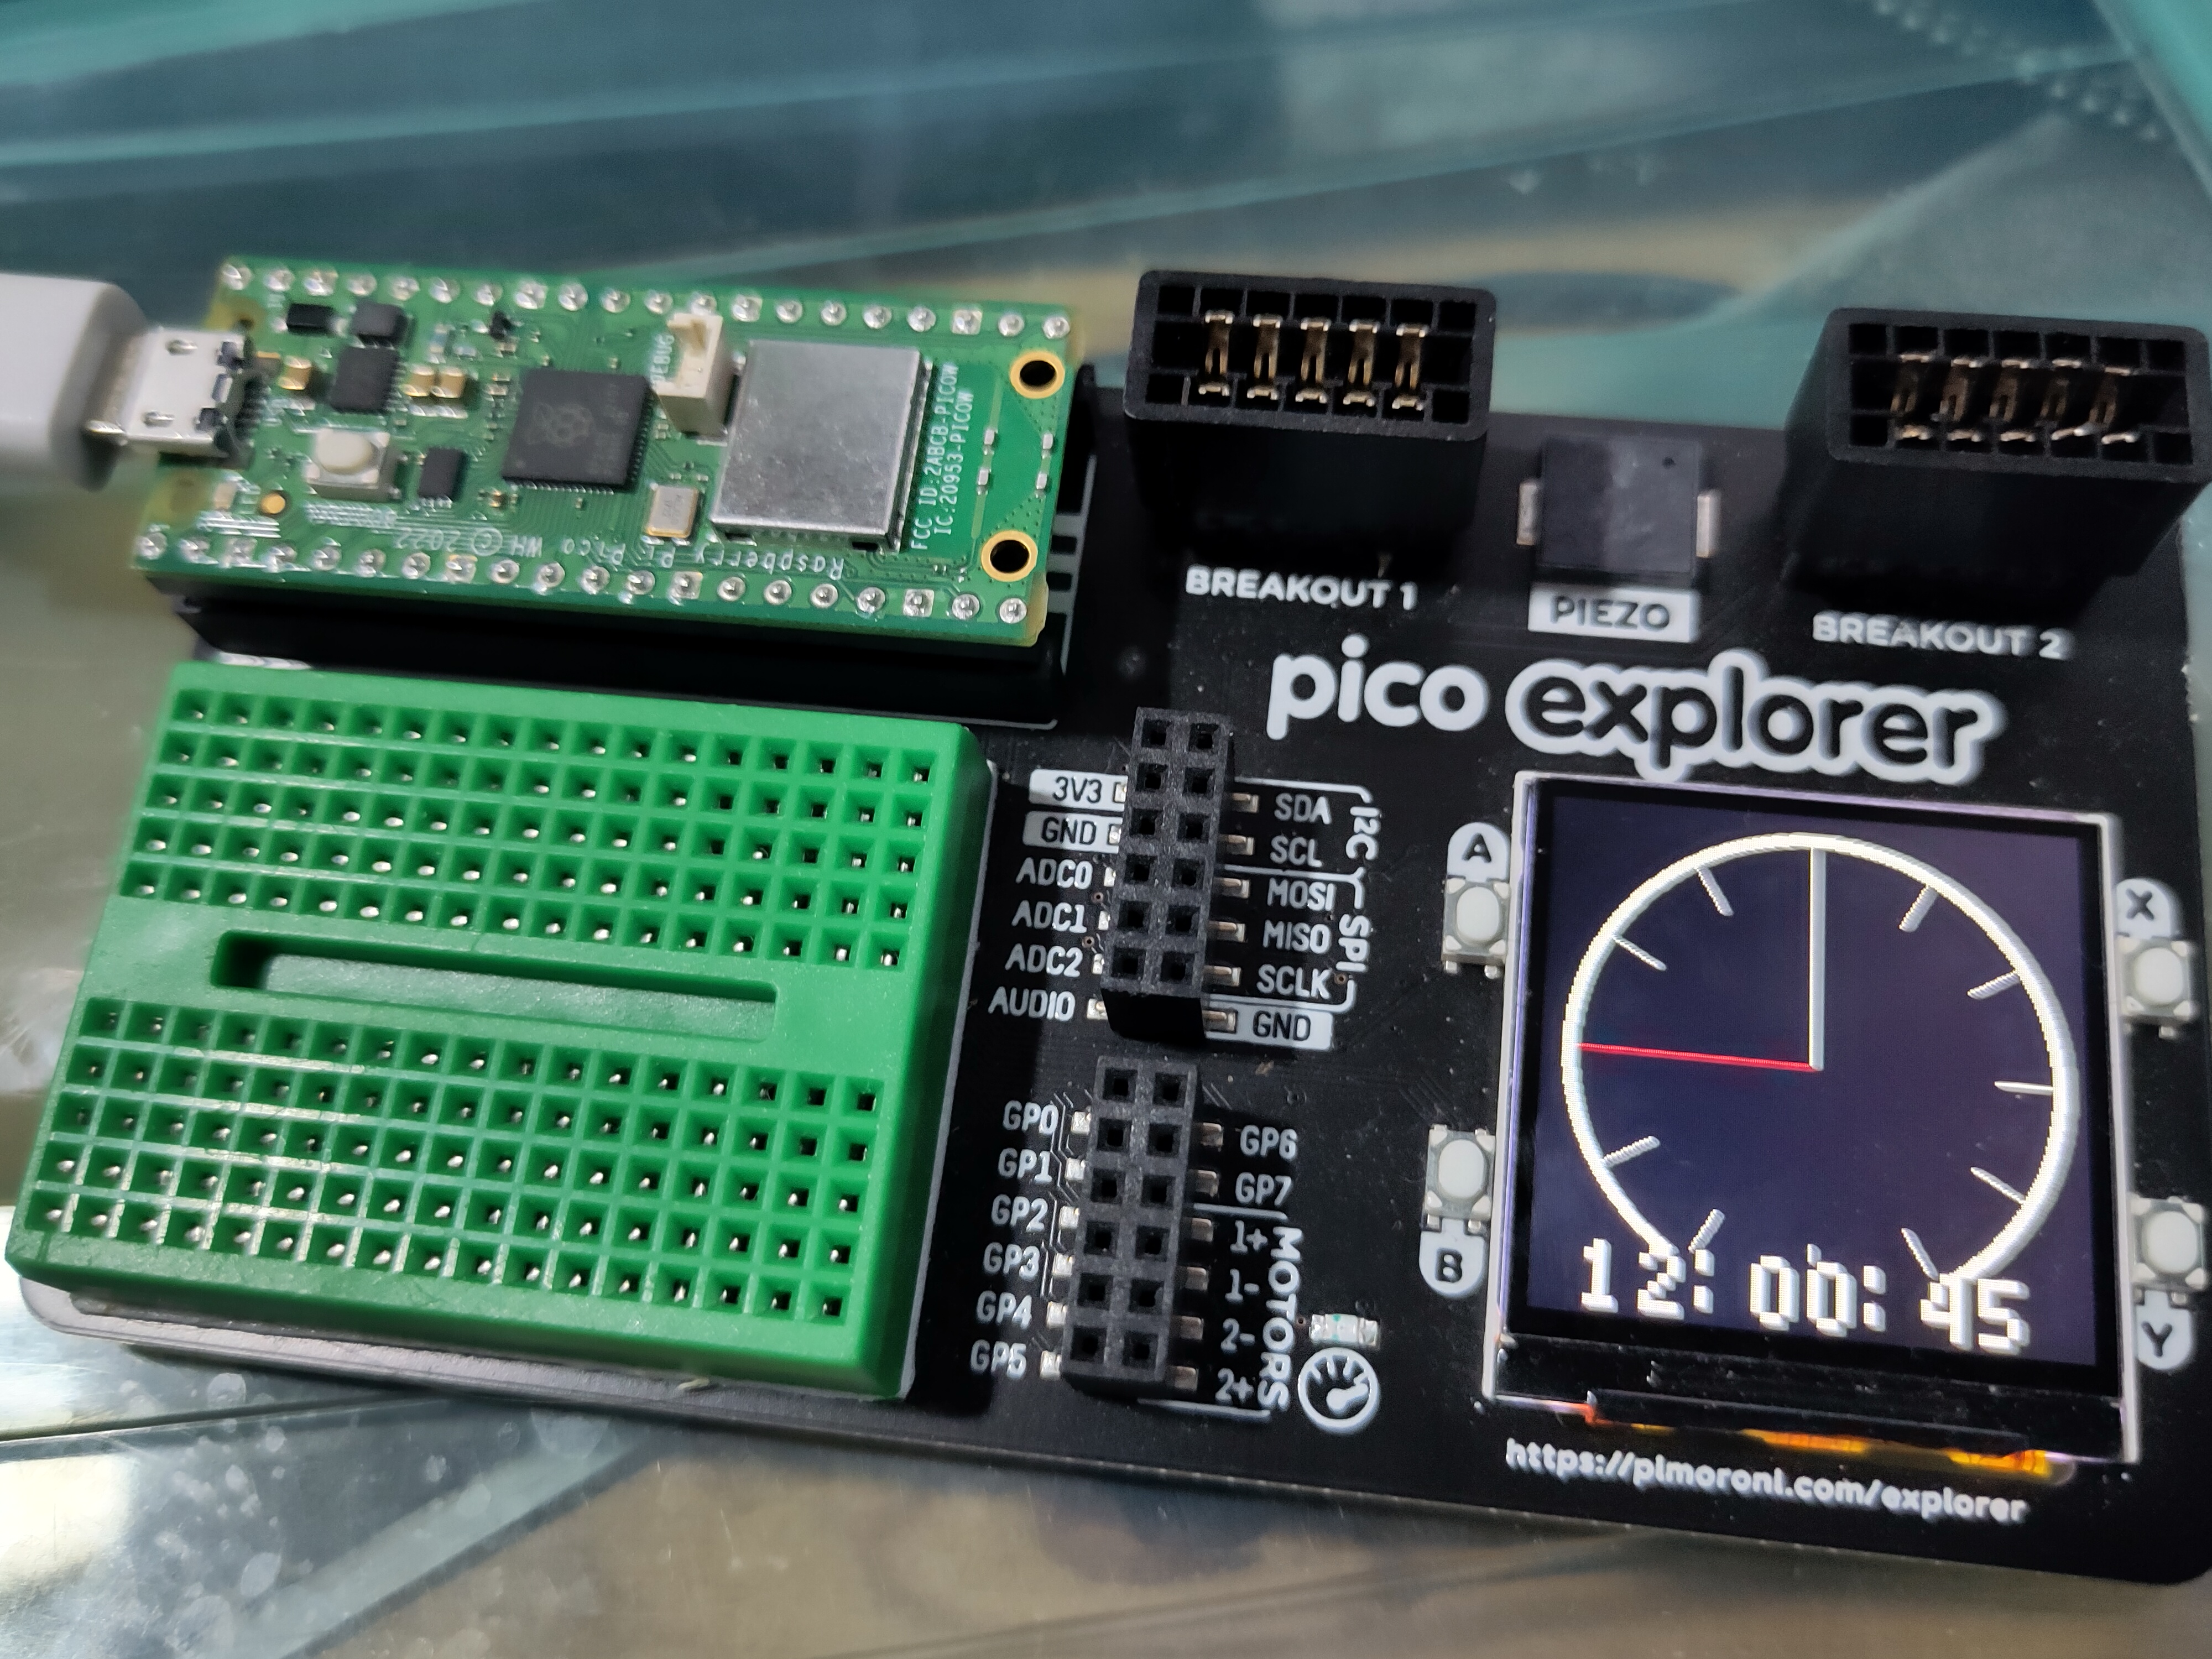
Here’s the clock running on an original Raspberry Pi Pico:

I tried compiling this code for the Pico 2 family and running it on the RP2350-based Pimoroni Explorer, but couldn’t get it to work (I suspect the display settings are wrong).
However, once I read a few manuals and soldered a few headers on some newer units I picked up over the holidays, I was ready to try again. I rebuilt the code with the required platform information, using a command like:
cmake -DPICO_BOARD=pico2 -B build
I then changed to the build directory and built the code using make. I was
then able to copy the binary onto a few new units hooked up to the Pico Explorer
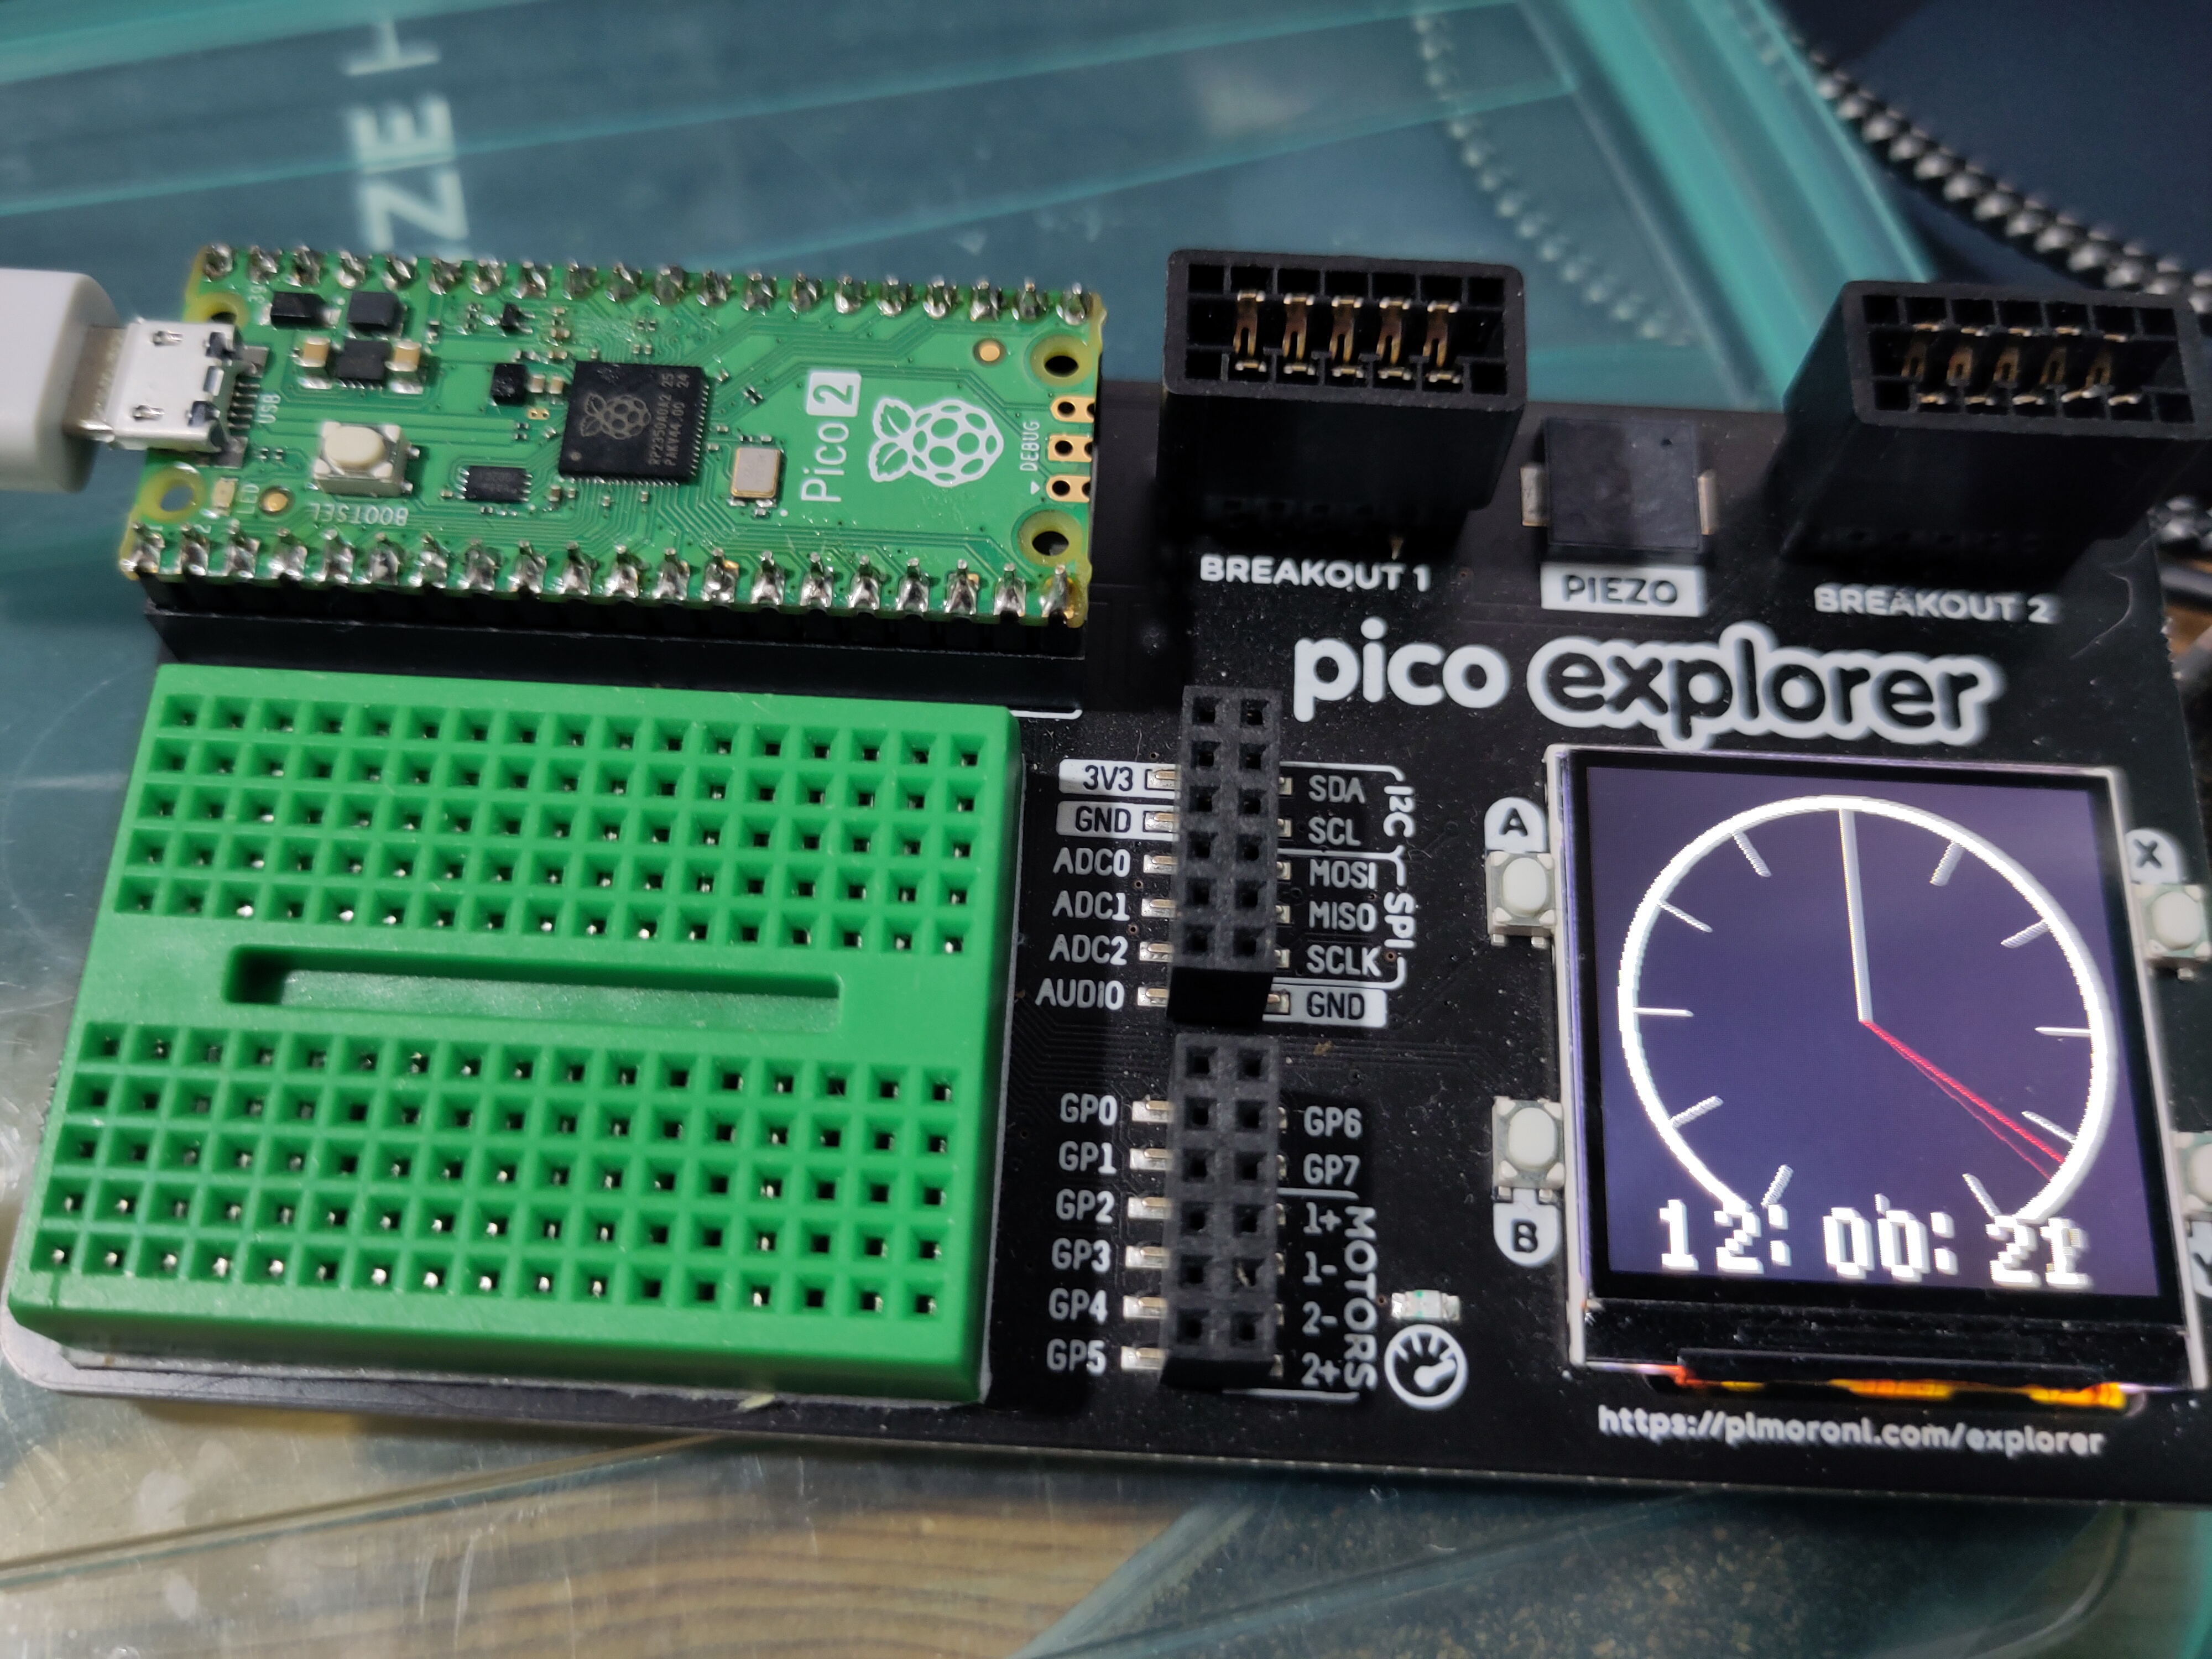
Base. Here’s the same code running unaltered on a Pi Pico 2:

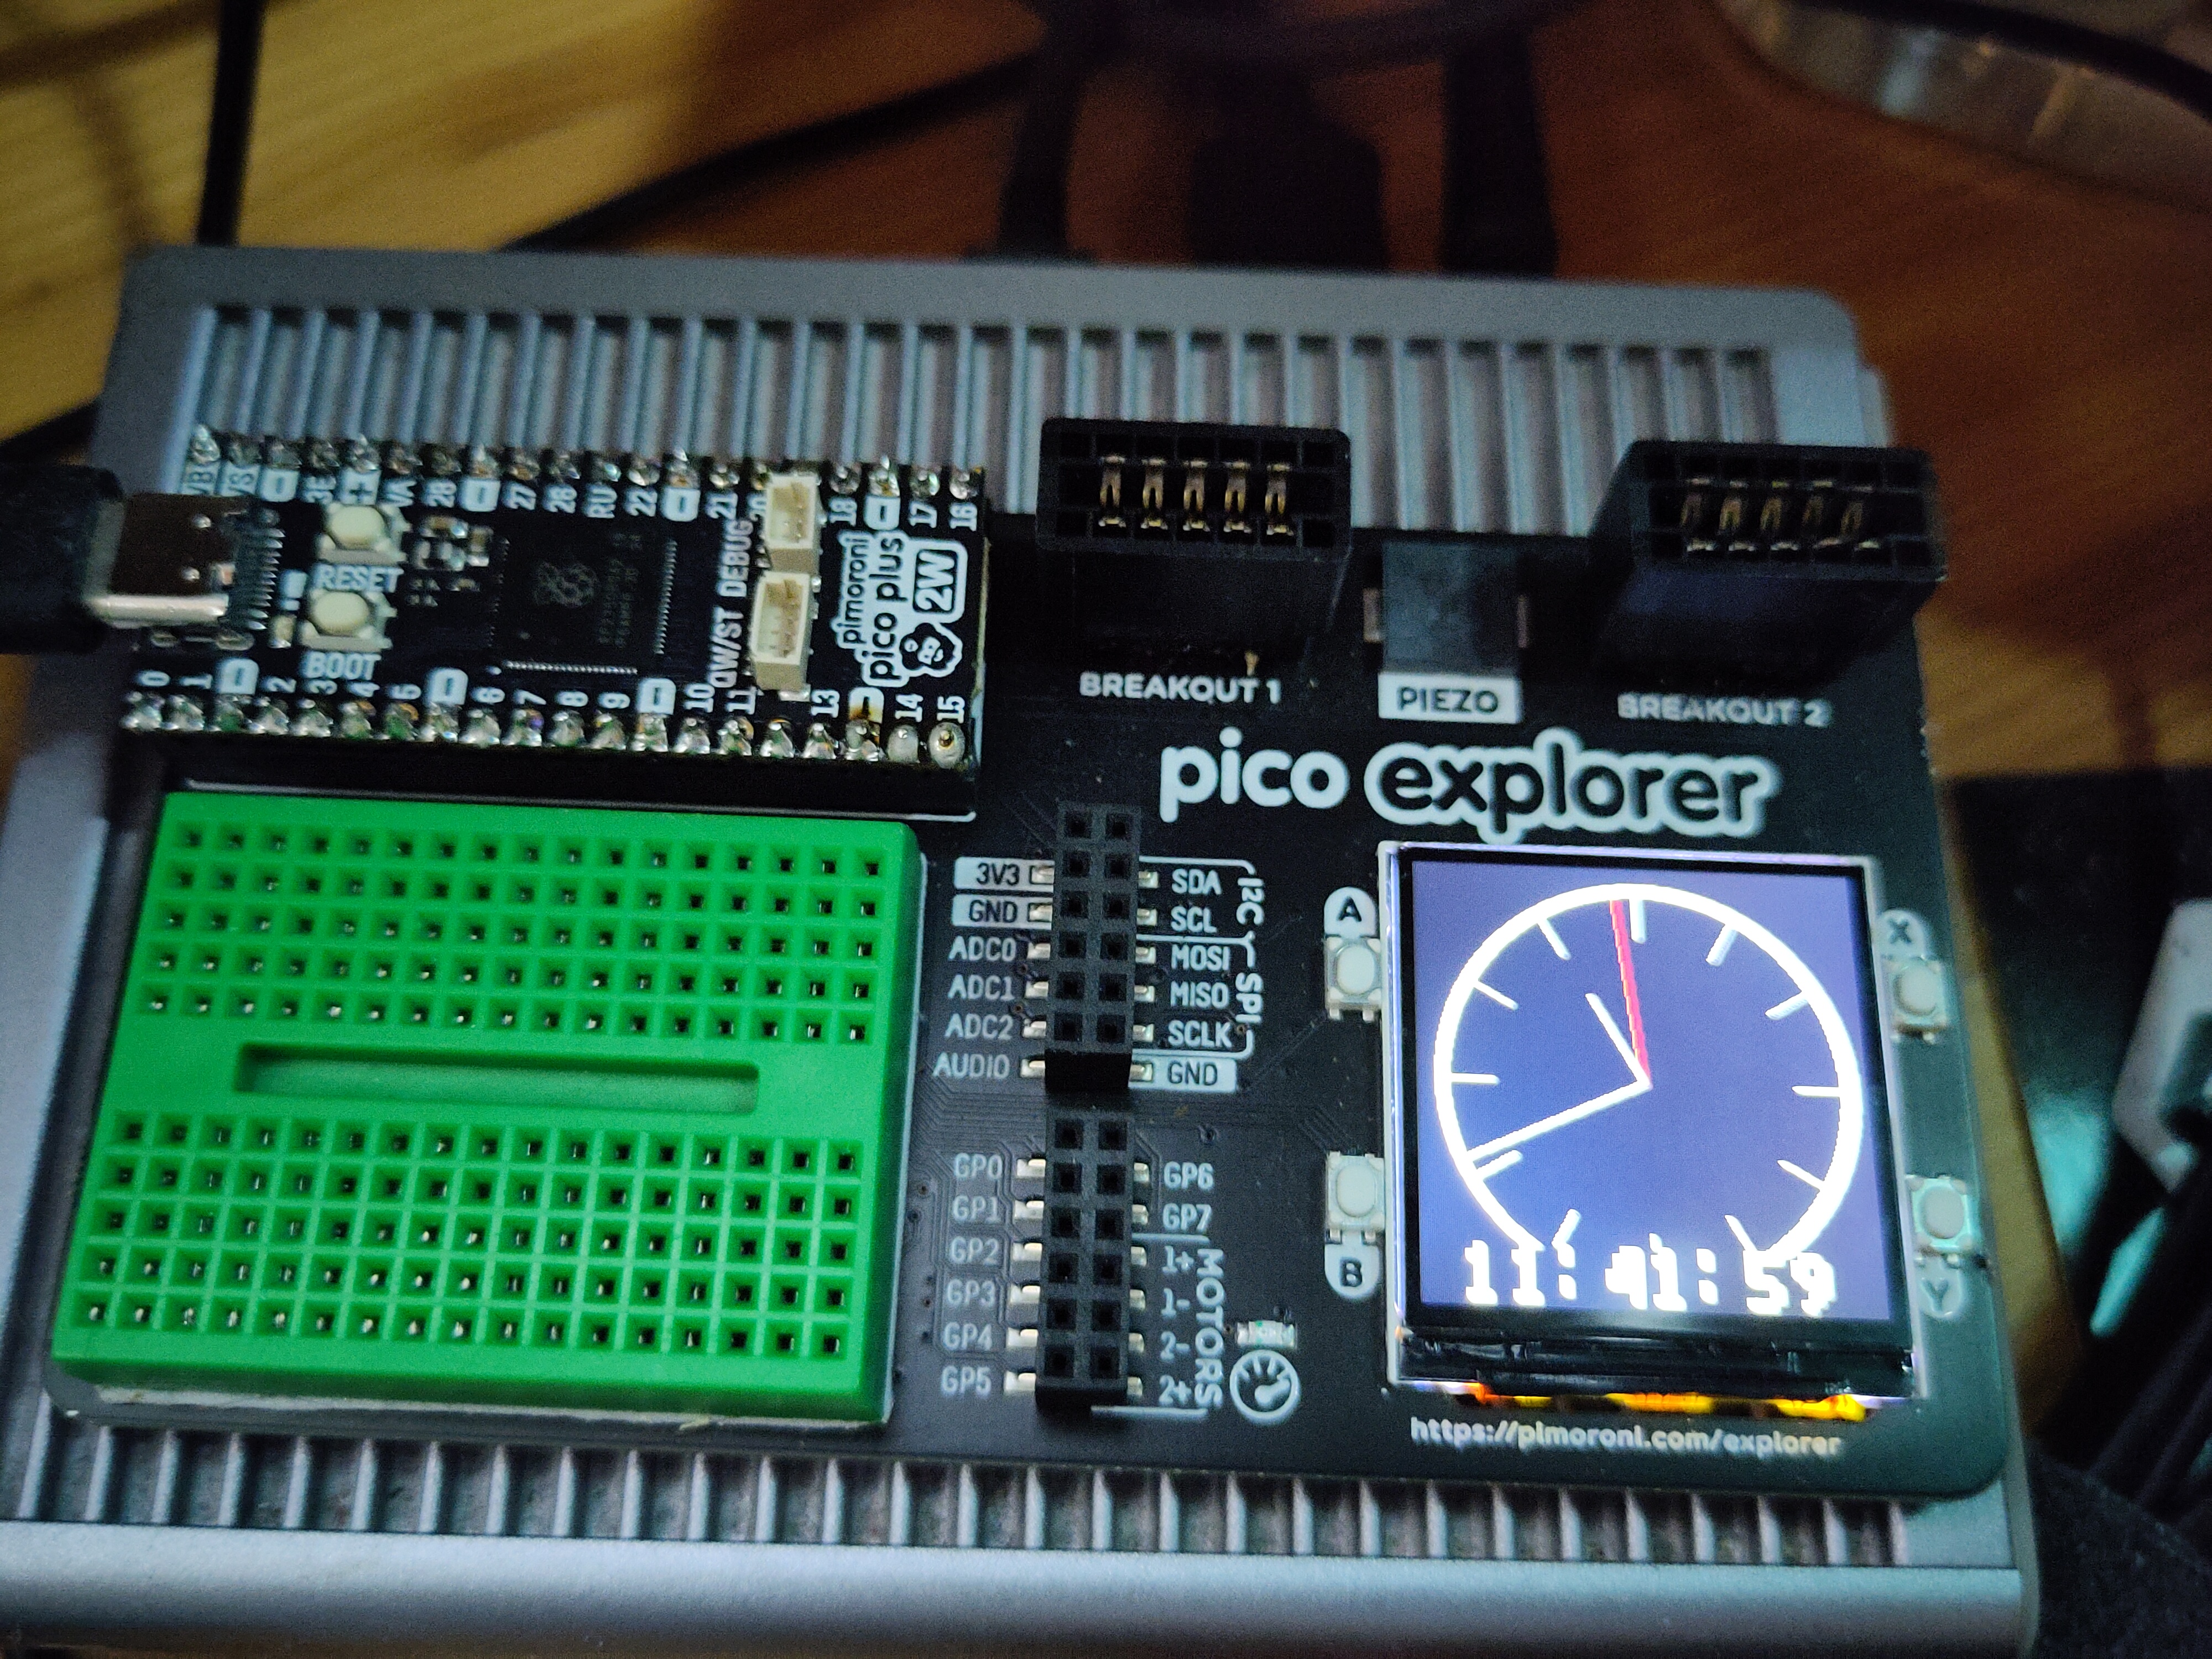
I was also able to run the same binary on a Pimoroni Pico Plus 2W:

Conclusion
Very happy with the results, as I want to keep using the Pico Explorer Base, but also want to use RP2350-based chips. I’ll probably leave the Pimoroni Plus 2W in the base for the time being, as it has a debugging port, USB C, and has wireless support, so I can add optional NTP support to the project.
Anyway, thanks for reading, if you’re considering trying the Pico Explorer Base, I hope you found this helpful.