One of the key things I like about 3D printing is that you can make replacement parts at home. My latest 3D modelling project is a replacement handle for a Really Useful Storage box.
I ended up with one without a second handle, which mostly works fine, but occassionally springs open and dumps its contents on my head while I’m getting it off the shelf.
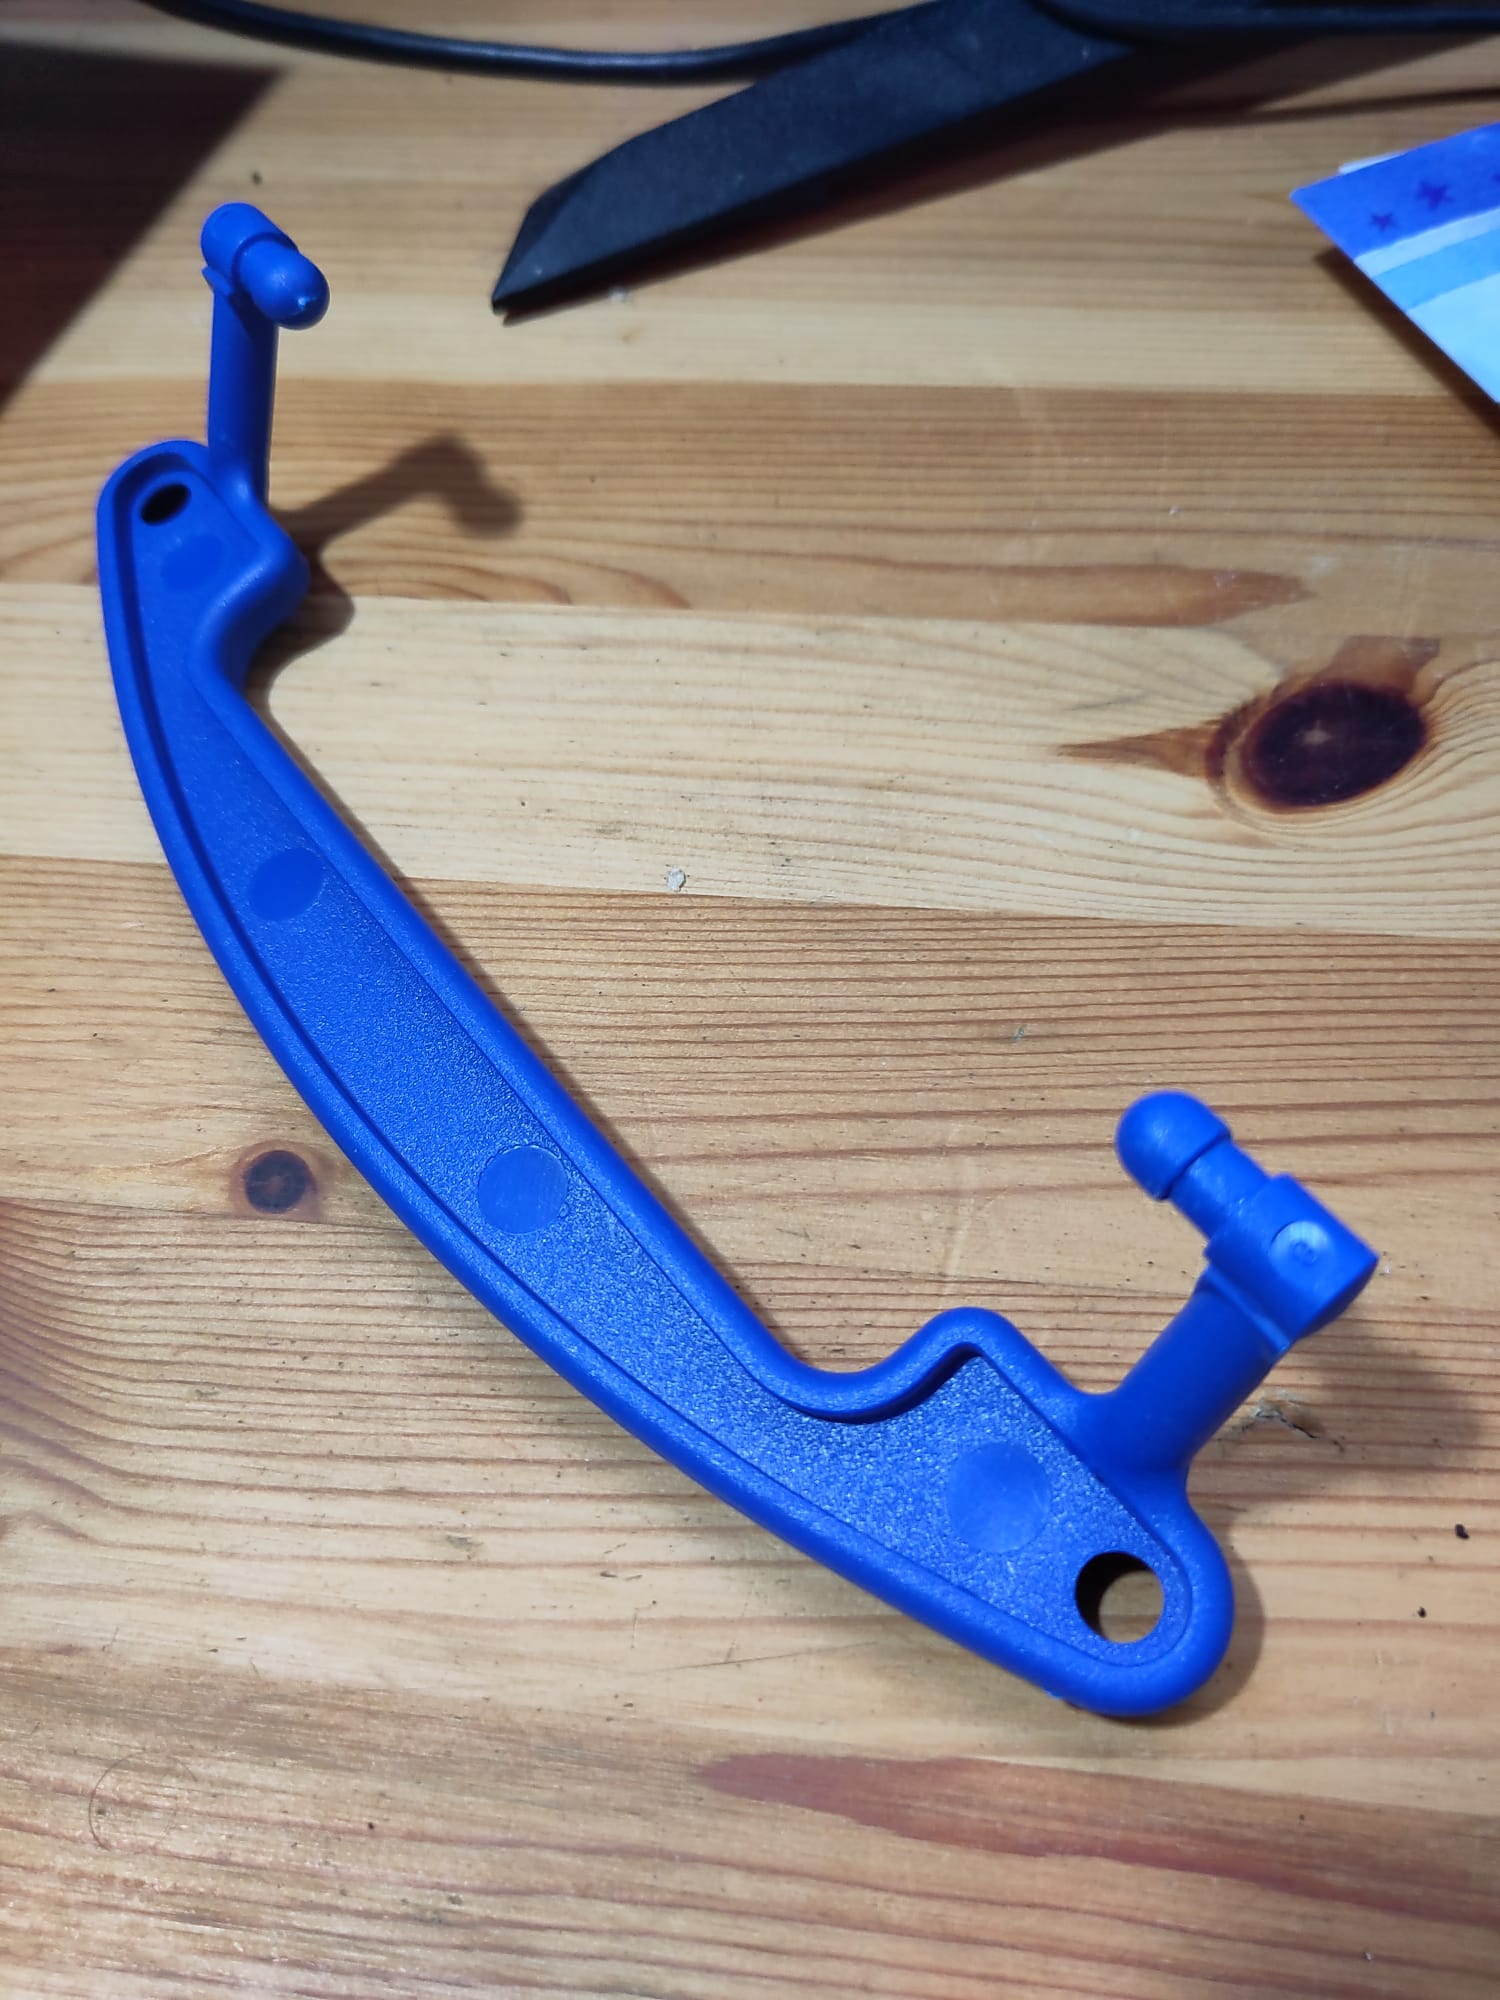
Thankfully, there are two on each box, so I have an easy reference:

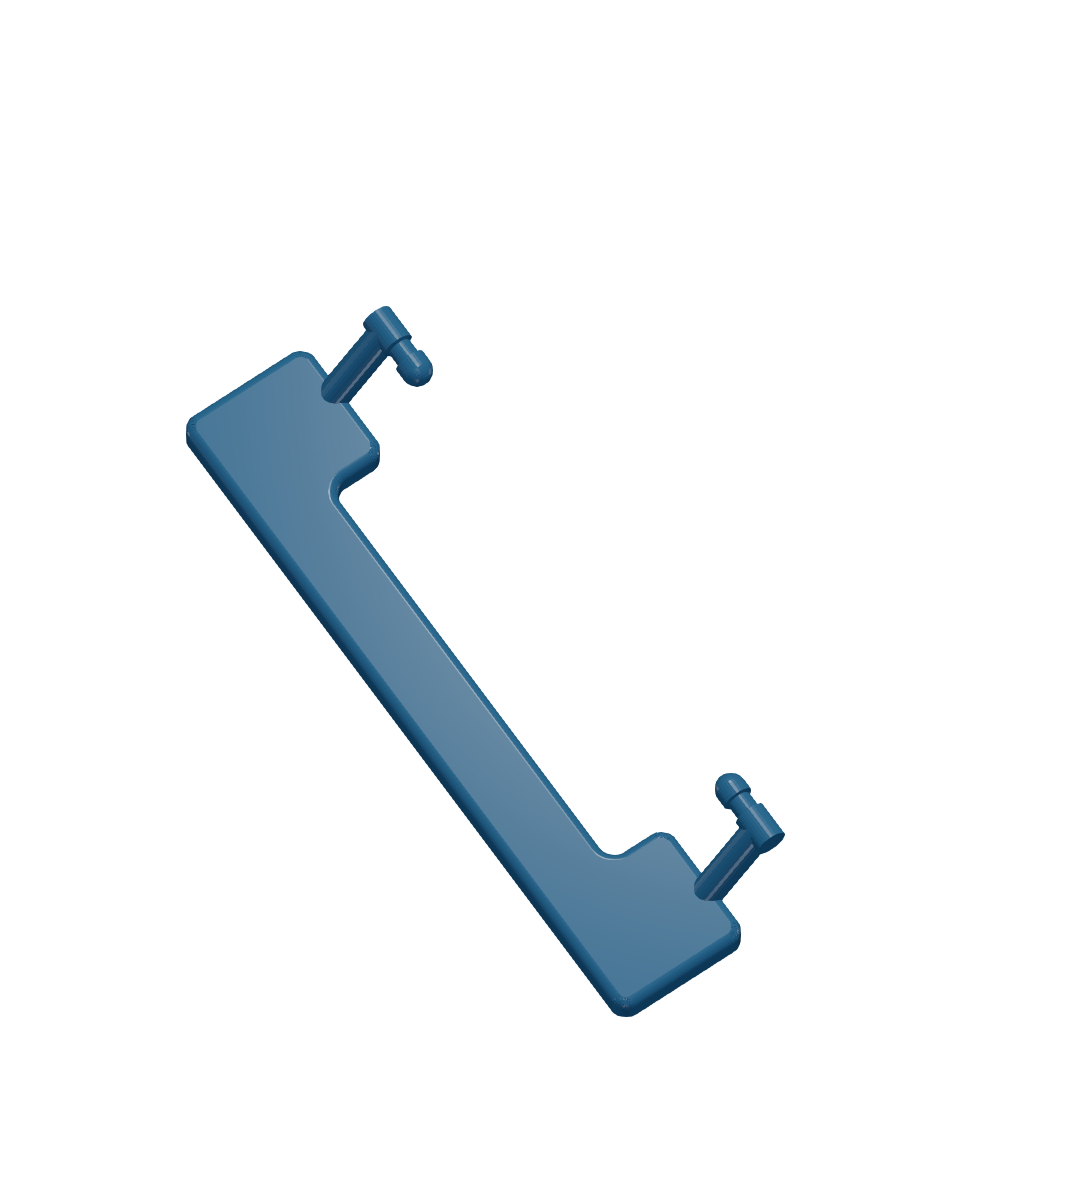
After a few minutes with a caliper and Blender, I came up with this model:

I don’t (yet) have a printer at home, so I sent the STL file to a friend. We went back and forth about the infill to use, as he was concerned the narrow point in the “plugs” that fit into the box would be too weak. Turns out that at least in Ultimaker Cura, you can specify infill density for just a part of a model. Here’s my flythrough of the infill during testing:
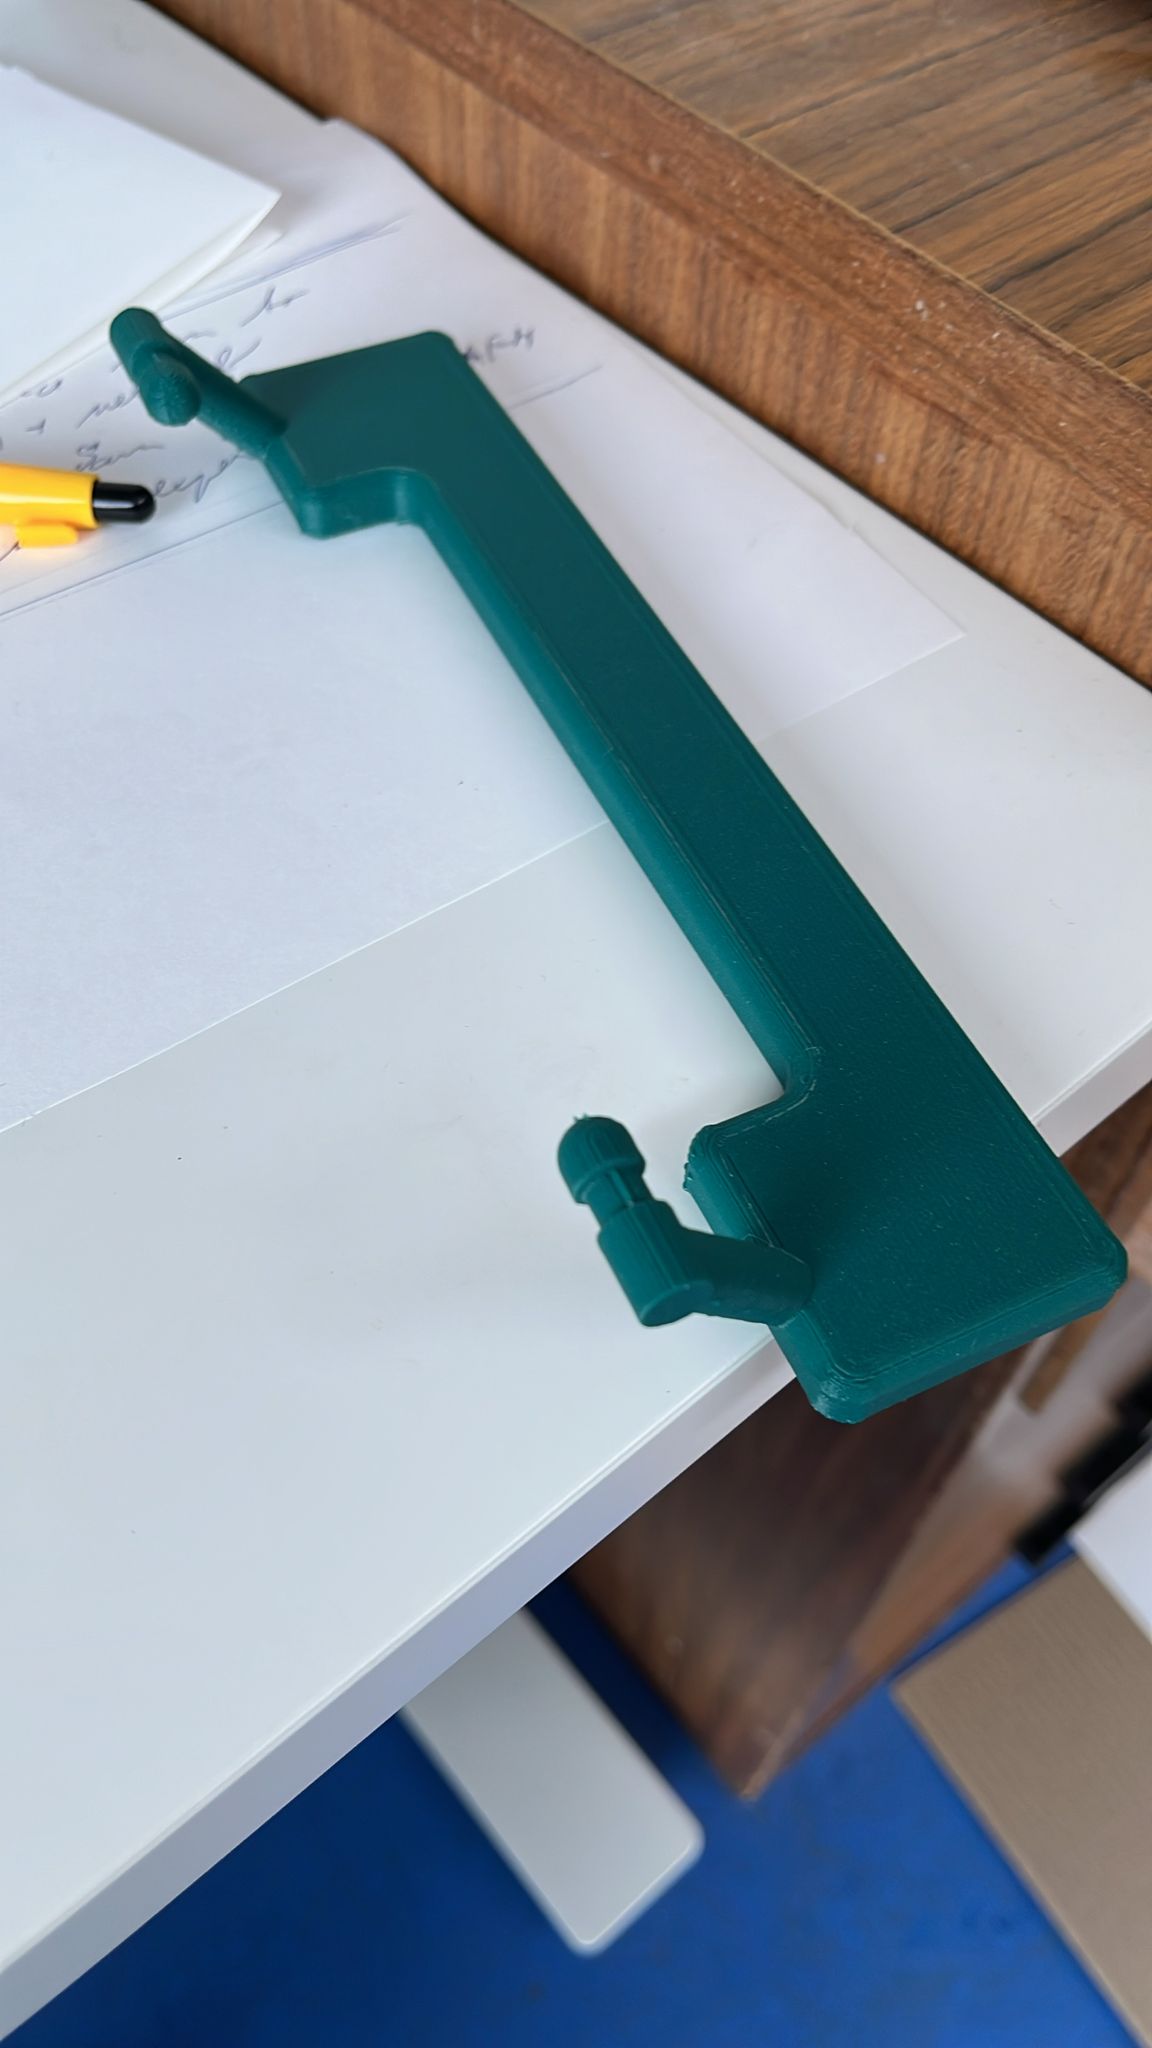
My friend tweaked the infill based on his experience with his printer, and here’s the printed piece:

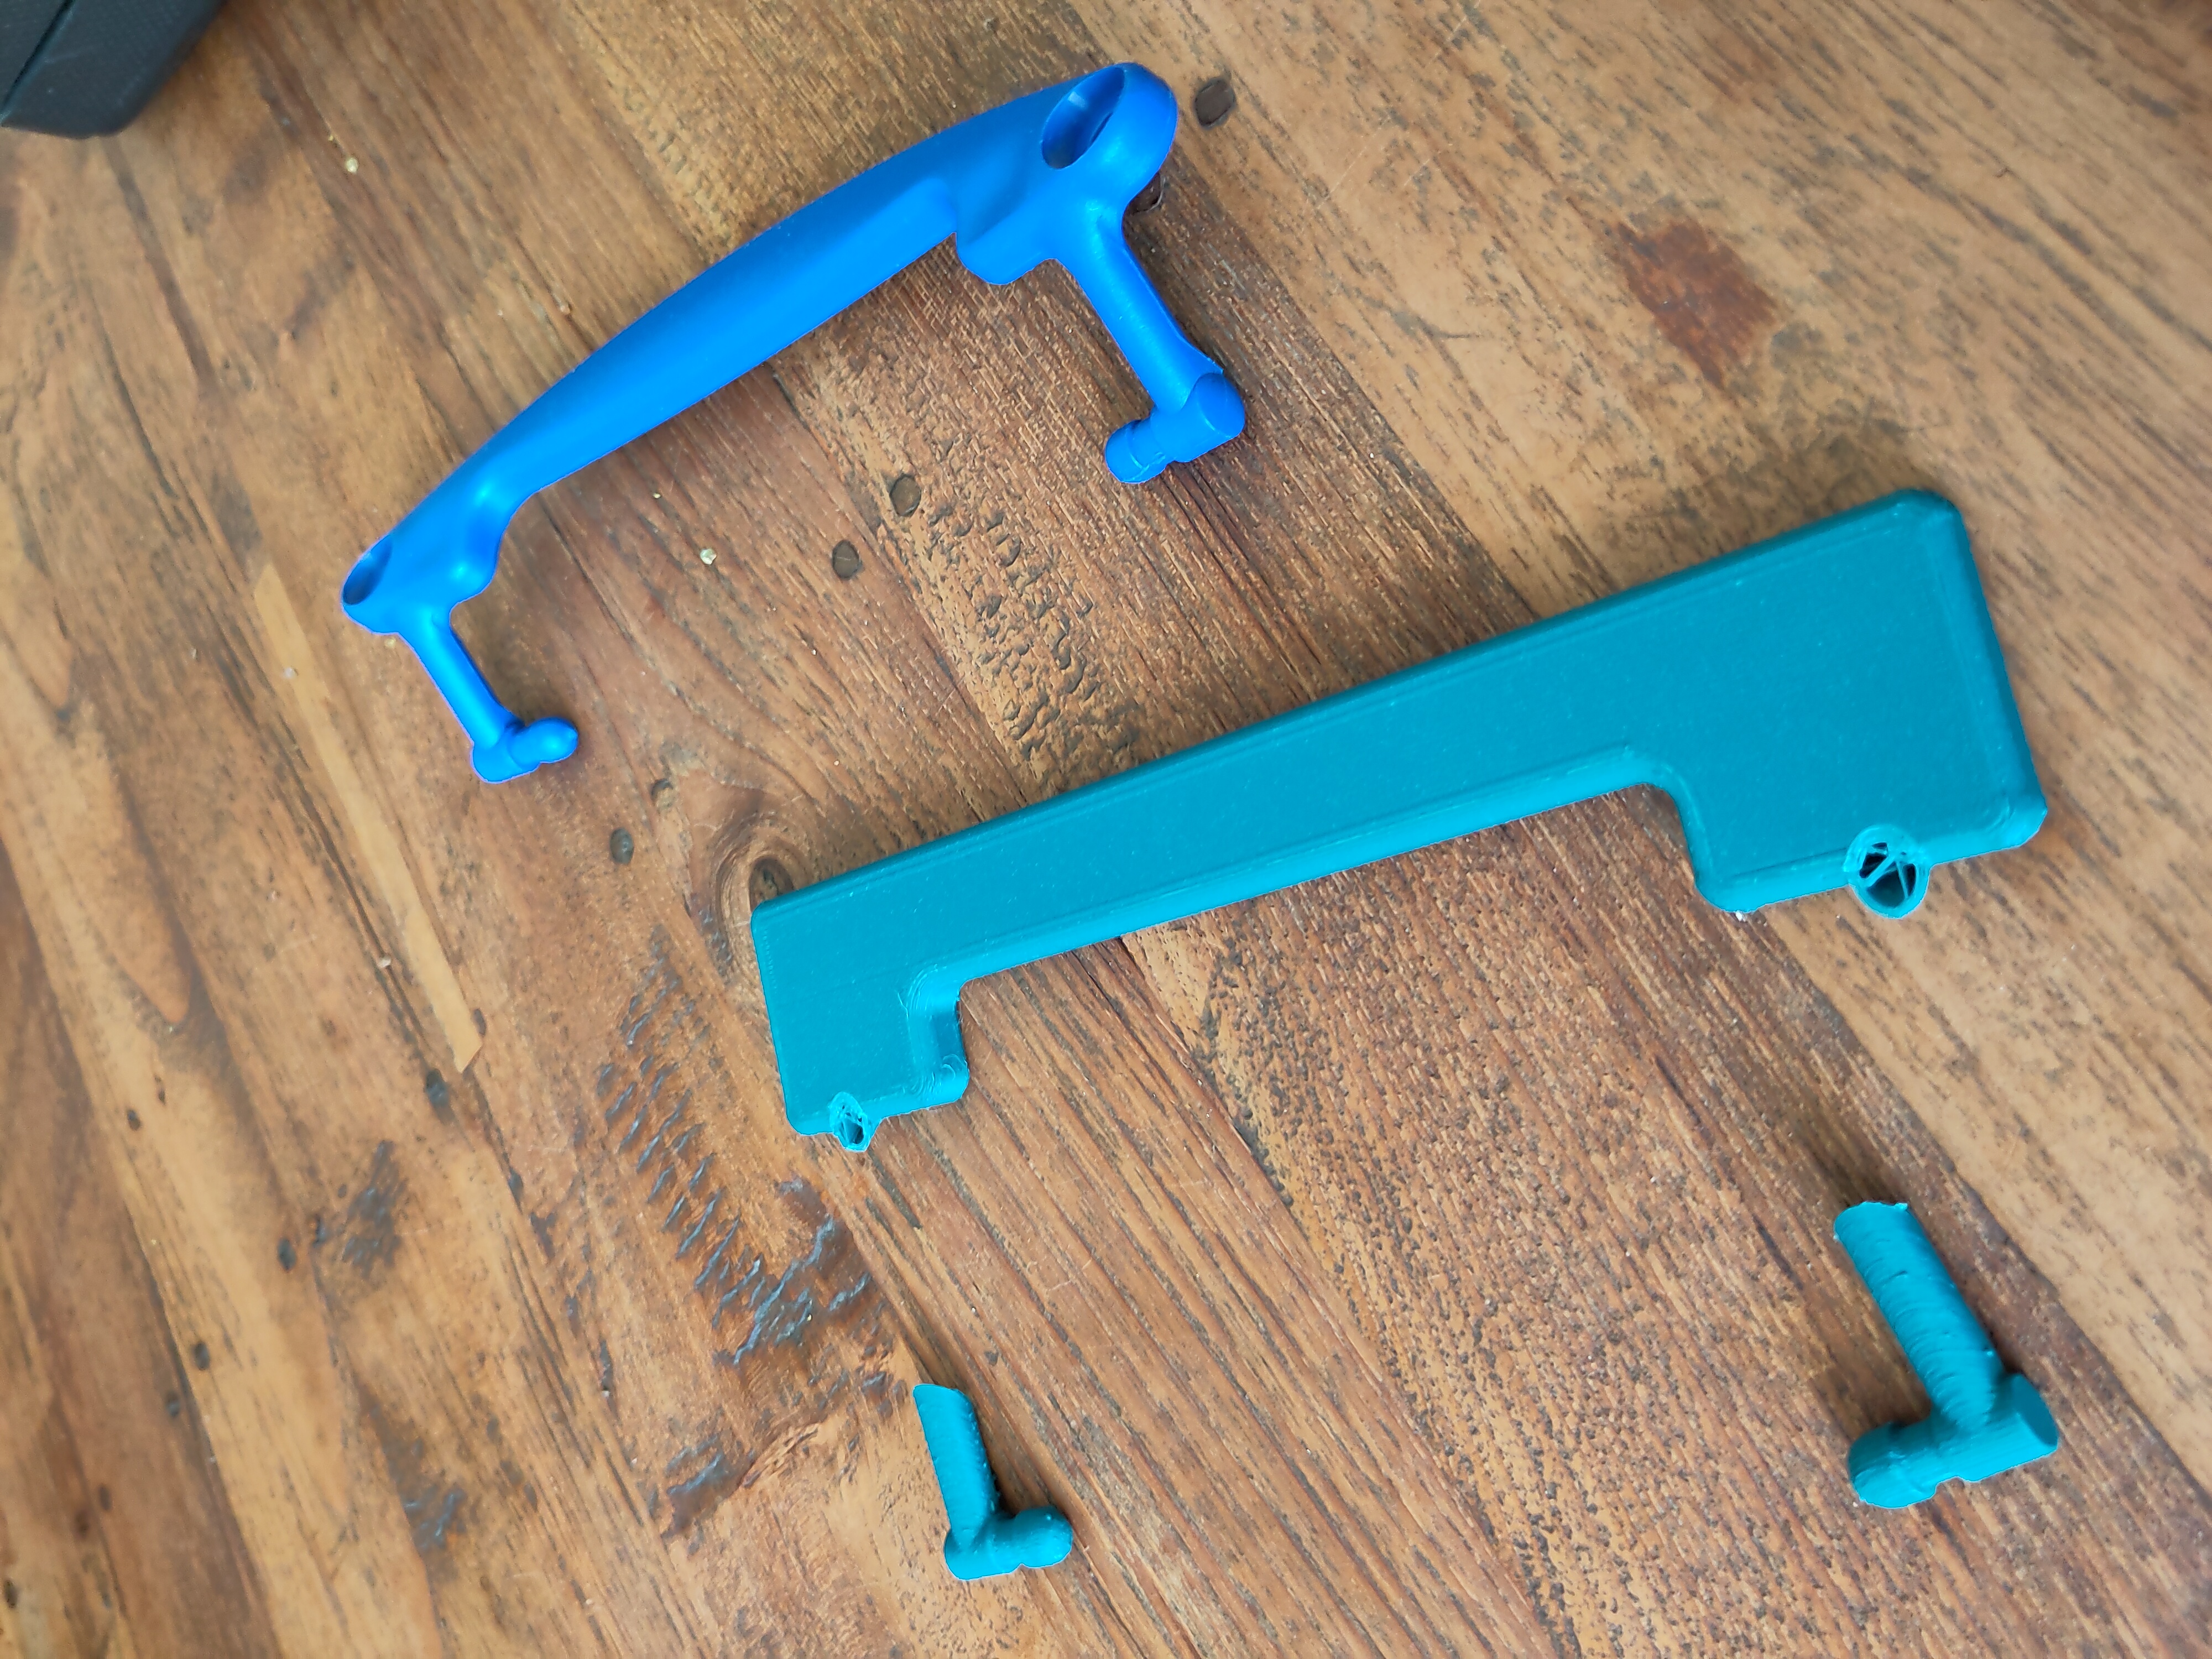
Sadly, even with the infill, the piece broke as soon as it was installed. The point of failure in both cases was at the narrowest part of the arms that hold the “plugs”:

We discussed strategies, such as:
- Adjusting the infill further, especially extending the thicker fill beyond the shafts that hold the plugs.
- Printing with the piece rotated so that the tension would be applied across rather than along the layer lines.
- Making much thicker “arms”, as there is certainly room for them.
- Making the “arms” separate pieces that could be bolted into the main handle.
In addition, we noticed that the fit of the handle was too snug, and failed to account for two notches that hold the original piece in place.
For the next version, at a minimum I’ll need to account the weakness of the arms, and the overly snug fit of the handle. I may also tweak the angle of the arms, as I noticed that was also slightly off.
Stay tuned for take two…