In today’s post I’ll talk about how I made “glow glasses” to test my growing 3D modelling skills.
Background
In recent work I’ve found myself wanting to make support structures and cases for various projects. For earlier projects I’ve used laser cut material (mostly bamboo), slots, finger joints, and simple curves. I don’t personally own a laser cutter, and don’t have a well-ventilated space for one, so at the moment it’s a fairly expensive option, as I order parts from a bureau. The laser cut portions typically cost 50 to 100 euros per project, depending on the size of my design.
3D printing seemed a better option, as you can use materials that don’t require the same level of ventilation, and the cost of each part is fairly low once you have a printer. However, my knowledge of 3D modelling was limited to creating simple shapes in TinkerCad and Blender, and printing them through a bureau, so I needed to learn more.
A few years ago, I went as far as to start testing the fit of laser cut designs in Blender, and learned a few basics. However, I frequently got lost once my models got more complex. I also had real difficulty with simple things like making parts with the right dimensions and positioning parts precisely in relation to one another.
Thankfully, when I started working with Blender again, I found this excellent series on precision modelling in Blender, which was a great fit for what I already knew and what I wanted to learn, and covered things like:
- Setting up Blender well for modelling.
- Basic navigation, including key shortcuts, and how to get back to some place sane if you get lost.
- Precise editing of meshes, including tightly locking edges to each other and determining exact sizes.
- Moving between shapes and paths (very useful if you sketch in Inkscape, as I do).
- Making complex shapes using modifiers (such as arrays and screws).
The Project
After practising a bit, I was able to get to the point where I could precisely model simple designs and start testing them with the help of a friend with a printer.
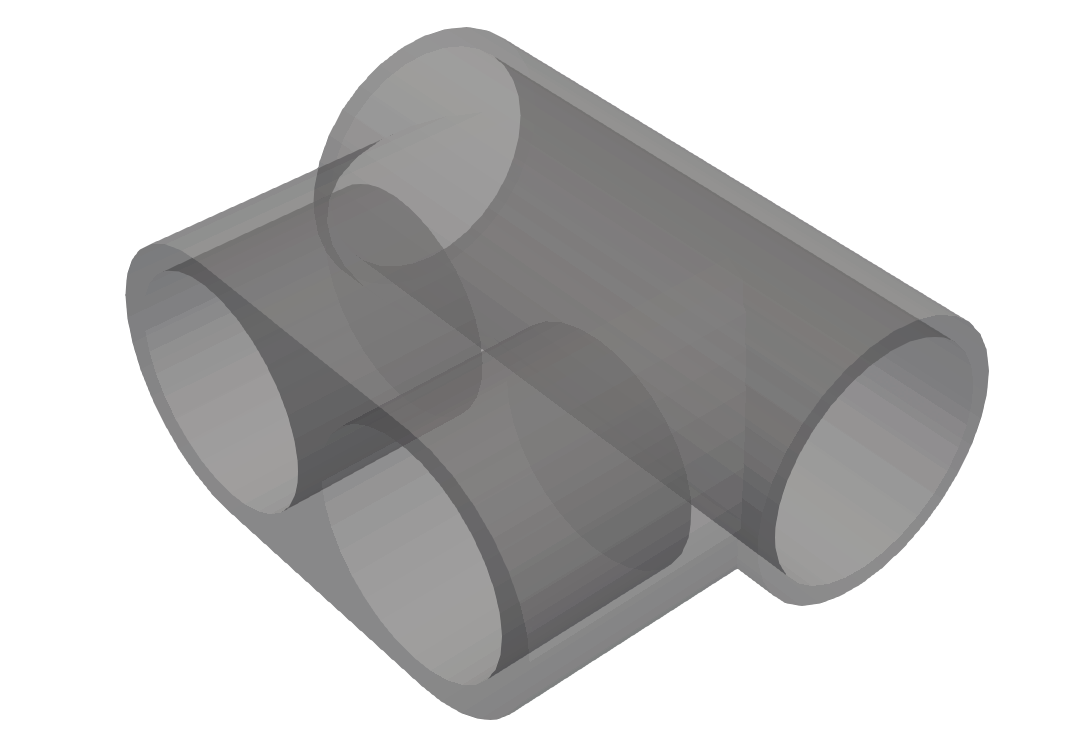
With that, I tackled my first project, which is a set of 3D printed clips I could use to turn glow bracelets from our equivalent of the dollar store into “glow glasses”. The clips consist of a nose piece and two corner pieces to connect glow sticks to form the “eyes” and the “earpieces”. The nose piece loops the “eyes” into shape, and looks like:

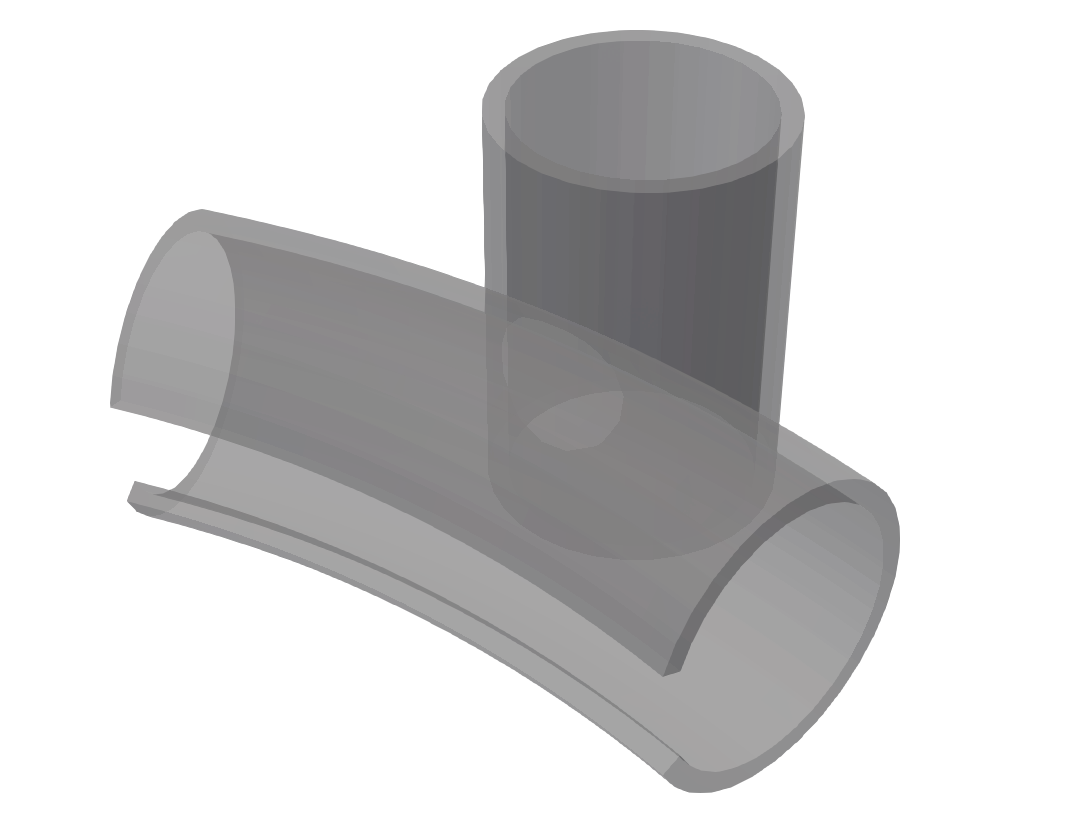
The earpieces clip onto the loops and provide a place to insert additional glow sticks that connect the eye loops to your ears (these are apparently called “temple tips”). Each of these looks the same, as they are designed to be symmetrical:

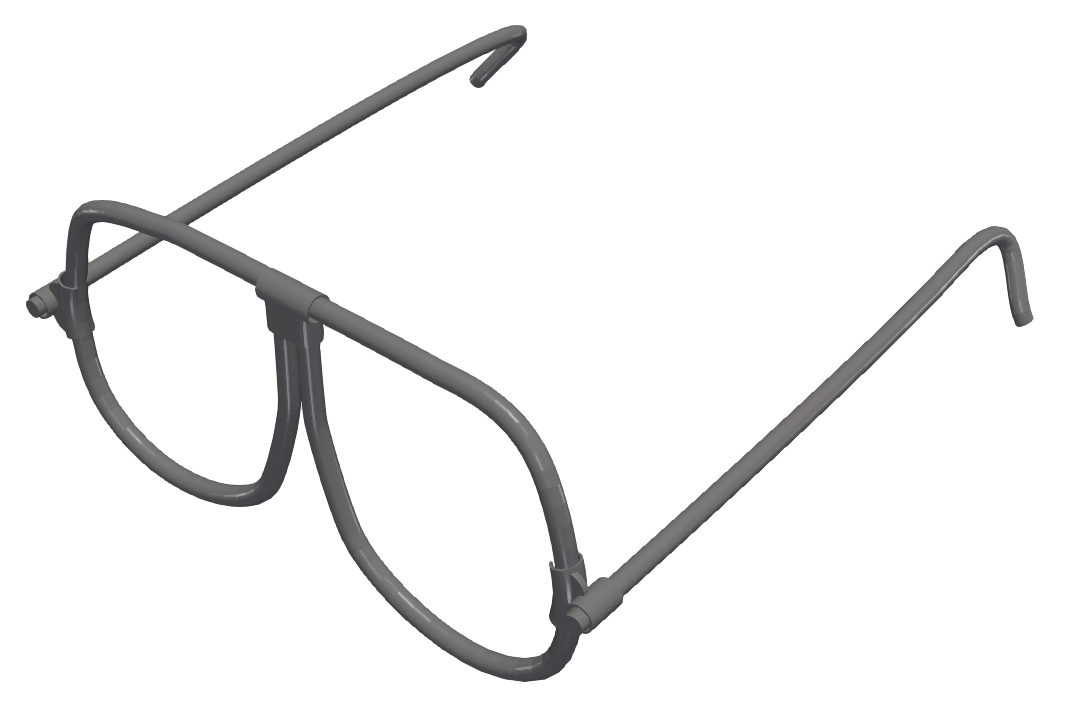
When you add four glow sticks to the clips, it should look like:

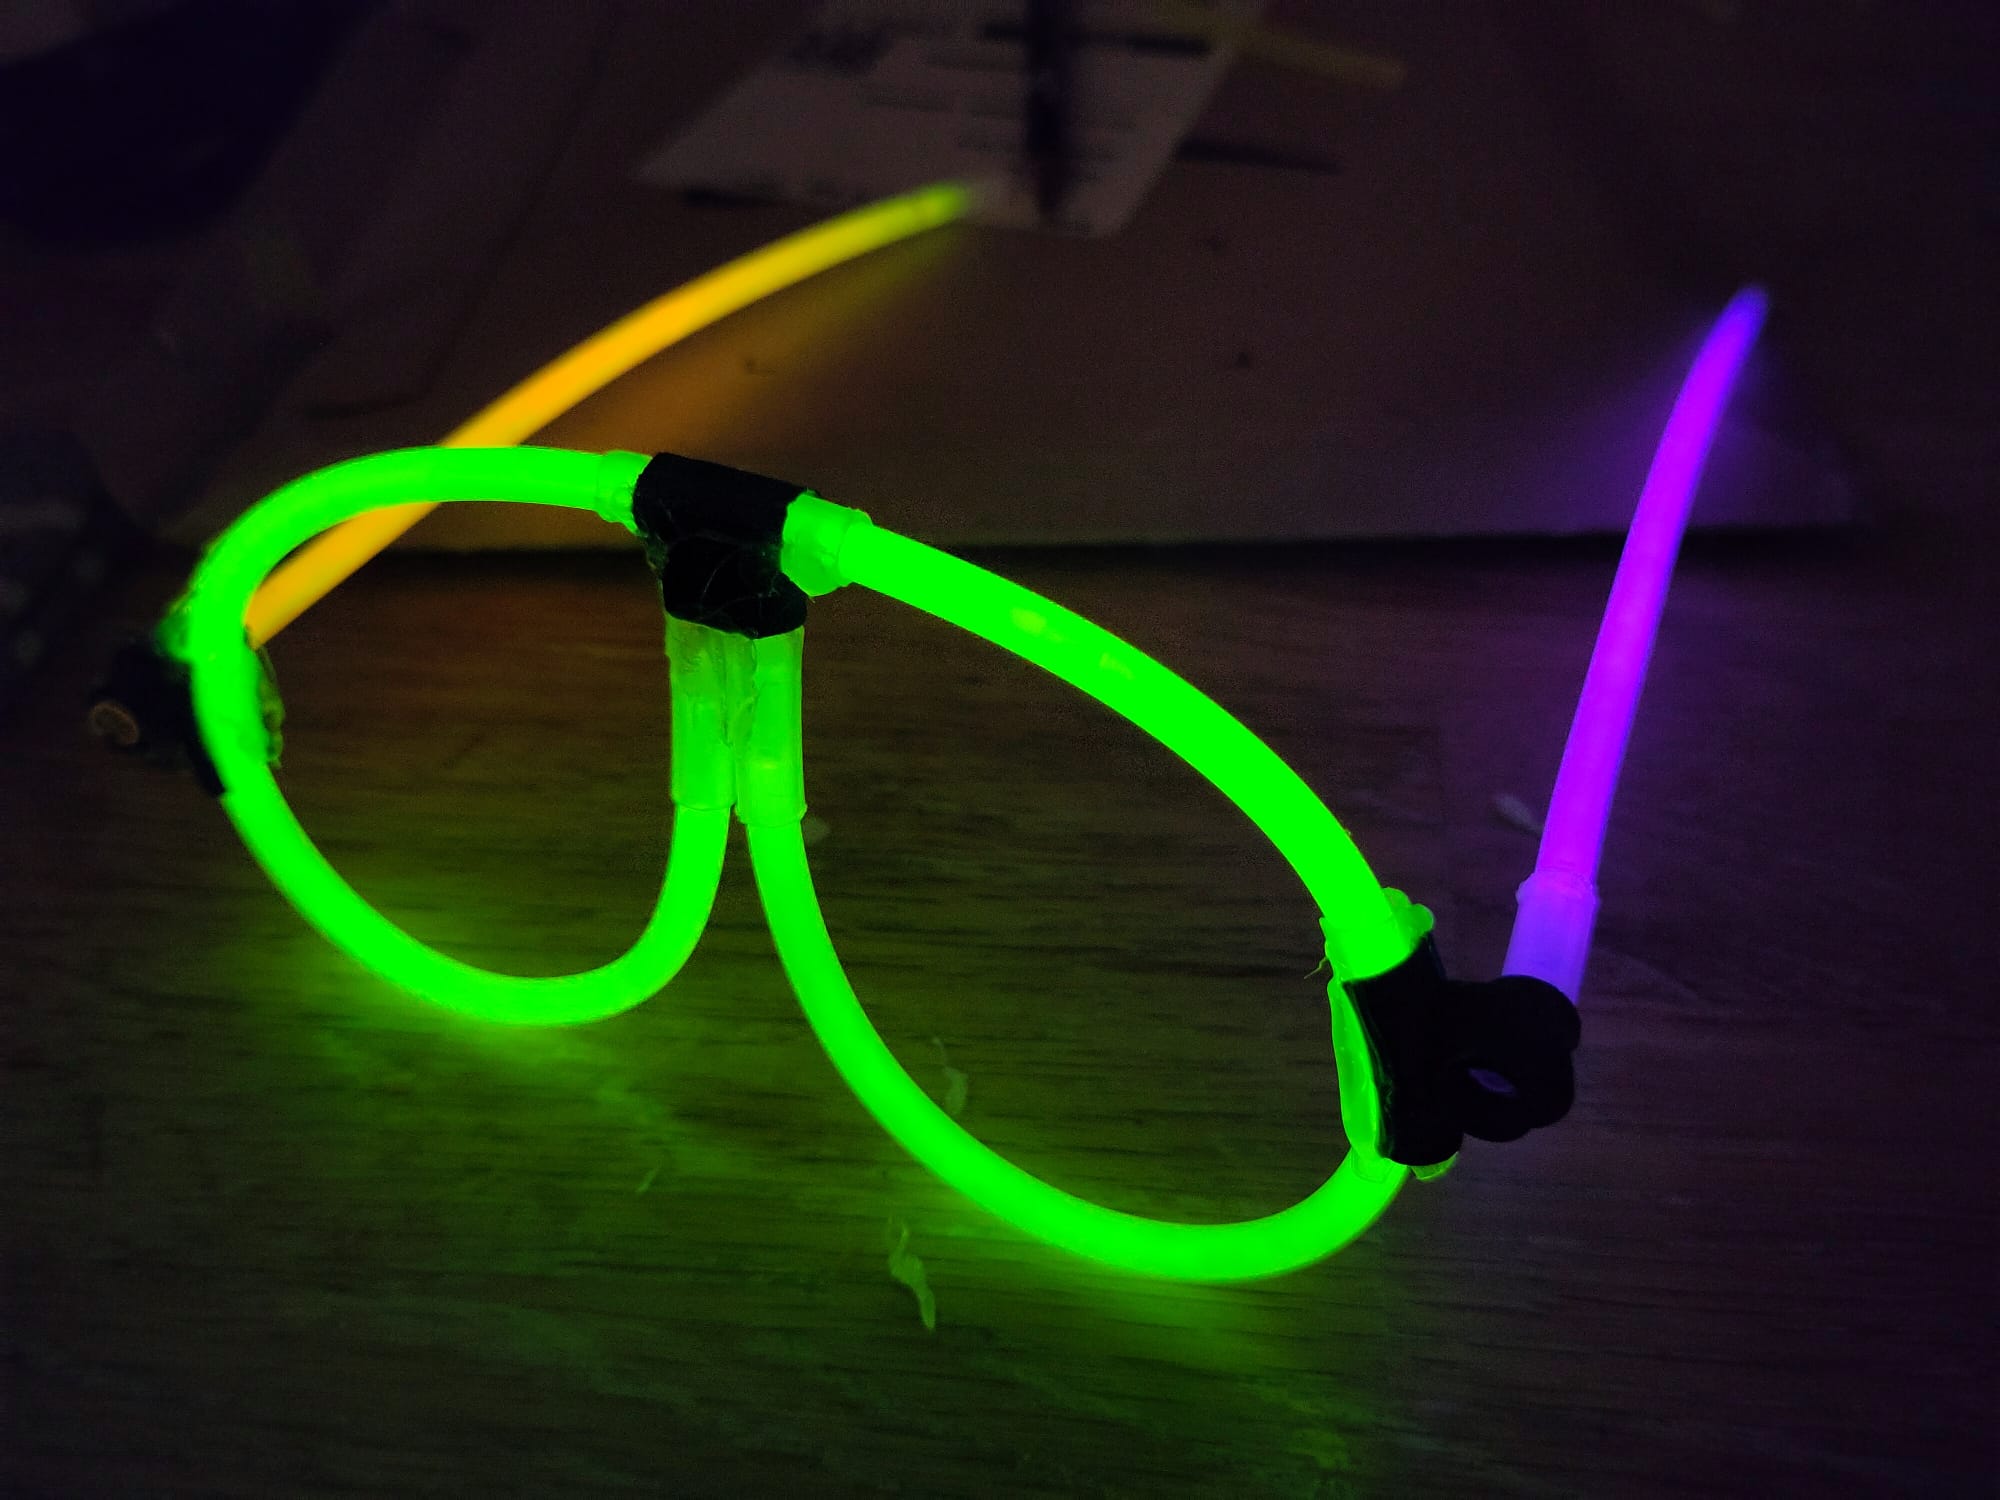
And here’s what it ended up looking like:

In the first design, I made all the holes to hold the glow sticks too wide, and ended up having to hot glue the “sleeves” that came with the glow sticks into the holes. This cracked many of the holes, which meant more hot glue. I also made the vertical holes in the nose piece far too shallow.
The next version should have thicker walls in general, better hole sizing, and also a mechanism to give the holes more flexibility in accepting different gauges of glow sticks.
I’d also like to add an interior rib to all the holes that hold the glow sticks. The rib would start at the full width of the hole and taper inward gradually. The glow stick would be shoved in gently, and the ribs would provide enough friction to hold them in place.
That’s it for today, I’ll post again once I have the next version ready (hopefully that version will be nice enough to share the STL files).